Originally published at docs.bitnami.com.
In the first part of this series, we have learned how to modify a Bitnami Docker WordPress image to include a custom plugin and a theme from the first run.
The last step we performed was to push our image to Docker Hub for having it available to use and ready to deploy on a Kubernetes cluster. Let's continue moving our WordPress site to a production scenario!
Helm charts: Ready-To-Deploy Applications
Helm charts are packages of pre-configured Kubernetes resources. A Helm chart describes how to manage a specific application on Kubernetes.
For easy and fast deployment of any containerized application on Kubernetes, the use of Helm charts are a savvy choice. Each chart includes references (Docker-compatible) to the container images that contain the application code to be run.
Based on a custom WordPress container, this tutorial shows how to make the necessary tweaks in the Bitnami WordPress Helm chart's values.production.yaml file to run your application in a production environment.
Set Up Prerequisites
Before starting, make sure that you have:
- A Docker environment installed and configured.
- A Docker Hub account.
- A custom WordPress container published in a container registry.
- A Kubernetes cluster running in the platform of your choice.
- The kubectl command line (kubectl CLI) installed.
- Helm v3.x installed.
In the next steps, remember to replace "DOCKER_USERNAME/my-custom-wordpress" with the username of your Docker account and the name of your image, respectively.
Step 1: Define Configuration Values for the Bitnami WordPress Helm Chart
To begin the process, you need to obtain the values-production.yaml file that Bitnami includes in its WordPress chart repository and edit it to use your custom image.
1) Execute the following to download the values-production.yaml file:
curl -Lo values-production.yaml https://raw.githubusercontent.com/bitnami/charts/master/upstreamed/wordpress/values-production.yaml
~~~{% endraw %}
> If your image is not stored in a public repository, you must also specify the image registry name and your registry key secret name in the "global" section of the *values-production.yaml* file. Otherwise, the cluster won't be able to pull the image from your private repository. Check the [Kubernetes official documentation](https://kubernetes.io/docs/tasks/configure-pod-container/pull-image-private-registry/) to learn how to create a secret for a private Docker registry.
2) Open the *values-production.yaml* and update the values below to point to your custom container image:
* image.registry
* image.repository
* image.tag{% raw %}
~~~yaml
## Bitnami WordPress image version
## ref: https://hub.docker.com/r/bitnami/wordpress/tags/
##
image:
registry: docker.io
repository: DOCKER_USERNAME/my-wordpress
tag: 1.0
~~~
3) Review the remaining parameters to make sure that you have included any other customizations that your deployment will require such as enabling Ingress rules, using external services (databases) and so on.
# Step 2: Deploy Your Custom WordPress Image on Kubernetes Using the Bitnami WordPress Helm Chart
To simplify the process of deploying the custom WordPress image, we are going to use the Bitnami's WordPress Helm chart which already has built-in support for custom Docker images.
1) Check that you can connect to your Kubernetes cluster.{% raw %}
~~~bash
kubectl cluster-info
~~~{% endraw %}
2) To make Helm pull your custom image, execute the *helm install* command followed by the modified *values-production.yaml* as follows:{% raw %}
~~~bash
helm repo add stable https://kubernetes-charts.storage.googleapis.com/
helm install my-wordpress stable/wordpress -f values-production.yaml
~~~{% endraw %}
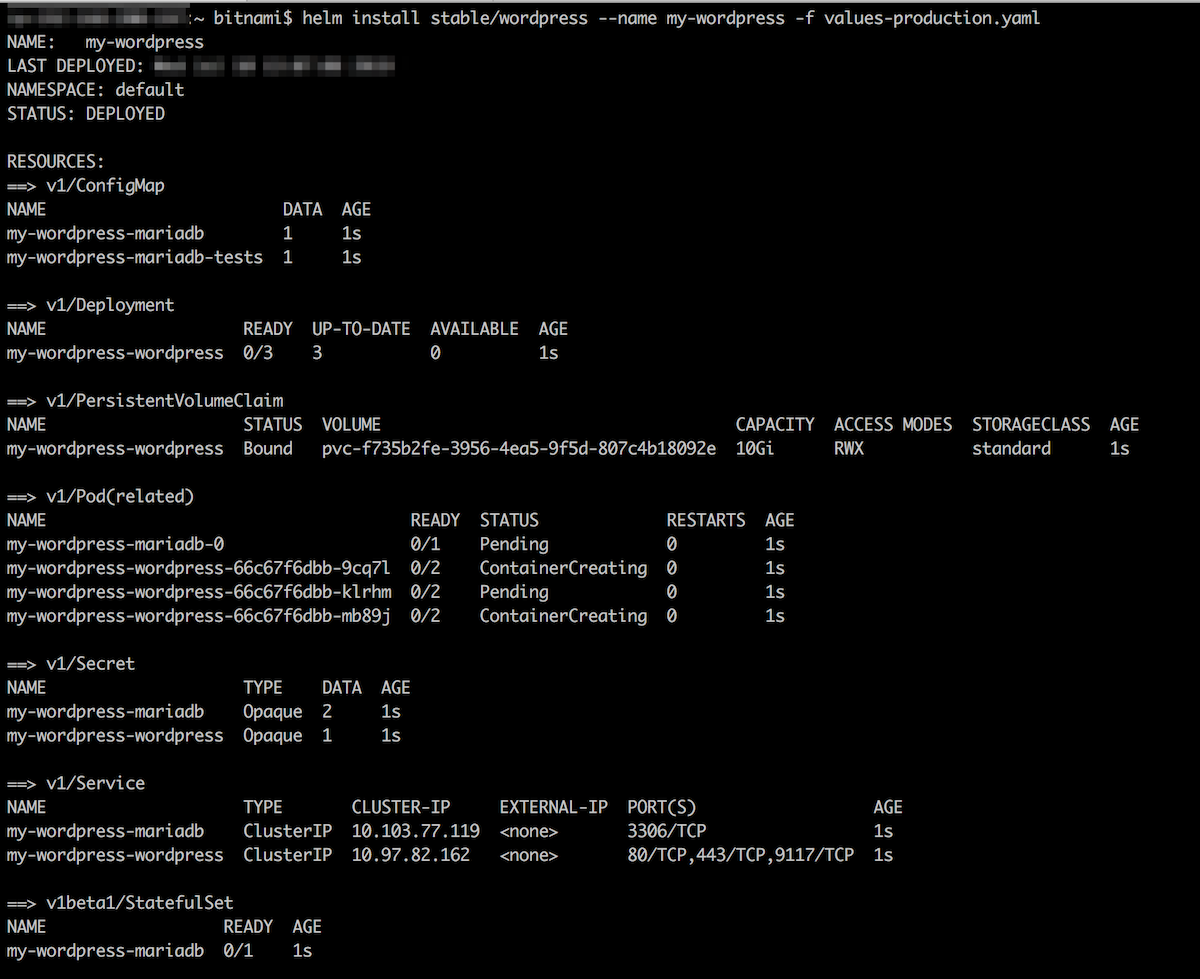
3) Check the pod status:{% raw %}
~~~bash
kubectl get pods
~~~{% endraw %}
You will get a list of running pods:

4) To obtain the application URL, wait until the pods are running and then run the commands shown in the "Notes" section.
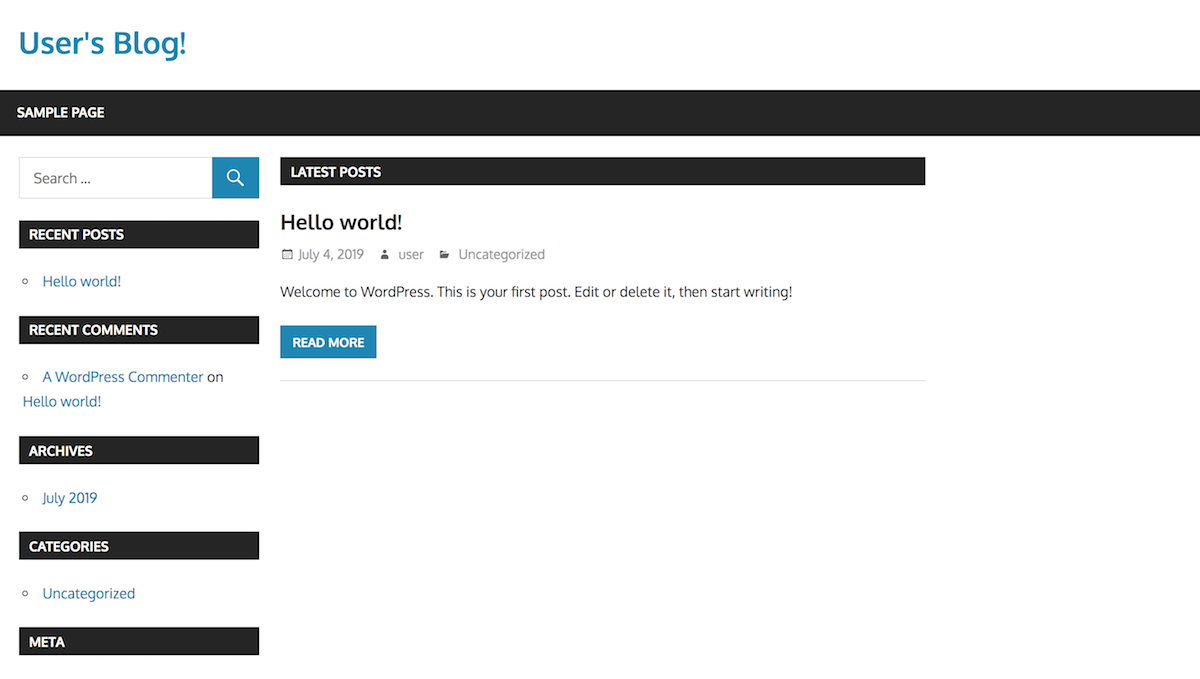
5) Browse to WordPress at the resulting service IP address. You should see your WordPress site with the custom theme that you have included in your image already activated:
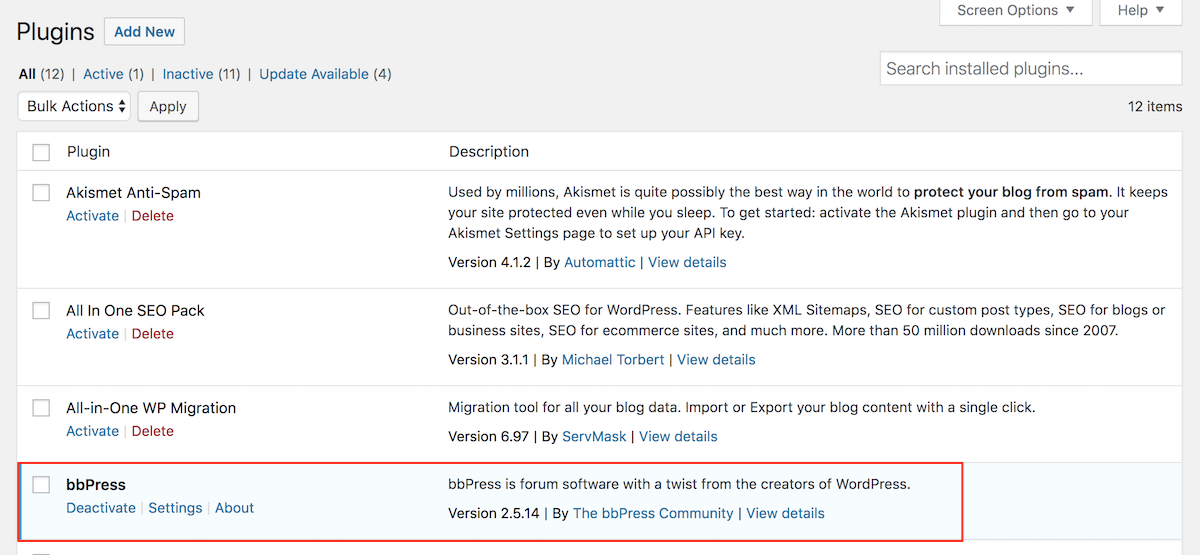
6) Log in to WordPress with the credentials obtained from running the commands in the "Notes" section of the chart deployment output. Navigate to the "Plugins" section and check that the plugin is also installed and activated:
# Step 3: Update the Source Code and Re-Deploy the Application
As a developer you may want to introduce new implementations and features to your application.
These are the typical steps you follow to release a new Docker image:
* Change your application source code
* Rebuild the image
* Republish the image in your selected container registry
To complete the application update process and re-deploy your application on Kubernetes, follow these instructions:
1) Remove the installed theme in the WordPress image build in the [first guide of this series](https://dev.to/raquelcampuzano/develop-locally-a-custom-wordpress-using-a-bitnami-docker-image-44ic).
To do so, remove all lines that refer to it both in these files:
* *rootfs/download-extra.sh*
* *rootfs/app-entrypoint.sh*
2) Build and republish the new image:{% raw %}
~~~bash
docker build -t DOCKER_USERNAME/my-wordpress:2.0 .
docker push DOCKER_USERNAME/my-wordpress:2.0
~~~{% endraw %}
3) Update the Helm chart by executing the command below. It will upgrade the chart and install the latest version of your image:{% raw %}
~~~bash
helm upgrade my-wordpress stable/wordpress \
-f values-production.yaml \
--set image.tag=2.0
--set wordpressPassword="$(kubectl get secret my-wordpress-wordpress -o jsonpath='{.data.wordpress-password}' | base64 --decode)" \
--set mariadb.db.password="$(kubectl get secret my-wordpress-mariadb -o jsonpath='{.data.mariadb-password}' | base64 --decode)"
~~~{% endraw %}
4) Browse again to the application IP address. You should see your WordPress site with the default theme enabled.
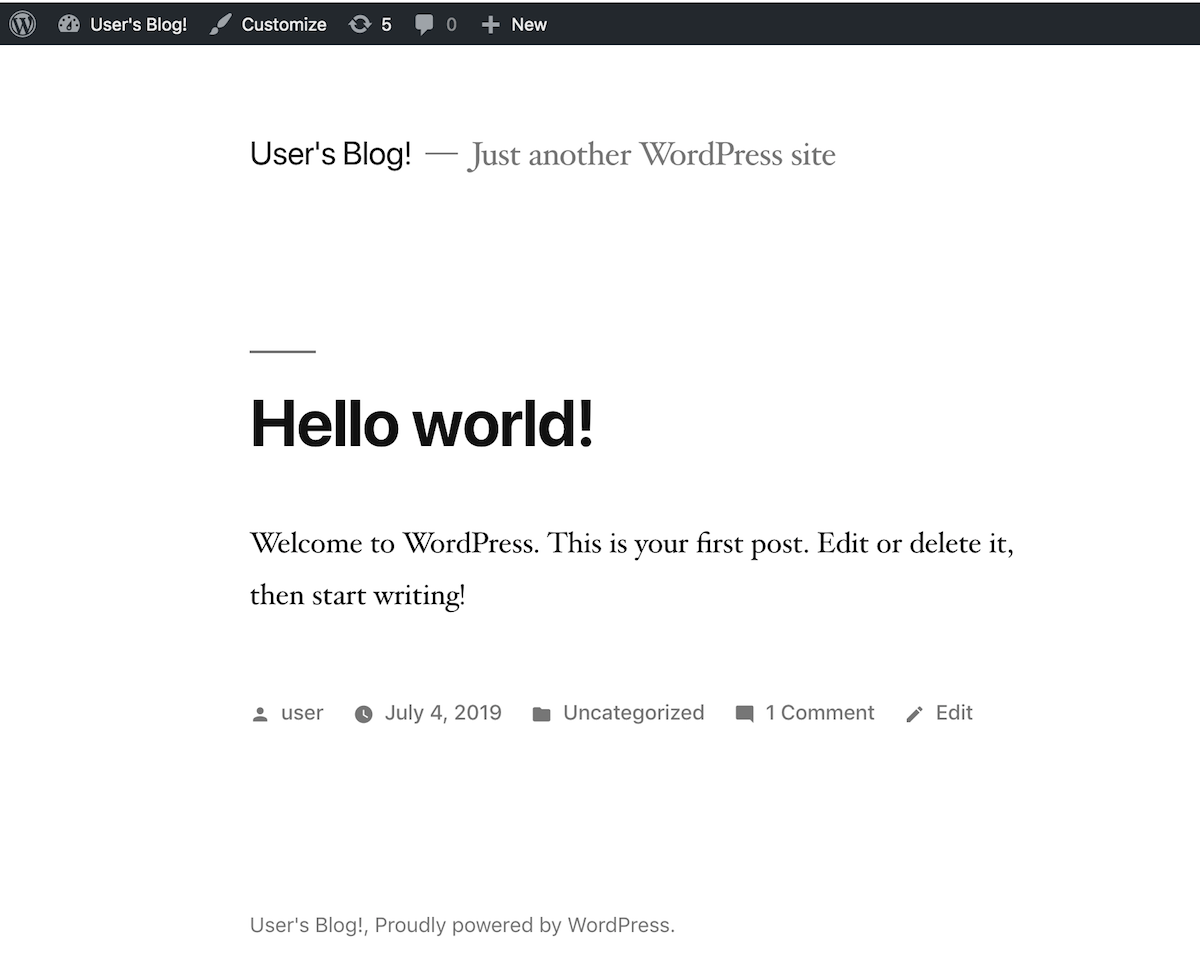
It is not magic! It is the power of Helm.
You have not only deployed your custom WordPress in a production environment but also applied a change in the application code and re-deployed your website with the updated configuration.

Latest comments (0)