
Starters 🏁
This blog post delves into my project experience with COMP 1800. If you're unfamiliar with who I am, you can refer to my introductory post.
For a brief overview of COMP 1800, please check out my most recent post.
I've heard that having a deep understanding of one's projects can be beneficial during interviews. With that in mind, I'm launching a new series titled "Projects", where I'll discuss and delve into the technical components of the projects I've worked on.
COMP 1800 🌱
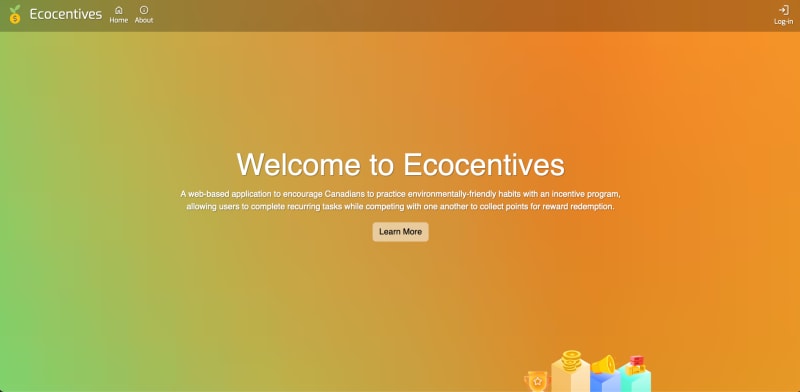
In COMP 1800, the theme of the project was to address issues related to extreme weather. The project focused on several considerations, including prevention, prediction, preparation, coping, and recovery. My team, consisting of three members, chose to focus on prevention by promoting an eco-friendly lifestyle.
Agile Methodology 💨

COMP 1800 adopted the agile software development life cycle (SDLC) methodology, and the weeks were divided into sprints. As illustrated in the image above, the steps are: (1) Plan, (2) Design, (3) Develop, (4) Test, (5) Deploy, and (6) Review.
Plan
During the planning stage, we crafted new user stories for each sprint, focusing on implementing features based on the red route analysis. We utilized tools like Trello and Figjam for this purpose.Design
In the design phase, we created wireframes for the features we decided to implement, corresponding to the user story for that specific sprint.Develop
In the development stage, we began the actual coding for our user stories. Our tech stack included HTML5/CSS3, JavaScript, Bootstrap, Node.js, Express.js, Firebase, and Google Cloud API. I'll delve deeper into this later.Test
Given that this project was our first, our testing was limited. We didn't implement unit or integration tests. However, we did conduct usability tests with our peers.Deploy
Diverging from the typical agile process, we didn't fully deploy our application until the end. We used glitch.me for deployment.Review
Our review took the form of a presentation within the course, during which we received feedback and addressed questions from our peers.
Code review 🔍
Initialization 🏁 In our app, we use Express as our Node.js web framework middleware. CORS Headers 💻 We've also set up Cross-Origin Resource Sharing (CORS) headers to allow requests from any origin. Static File Serving & Routes 🚏 With Express, we utilize static file serving. For instance, any files in the ./public/js directory can be accessed via the /js route. We also manually set up routes for all of our pages, which was somewhat tedious. An example is: Server Initialization 🏁 Lastly, we initialized and ran our Express server on port 8000.Node and express
// Initialization
const express = require("express");
const app = express();
// Middleware
app.use(express.json());
app.use((req, res, next) => {
  res.setHeader('Access-Control-Allow-Origin', '*');
  res.setHeader('Access-Control-Allow-Methods', 'GET, POST, PUT, DELETE');
  res.setHeader('Access-Control-Allow-Headers', 'Content-Type, Authorization');
  next();
});
app.use(express.static('app'));
app.use("/js", express.static("./public/js"));
app.use("/css", express.static("./public/css"));
app.use("/img", express.static("./public/img"));
app.get('/', (req, res) => {
  res.sendFile(__dirname + '/app/html/index.html');
});
app.listen(8000, () => {
  console.log('Server started on port 8000');
});
Initialization 🏁 Initializing firebase was relative simple. All we had to do was go to firebase.google.com and start a project. After the project setup, all we had to do was install firebase as node package ( Authentication 🔒 We also used firebase for authentication since it was provided. We used the Firebase UI Widget for authentication and user log-ins. You can check the authentication and the sign in flow here. Firebase
$ npm install firebase) and copy the firebase configurations.
//----------------------------------------
//  Your web app's Firebase configuration
//----------------------------------------
var firebaseConfig = { //Input firebase API keys
  apiKey: "",
  authDomain: "",
  projectId: "",
  storageBucket: "",
  messagingSenderId: "",
  appId: "",
};

//--------------------------------------------
// initialize the Firebase app
// initialize Firestore database if using it
//--------------------------------------------
const app = firebase.initializeApp(firebaseConfig);
const db = firebase.firestore();
const storage = firebase.storage();
Leaderboard 🏆 Firstly, a variable was made to retrieve a reference to the DOM element with the ID 'leaderboard-body', which involves the tbody element of the leaderboard table. Based off the leaderboard logic, I used document.createElement and appendChild method to display the users accordingly. Tasks 📌 For tasks, I randomly displayed tasks using random seed value from the Firestore database. Based on the tasks, I implemented functions to pick an image file to upload to call Google Vision API to analyze the image using label detection. If the response returns as valid, the task is marked as completed, associated points are added, and completed tasks are removed. JavaScript specifics
The JavaScript code we wrote deals with Document Object Models (DOM), which I will explain in the code that I specifically wrote.
var leaderboardTable = document.getElementById("leaderboard-body");
var user = doc.data();
var points = user.points;

// Increment rank if points are lower than previous user's points
if (points !== previousPoints) {
    rank++;
}

var row = document.createElement("tr");
var rankCell = document.createElement("td");
rankCell.textContent = rank;
row.appendChild(rankCell);

var nameCell = document.createElement("td");
nameCell.appendChild(
    document.createTextNode(user.displayName || user.name)
        );
row.appendChild(nameCell);

var pointsCell = document.createElement("td");
pointsCell.textContent = points;
row.appendChild(pointsCell);
 const ecoActions = await getEcoActions();
 const randomTasks = [];

 for (let i = 0; i < 3; i++) {
    const randomIndex = Math.floor(Math.random(seed) * ecoActions.length);
    const randomTask = ecoActions[randomIndex];
    randomTasks.push(randomTask);
    ecoActions.splice(randomIndex, 1);
 }

 const taskList = document.getElementById("task-list");
 taskList.innerHTML = "";
const imageUrl = await fileRef.getDownloadURL();

// Call the Google Vision API to analyze the image
const apiKey = API_KEY;
const url = `https://vision.googleapis.com/v1/images:annotate?key=${apiKey}`;
const data = {
      requests: [
         {
           image: {
           source: {
              imageUri: imageUrl,
           },
         },
           features: [
         {
             type: "LABEL_DETECTION",
           },
          ],
         },
      ],
};

const response = await fetch(url, {
      method: "POST",
      headers: {
         "Content-Type": "application/json",
      },
          body: JSON.stringify(data),
});

const json = await response.json();
Conclusion ⛳️
This has been a lengthy post, and I thank you for taking the time to read it. I'm not sure if this is the correct way to conduct my code review, so any suggestions are much appreciated!
If you're interested in delving deeper into the code, you can check out the repository.
Thank you once again! Stay tuned for future posts. 🤠

Top comments (2)
Full-stack engineer is no joke since I was suck at being a front-end engineer myself.
Anyway to spice things up, when you use code block to present your code you can additionally add the language you write after the first 3 backticks
'''js
your code block here
'''
instead of rendering this 🏁
it would be nice having it like this 🏳🌈
or if you plan to post to another platform as well, better place the modular code somewhere like Gist GitHub and just embed it in here (DEV) and there (another platform) like this post below suggested, so you don't have to copy-paste the same code twice. 😌👌
here's the same post I mentioned before but in embedded form 😉
How to create and pin a gist on GitHub
Michelle Mannering ・ Mar 4 '21
Check this embedded repository guys 🔥
Ecocentives is a platform designed to motivate and reward individuals for taking environmentally-friendly actions in their daily lives. 🌱
Ecocentives
Project Description
A web-based application to encourage Canadians to practice environmentally-friendly habits with an incentive program, allowing users to complete recurring tasks while competing with one another to collect points for reward redemption
Contributors
Technologies and Resources Used
Complete setup/installion/usage
Installation: