
GitHub is a web platform that hosts Git repositories. Repositories contain all project files, code history, and can have multiple collaborators.
Okay now let's get started!
1)Create a GitHub account
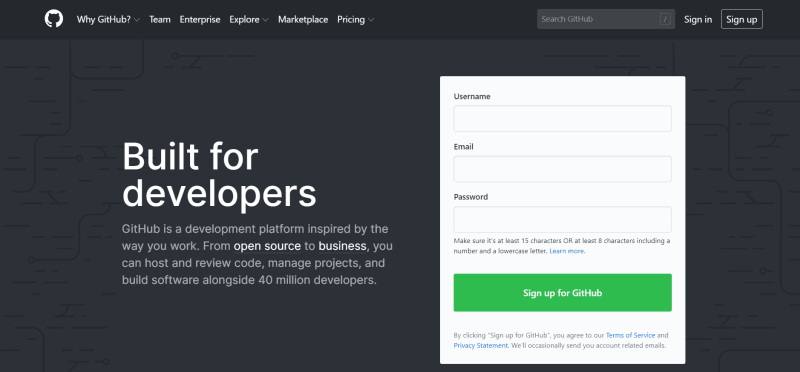
You need to log in to the main GitHub page and fill out the registration form to build your account.
2)Git installation
You will need to install Git tools on your device.
First, download the latest git for windows.
Then open your terminal, git bash or powershell and run the command below.
$ git --version
You will need to run the following commands with your information in your terminal to set a default username and email when saving your work.
$ git config --global user.name "Sewvandi Wickramasinghe"
$ git config --global user.email "example@mail.com"
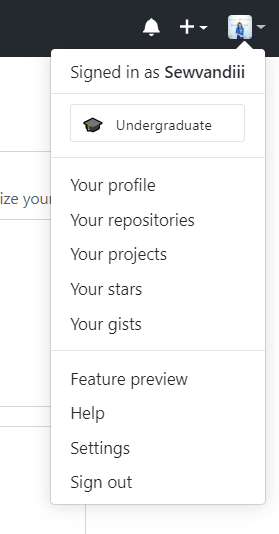
Now return to the main GitHub page and click "+" icon.
Once you click on the "+" icon a new menu will appear as given below.

Click on New repository
Once you click on New Repository, the repository creation page will appear.

Give a meaningful name to your first repository and make it public, so anyone could see it.
You can see all your repositories by click on your profile picture in the menu bar.
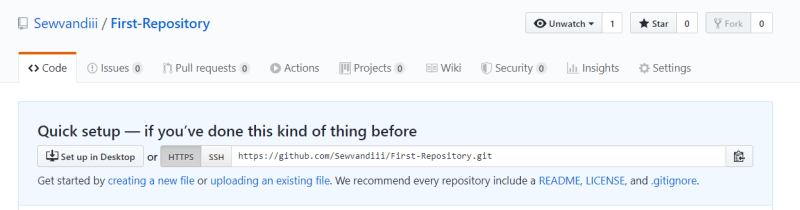
3)Clone the repository
To clone your repository you need to get the “HTTPS” address on the repository page.
After that you need to use your git bash or terminal to move in the place where you want to put the directory copy.
When you are ready, you can enter the following code.
$ git clone [HTTPS]

4)Edit your repository
Now you can simply create a file named “README.md” in your folder.
After you make a change in README.md file you need to save it. This is called committing.
To do this, get back to your terminal. If you have closed it, go back in your folder.
First you need check the files that you have modified.
$ git status

After that you should add your changes to save this file.
(add . => add all in the current directory)
$ git add .
Once you added the files, you need to write a message to explain what you have done using the following code.
$ git commit -m "Added README.md file."

You're almost there! If you type the following command, all your work will be put directly on the repository page and will be visible online.
$git push -u origin master
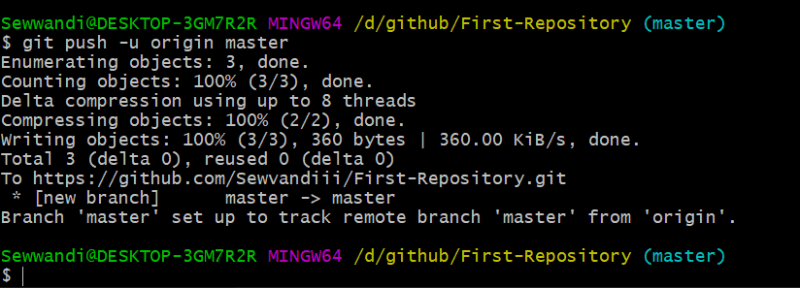
You did it! Now you can view your repository on your GitHub repository page.

Here's mine,
 Sewvandiii
/
first-repository
Sewvandiii
/
first-repository
For my stuff
This my first GitHub repository.
You can refer my article about "Getting started with your first GitHub repository" on https://dev.to/sewvandiii/getting-started-with-your-first-github-repository-56jb
Thank you so much for reading!
What is your opinion here? Share your thoughts in the comments :)

Top comments (0)