
What is an Azure Virtual Machine?
An Azure Virtual Machine (Azure VM) is a cloud-based, on-demand computing resource provided by Microsoft Azure. It allows users to run applications and workloads on a virtualized server without needing to maintain physical hardware. Azure VMs provide scalability, flexibility, and cost-efficiency for various computing needs, such as hosting applications, databases, and development environments.
Step 1
Create a free trial account in Azure (portal.azure.com). A free trial account provides a subscription and $200 Azure credits
Step 2
Login into the azure account you just created. To achieve this, you must provide your username and password
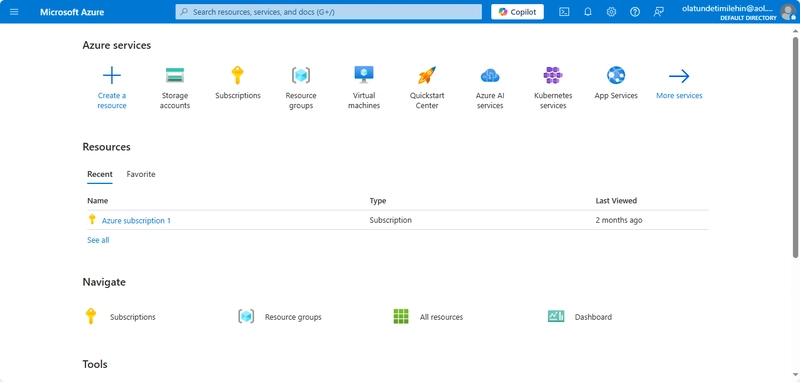
Step 3
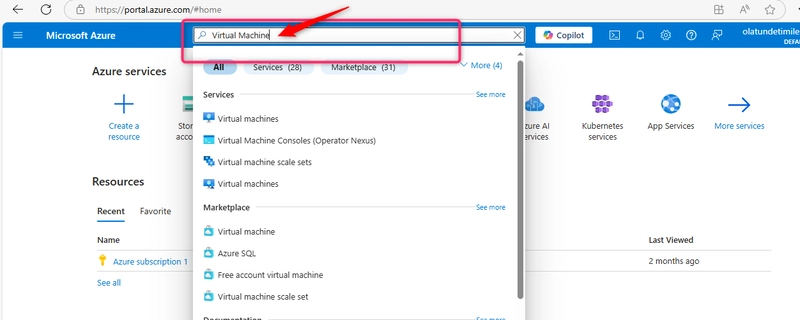
In the Search Engine, type "Virtual Machine" and you will see the Virtual machine coming up as the first on the list, then you choose it
Now it displays and give option to create a virtual machine as below:
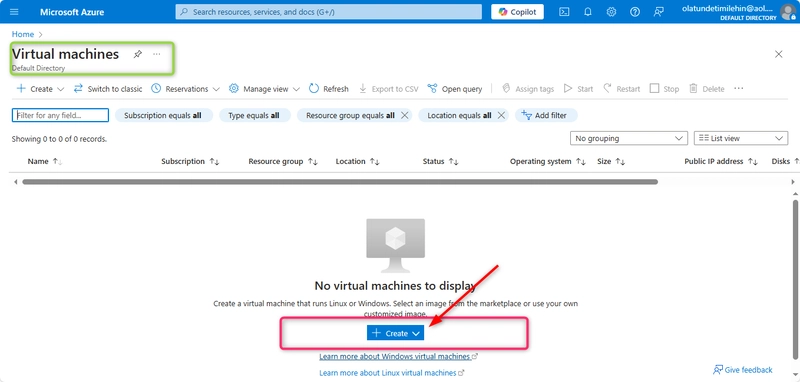
Step 4
Click the "Create" button to start the Virtual Machine creation Process and choose create a virtual machine hosted by Azure as in below picture
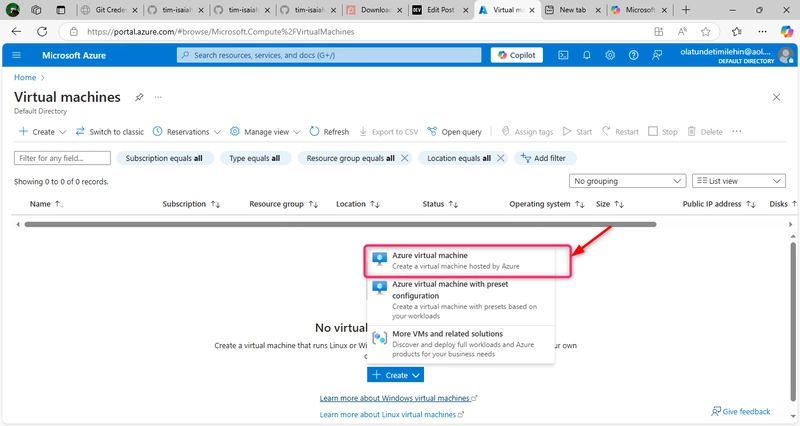
Now after clicking the above, the page below will appear
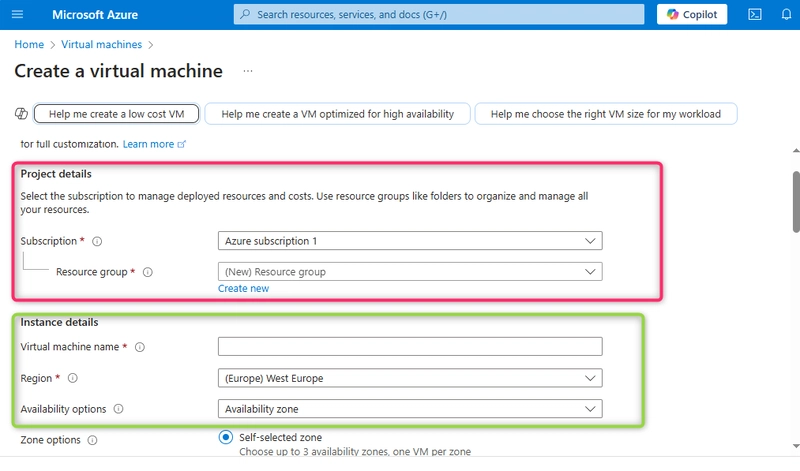
Step 5
Configure your project details which consist of Subscription and resource group as depicted in the above picture. Lets leave the subscription name as default. Then click on "create new" to name the "Resource group" as "test_group"

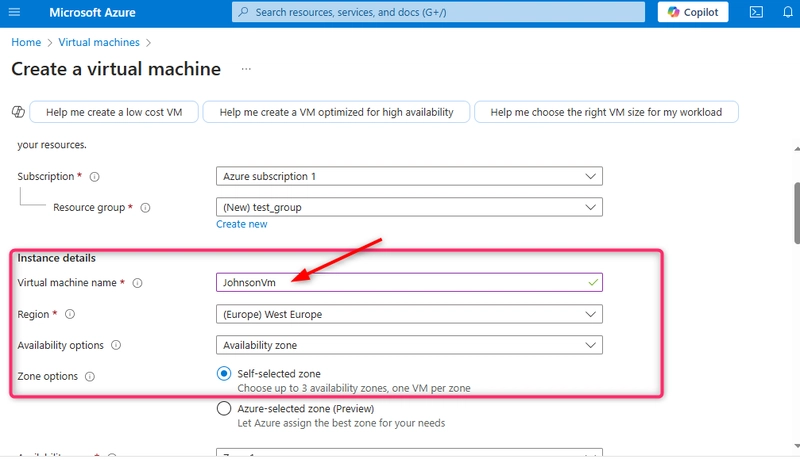
Step 6
Configure the Instance Details
As a computer always have a name, so is a virtual machine too because its also a computer too. So I have name this VM as "JohnsonVM" as seen below:
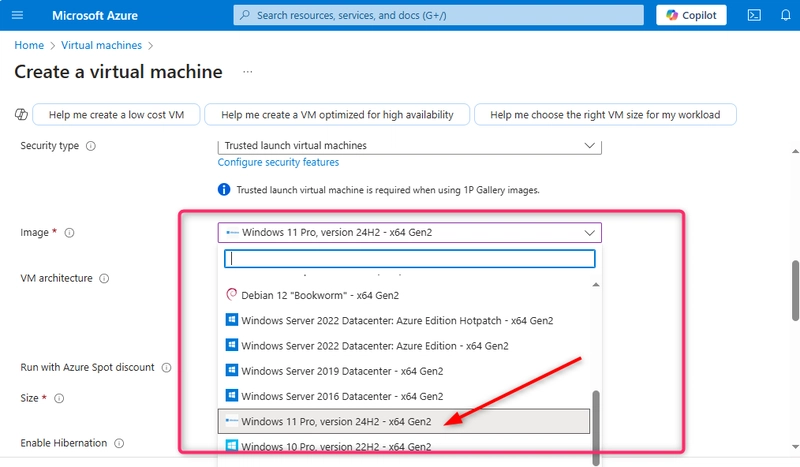
Step 7
Now, its time to choose the Operating System OS on the VM. I have chosen Windows 11 as below and leave others as default including the size
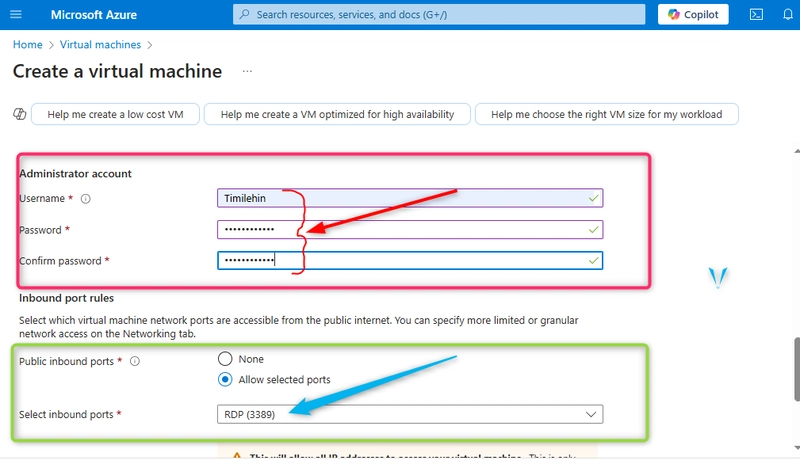
Step 8
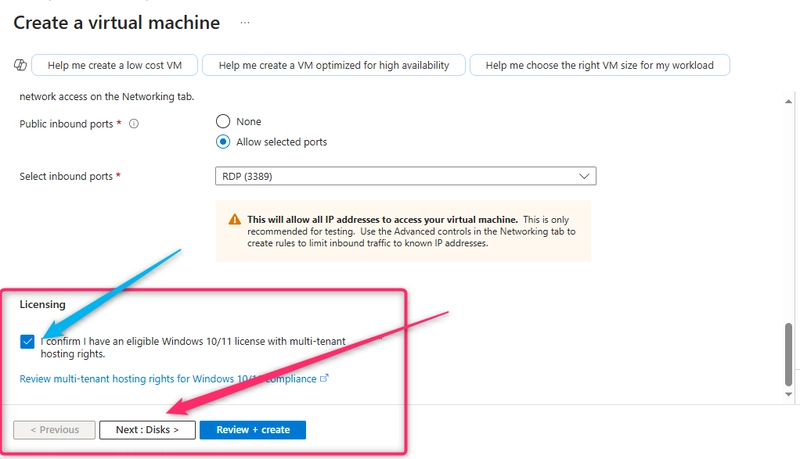
The next step is to configure Administrator account which are the username and the password. Also, as depicted in the green box below, you also need to select Port, You will recall that our computers has inbound ports. Here we choose Remote Desktop Protocol (RDP) for the windows OS
Step 9
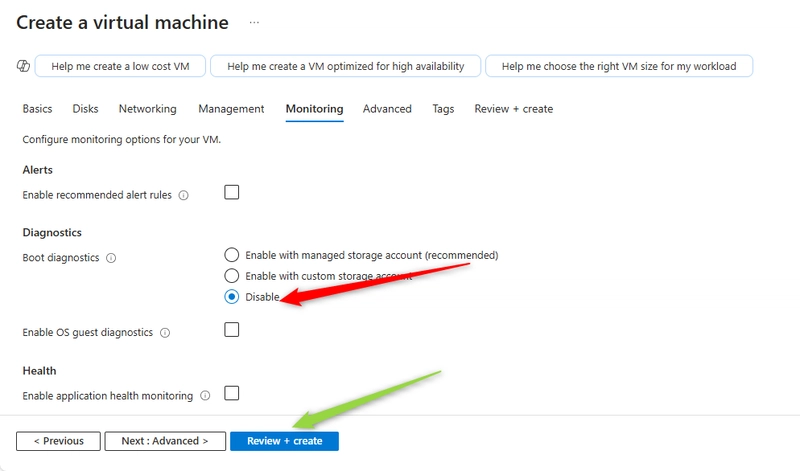
Confirm Licensing and click Next till you get to "Monitoring"
Disable Monitoring until the VM is running. Then Review and create
To show that you have successfully been validated, it will display "Validation passed". Then you can now proceed to "Create"
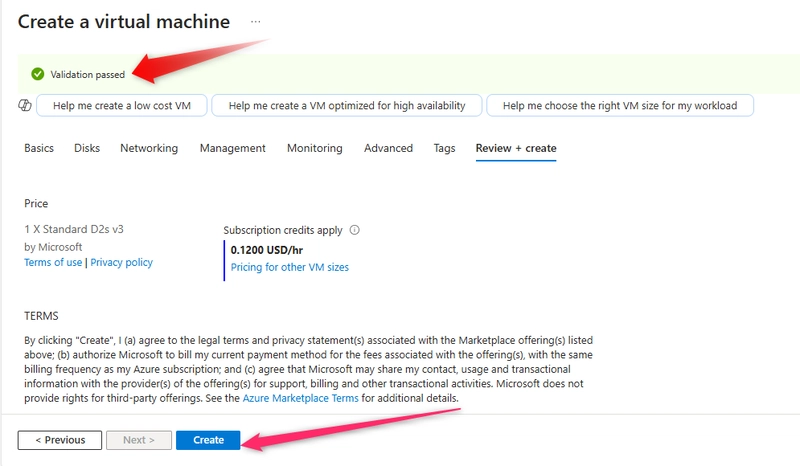
It will let you know that your deployment is in Progress

Now you will notive the green mark showing you have successfully deployed your Virtual machine. The next step is to click and go to "Go to resource" button to access the VM we have just created.
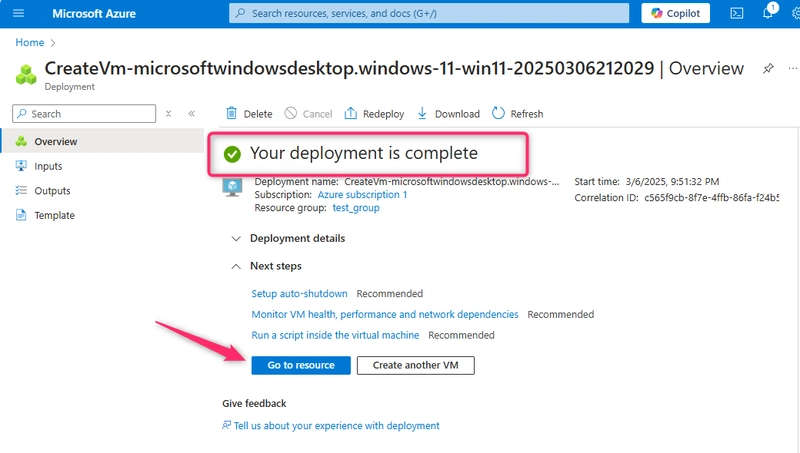
You will now see that the status is Running and you also have a public IP address so it can be accessible anywhere in the world
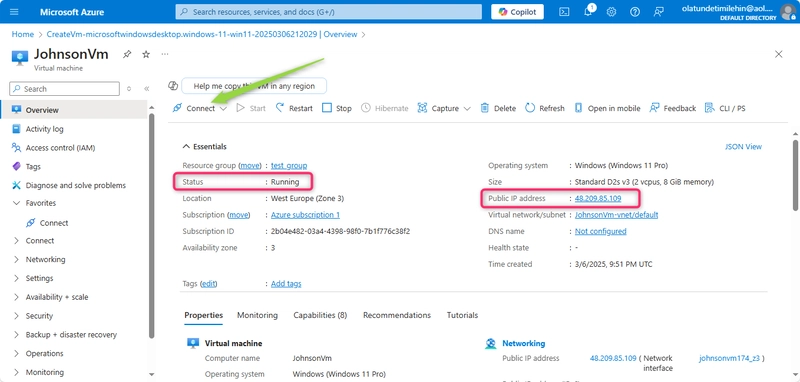
At the top left of the screen above with the green arrow, you can now connect to access your Virtual Machine and the screen below will be displayed
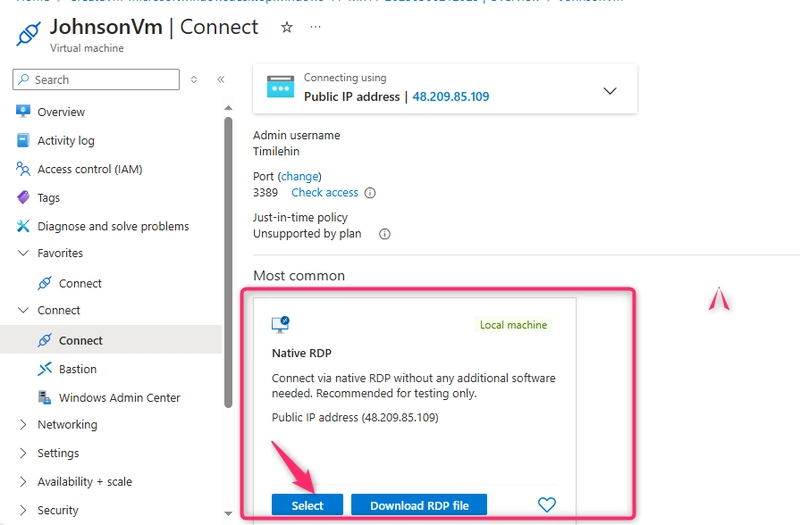
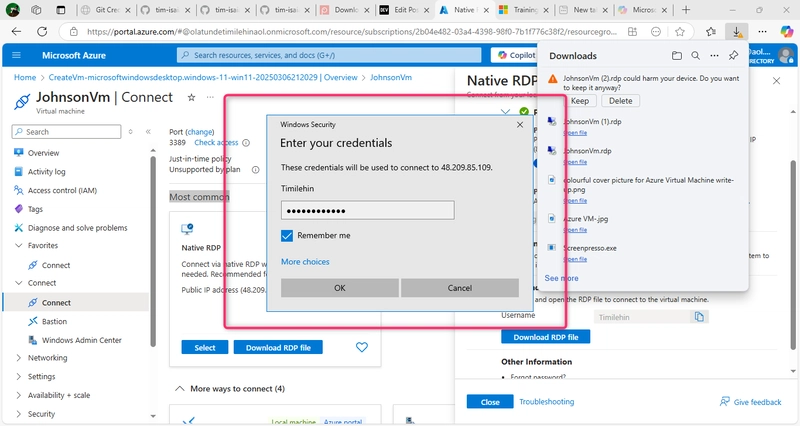
Click on "Select" to see the Native RDP. Then ensure you see that the configure prerequisites for native RDP has turned to "Configure". Then Click "Download RDP file"
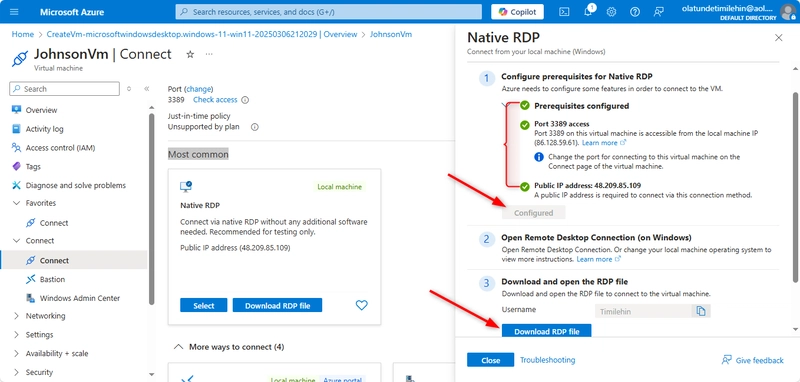
When you click on "Dowload RDP file", you will see the screen below
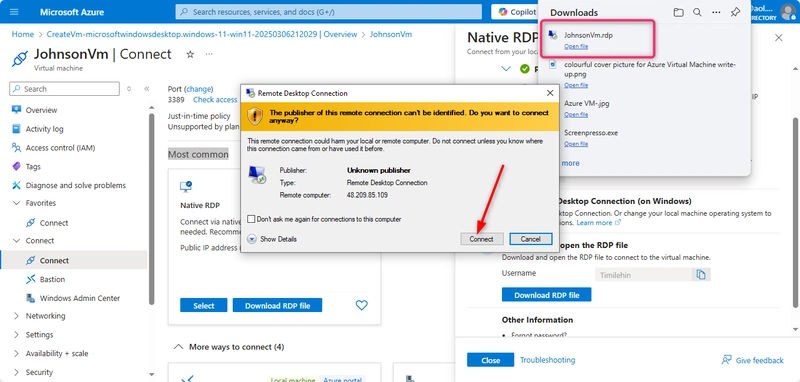
Then Enter your Administrator Password to loginin
WELCOME TO YOUR NEW VIRTUAL MACHINE
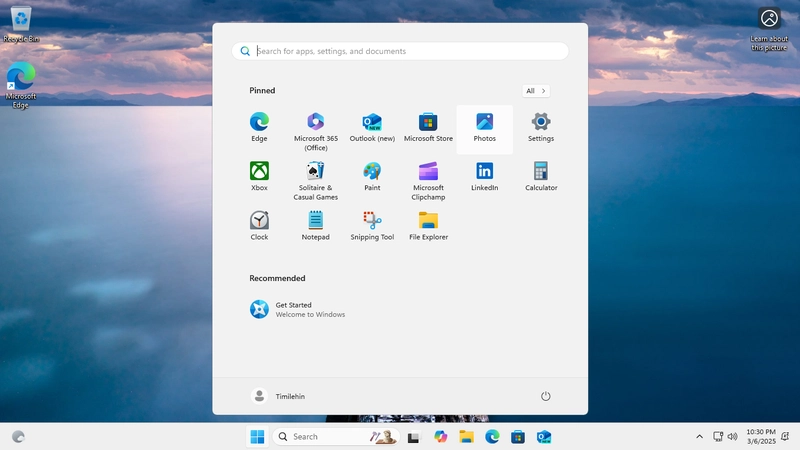
I hope you enjoy the steps and you found it easy. Do follow me for more steps on how to make cloud computing easy

Top comments (0)