Did you love my post?

Formerly known as Visual Studio Team Services, Azure Devop is a cloud-based version control which offers developers solutions to collaborate on code and track changes visually with unlimited free private Git/TFVC repos on which you the selection to choose either Git or Team Foundation Version Control (TFVC).
So in order to add your projects or solution in Azure DevOps first, go to https://dev.azure.com/ which will redirect you to Azure Devops main site then signup for your account.
Connecting on Azure Repositories.
After login, in order to create and add your repository project, you need to create New Organization first. An organization is like a group of projects or a collection of your related projects.
Organization:

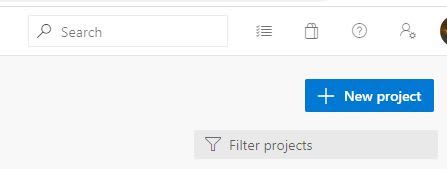
Afterwards, you can now add new repository by clicking New Project.
New Project:
Once you clicked New Project, a dialog will appear on the right side, fill up the necessary fields, and Choose the Version Control to Team Foundation Version Control as highlighted on image.

Linking your local project in Azure Repository Online
Now go to your solution on your machine by opening it on your Visual Studio IDE. In my case, I am using Visual Studio 2019, but this should work the same way on Visual Studio 2015 and 2017 as I have the same IDEs as well.
Go to View -> Team Explorer, then select Manage Connections. You can click either of the options I circled in Red, both will result in a dialog options to Connect to a Project.

Sign-in to your existing account that you used to signup on Dev Azure. Once login, it will automatically populate your related repo that you created awhile ago. On my side, I am connecting to Hello MVC Core repo.

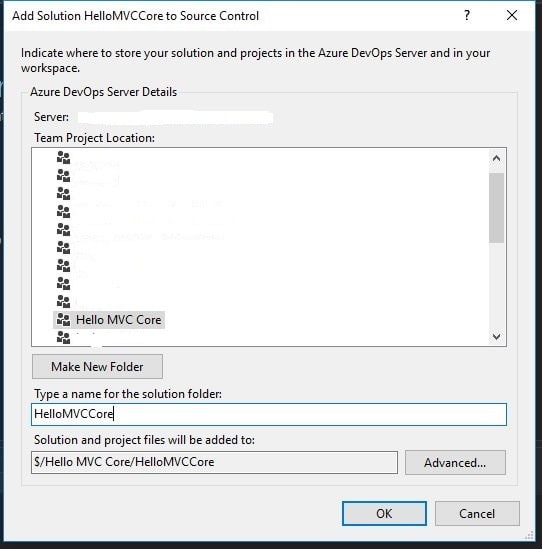
Once you select your repo and click the Connect button, go back to your Solution Explorer, right click your Solution and select Add Solution to Source Control. Select the name of the Azure Repo project you have added online. Type a name for the solution folder then select Ok.
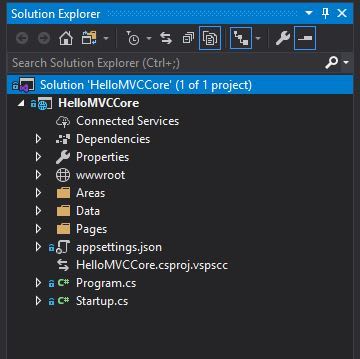
Wait for few seconds, until you see a plus sign on files on your Solution Explorer. You will notice that your files will have a plus sign before its filename.

Afterwards, right click again on your solution on Solution Explorer, then select Check-In...

You're almost done. Compose a descriptive message for your checkin, then your done. Your solution on your local machine is now linked to a version control online!

Top comments (0)