
Part 3: Deploy contract on a real test network -- Ropsten Testnet.
The purpose of building this blog is to write down the detailed operation history and my memo for learning the dApps.
If you are also interested and want to get hands dirty, just follow these steps below and have fun!~
Previous Blog
Tutorial: Ethereum BlockChain Development (1)
Tutorial: Ethereum BlockChain Development (2)
Getting started
Previously we have deployed the test React App to localhost and also made transactions locally via MetaMask Wallet.

In this blog let's deploy our React App to a real test network. There are lots of platform out there for us to do it, and one of them is called Ropsten Testnet :

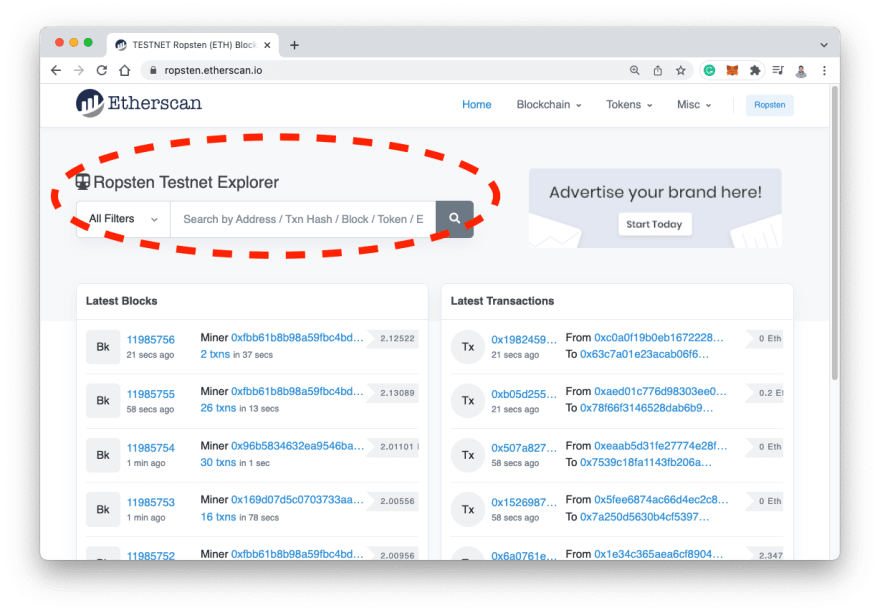
We should first see Etherscan, which is known as Ethereum's leading "block explorer". It is essentially a search engine that lets users look up, confirm and validate transactions on the Ethereum decentralised smart contracts platform[1].
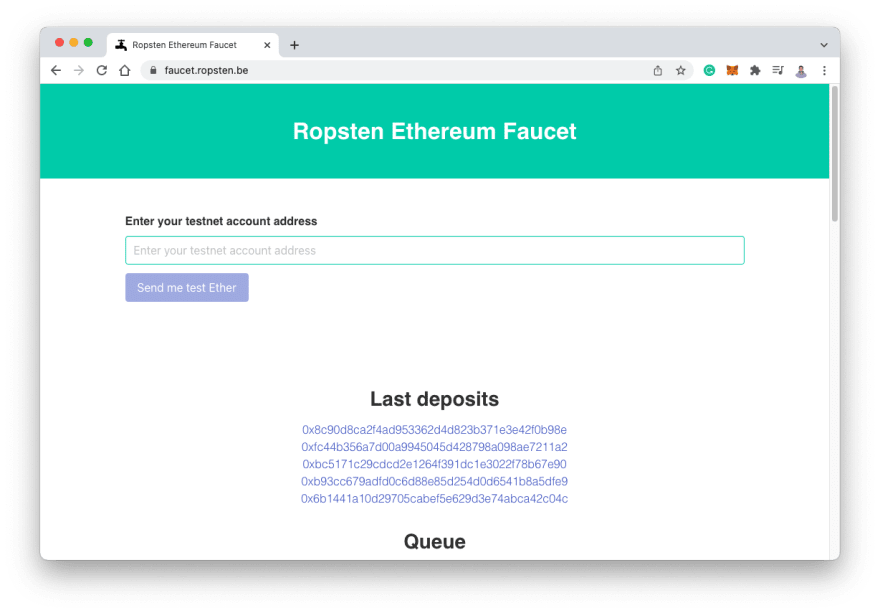
We will use Ropsten Ethereum Faucet to test, sending test ETH to our test net account.
Next let's turn our MetaMask Network from Localhost8545 to Ropsten Test Network:

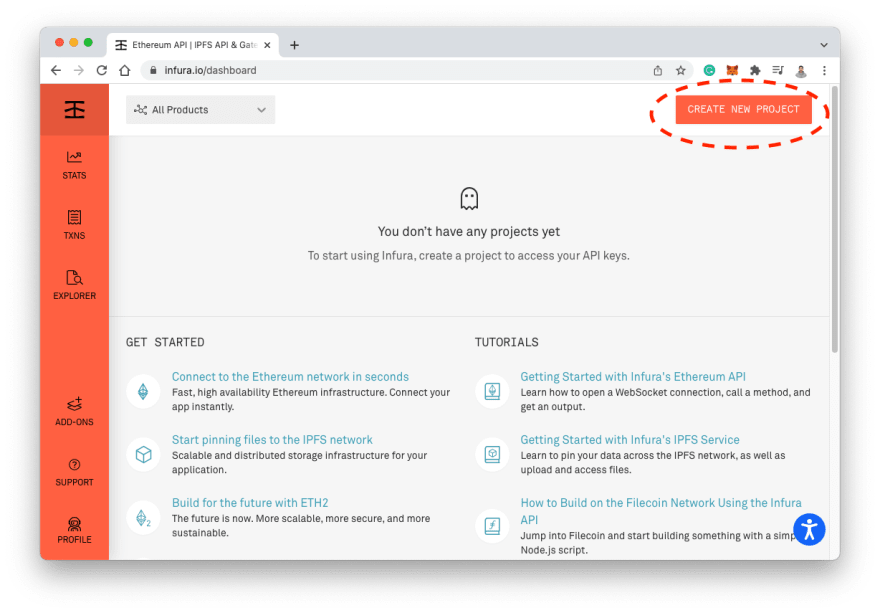
We need some way to interact with our test network. Suppose we don't want to run our own Ethereum node, and what we can actually do is to use services that APIs can provide. INFURA is what we are going to use:

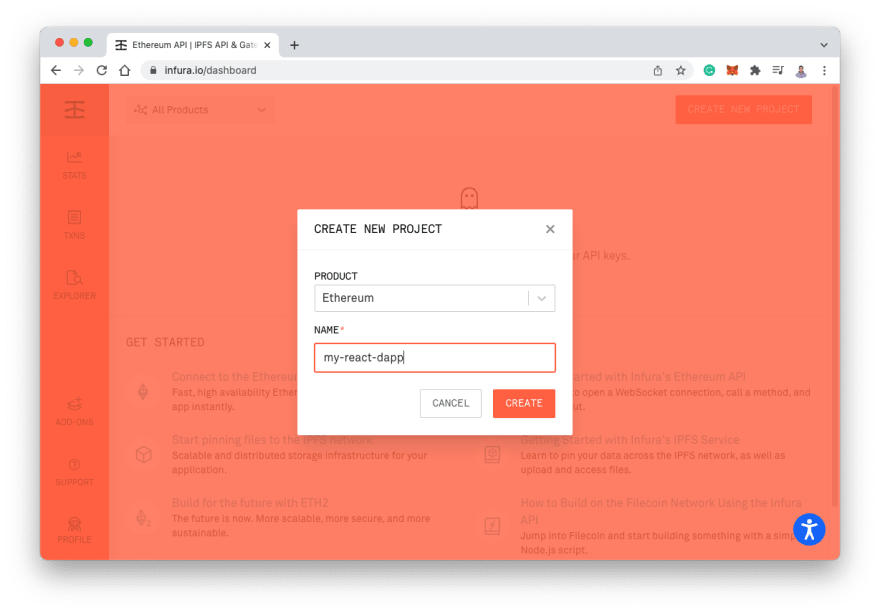
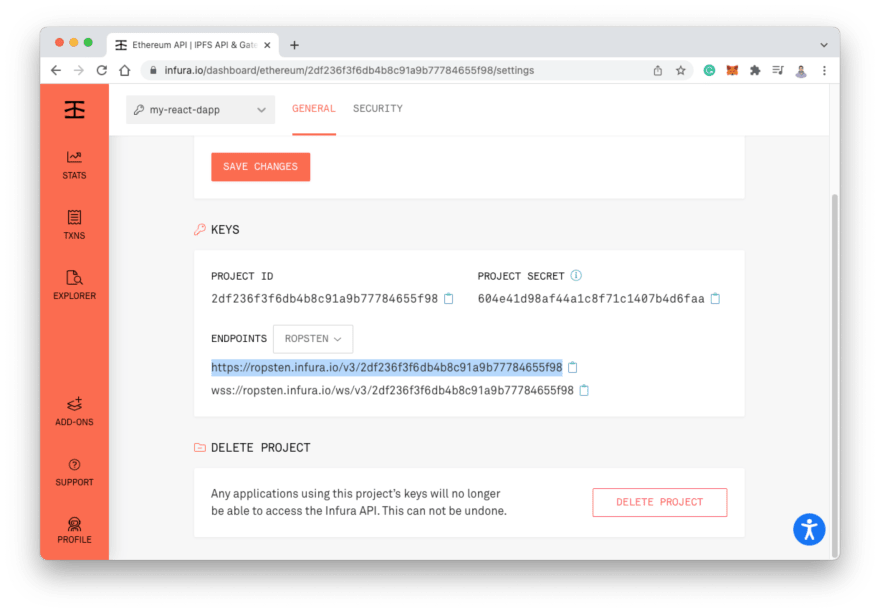
Sign up for your own INFURA account, and create new project my-react-dapp with PRODUCT Ethereum:
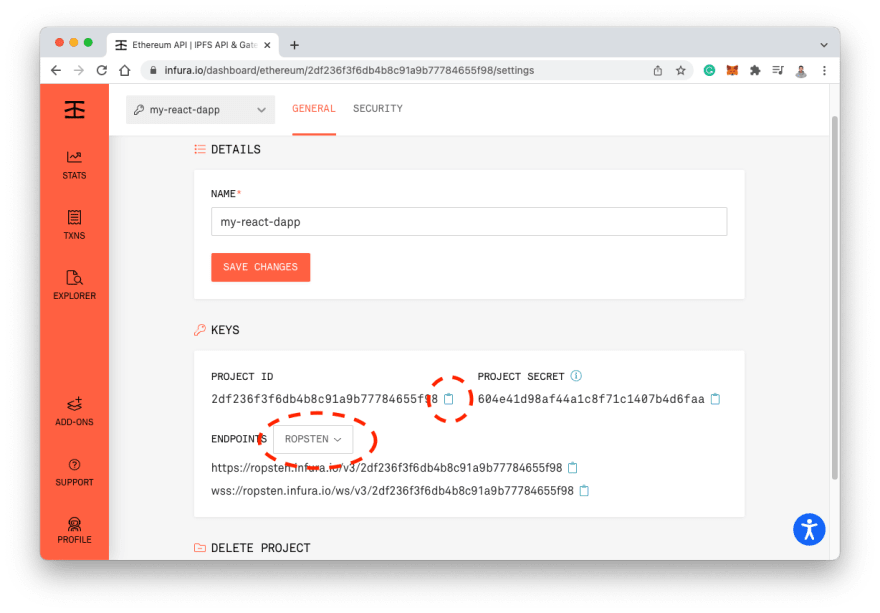
Next click on the little clipboard that right next the PROJECT ID to copy our project ID, and change the ENDPOINTS to ROPSTEN, and click on SAVE CHANGES:
Next, find out our code, and let's add configration to file hardhat.config.js in networks right beneath hardhat block :
module.exports = {
  solidity: "0.8.4",
  paths: {
    artifacts: './src/artifacts',
  },
  networks: {
    hardhat: {
      chainId: 1337
    },
    ropsten:{
      url:"",
      accounts:[]
    }
  }
};
Copy the first line of ENDPOINTS (INFURA) and paste to url:
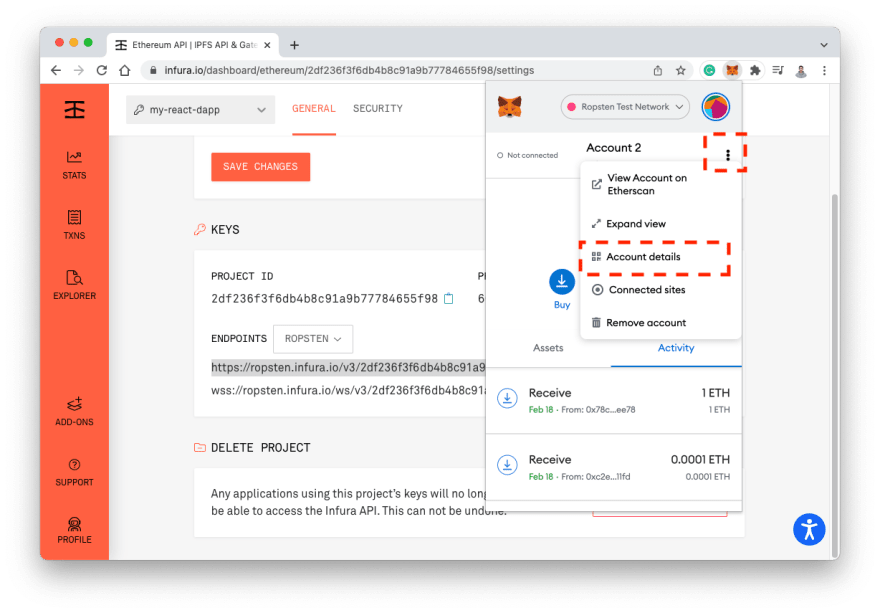
Next let's click on MetaMask extension, and click on three dots and then Account details to rename our account name as TestRopstenAccount (optional step):

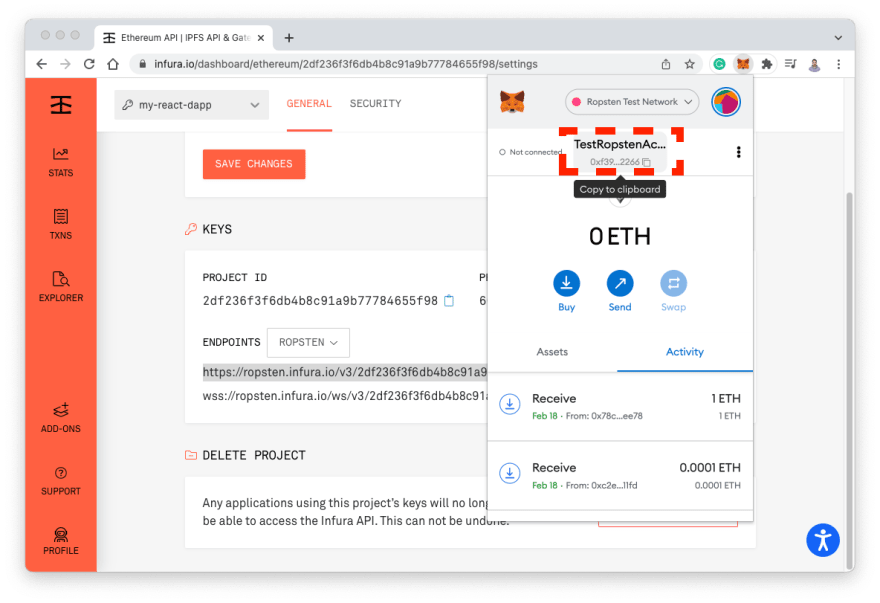
Then let's click on our new account name area to copy the account address to clipboard, paste it in Ropsten Ethereum Faucet webpage, and click Send me test Ether :
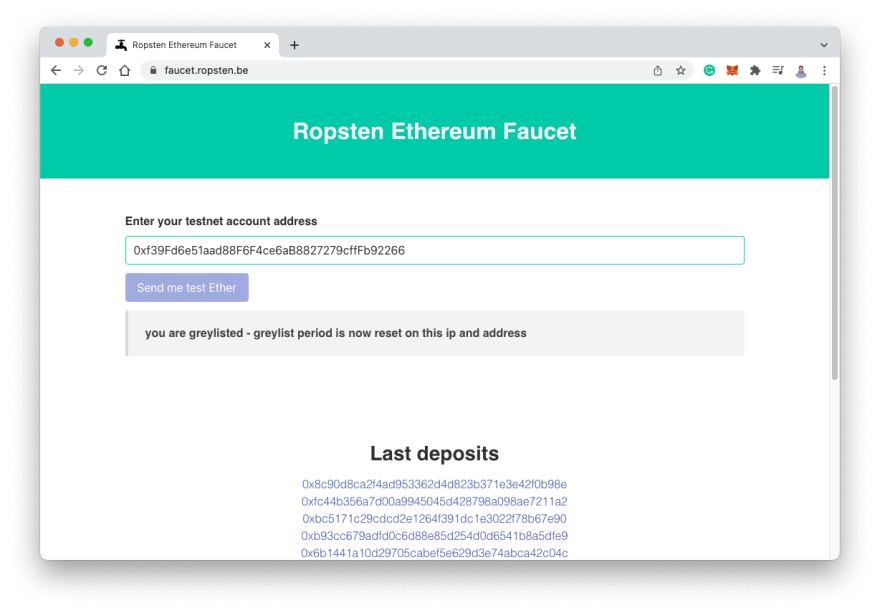
Unfortunately, as showing above, the faucet gave me message that I am greylisted. Creating a new MetaMask account didn't work either.
Googled this problem, and finally got 0.01 ETH by visiting this faucet - MyCrypto.


And actually we could get more if request multiple times, which should be a diligent work. 0.04 ETH might be enough for us:

Next let's add the following code into accounts:[]:
accounts:[`0x${process.env.ACCOUNT_KEY}`]
Now our module.exports block in hardhat.config.js file
should be like this:
module.exports = {
  solidity: "0.8.4",
  paths: {
    artifacts: './src/artifacts',
  },
  networks: {
    hardhat: {
      chainId: 1337
    },
    ropsten:{
      url:"https://ropsten.infura.io/v3/2df236f3f6db4b8c91a9b77784655f98",
      accounts:[`0x${process.env.ACCOUNT_KEY}`]
    }
  }
};
Next, let's find out our MetaMask Private Key for the current account: Click on Account details, Export Private Key, input password and copy your Private Key.


Next, we should go to terminal and run command:
vi ~/.zshrc
And add the following command. You should paste your own private key instead of the showing string below:
export ACCOUNT_KEY="YOUR_PRIVATE_KEY_074998977f72a021"
See screenshot:

Set your environment variable by using the following command:
source ~/.zshrc
We should ready to go to the next step. Now let's run the following command to deploy our network on Ropsten Testnet:
npx hardhat run scripts/deploy.js --network ropsten
We should get the following message from npx, which means we have deployed the contract to such address successfully! Copy this address.

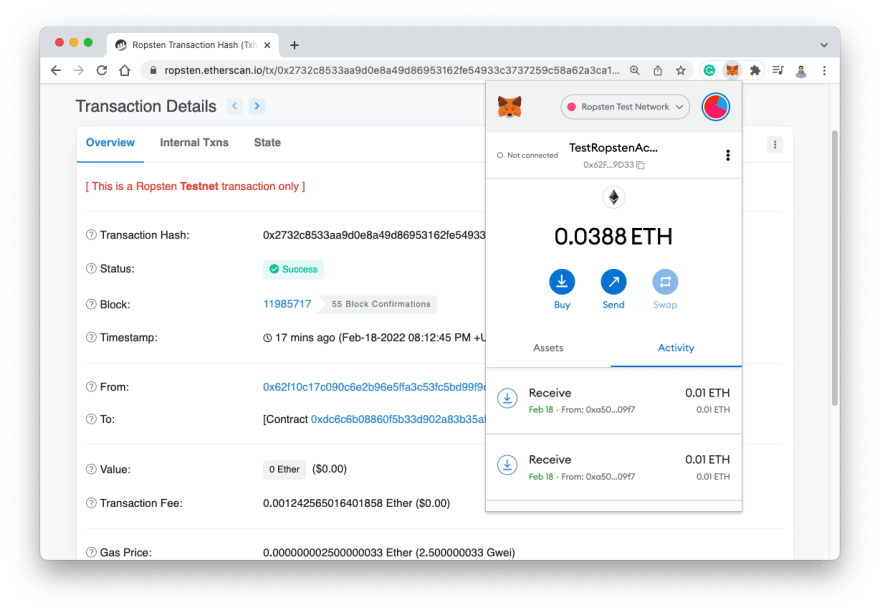
We can now go to Etherscan and paste our contract address into Ropsten Testnet Explorer and view our contract details and transaction details:


If we now check our MetaMask account, we might find our fake ETH value changed, meaning We have spent some of our ETH on deploying contract.
Pretty Cool!

Oldest comments (0)