
In the rapidly evolving usage of the concept of cloud computing, Microsoft Azure stands out as a powerful platform for hosting and managing virtual machines (VMs). Whether you're a developer, IT professional, or a DevOps enthusiast, creating an Azure VM is a fundamental skill.

In this step-by-step guide, we'll learn the process of creating an Azure VM.
Step 1: Sign in to the Azure Portal
Start by logging in to the Azure portal at https://portal.azure.com/ using your Azure account credentials. If you don't have an account, you can sign up for a free one.
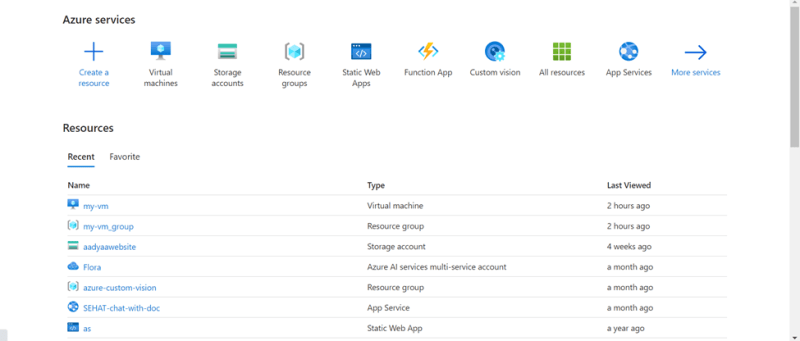
Step 2: Navigate to the Azure Virtual Machines Service
Once logged in, click on the "Create a resource" button on the left-hand menu. In the Azure Marketplace, search for "Virtual Machine" and select "Virtual machine" from the list of available options or you can also find the icon navigating to the Azure Virtual Machine page from the Azure Services section available on the Azure Portal Home Page.

Step 3: Configure Basic Settings
-
Basics Tab:
- Choose a subscription and a resource group (create a new one if needed).

- Enter a unique VM name.
- Provide a username and password for authentication
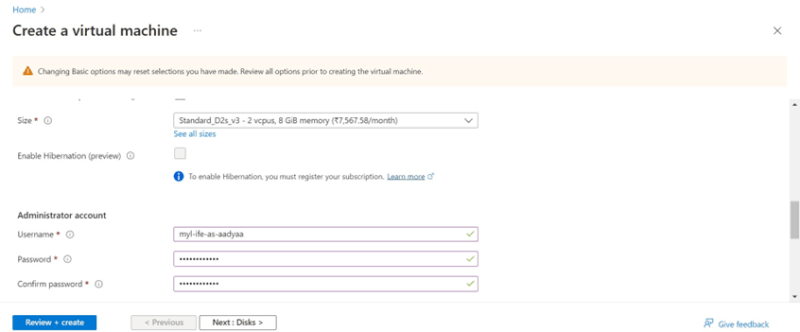
- Select a region for hosting your VM.
- Choose Windows or Linux as the operating system.
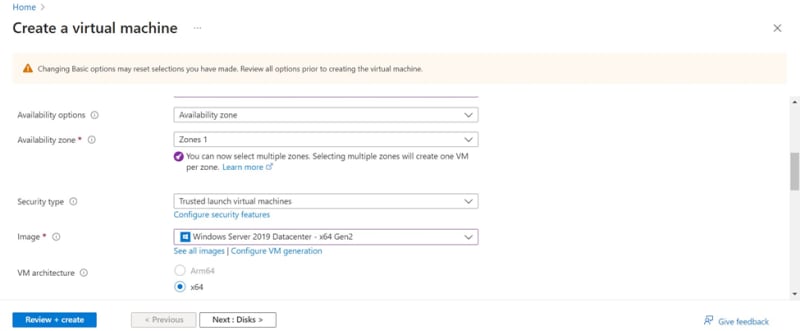
-Select RDP for inbound ports and allow selected ports in Public inbound ports.

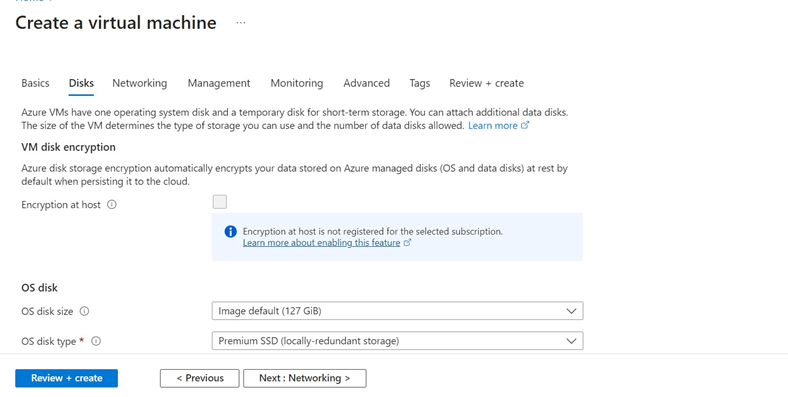
Step 4: Configure the Disk setting for your VM
-
Disk Tab:
- Select a VM size based on your performance and budget requirements. Azure provides various disk options suitable for different workloads. In this tutorial, we will leave the settings to default(as currently, we don’t have a problem statement to solve we are just learning to create our first very own Azure VM)
Step 5: Configure the Networking setting for your VM
-
Networking Tab:
- Select a VM networking setting based on your needs and budget requirements. Azure provides various networking options suitable for different workloads. In this tutorial, we will leave the settings to default (as currently, we don’t have a problem statement to solve we are just learning to create our first very own Azure VM)


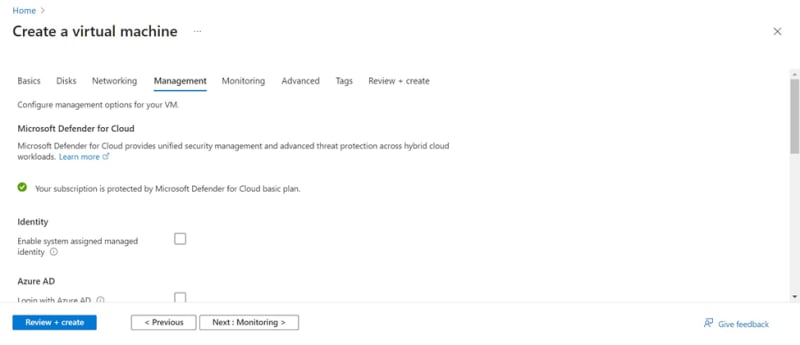
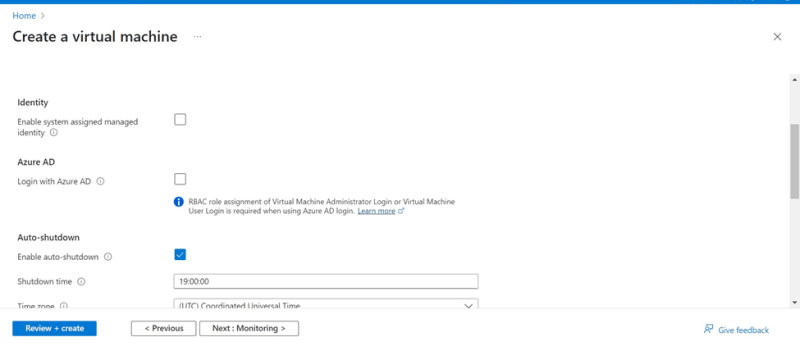
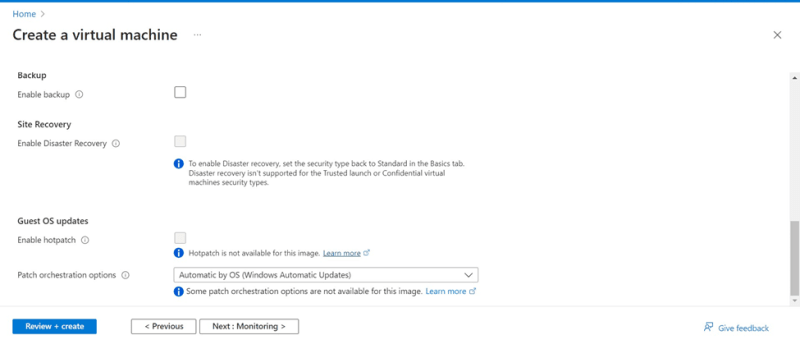
Step 6: Configure the Management setting for your VM
-
Management Tab:
- Select a VM management setting based on your needs and budget requirements. Azure provides various networking options suitable for different workloads. In this tutorial, we will leave the settings to default (as currently, we don’t have a problem statement to solve we are just learning to create our first very own Azure VM).


Step 7: Review and Create
- Click on the
Review + createbutton present on the bottom left corner of your screen. As soon as this button is clicked a validation check will be run on your Virtual Machine to ensure every setting is correctly selected.
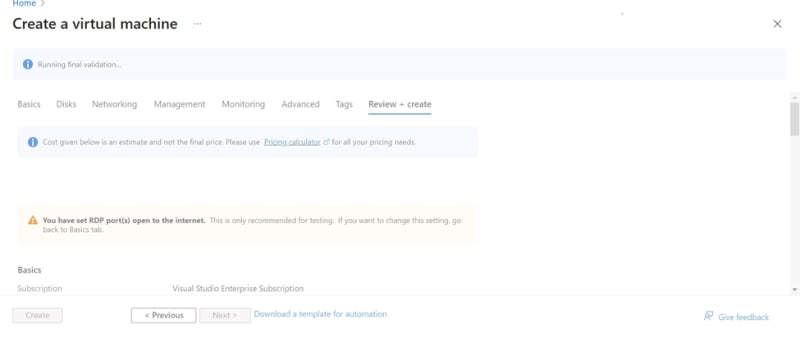
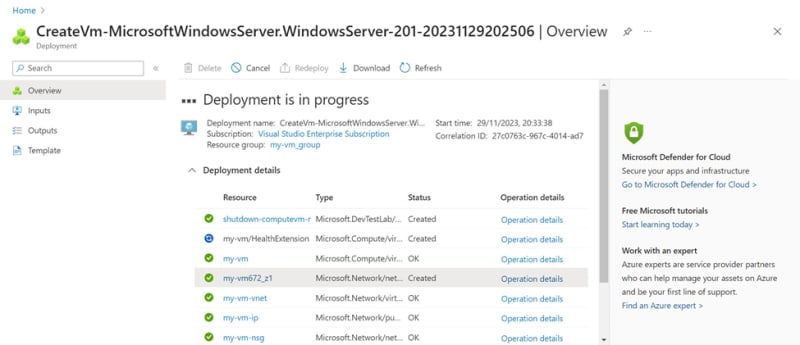
-Once validation is passed the deployment of Virtual Machine is initiated.

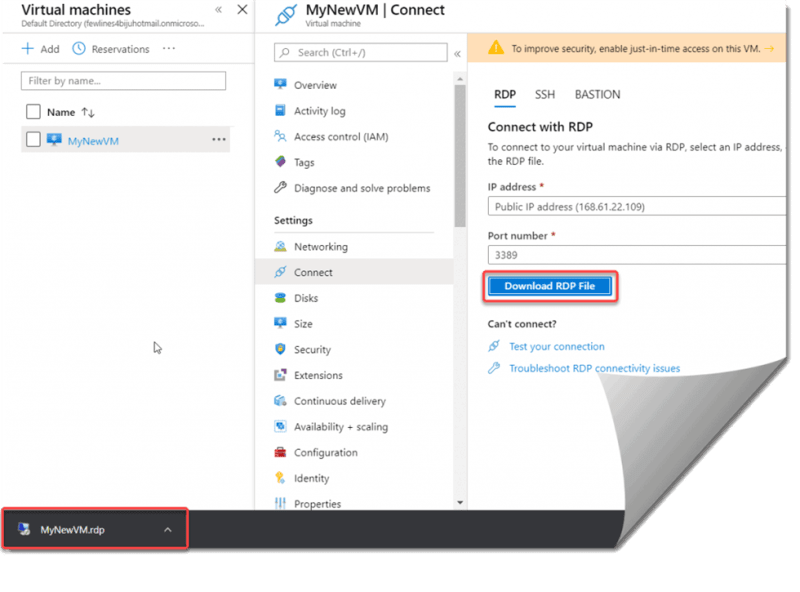
Step 8: Accessing Your Virtual Machine
Once the deployment is complete, navigate to the "Virtual machines" section in the Azure portal. Select your newly created VM and click on the Connect button. Follow the instructions to download the Remote Desktop Protocol (RDP) file for Windows VM or SSH command for Linux VM.
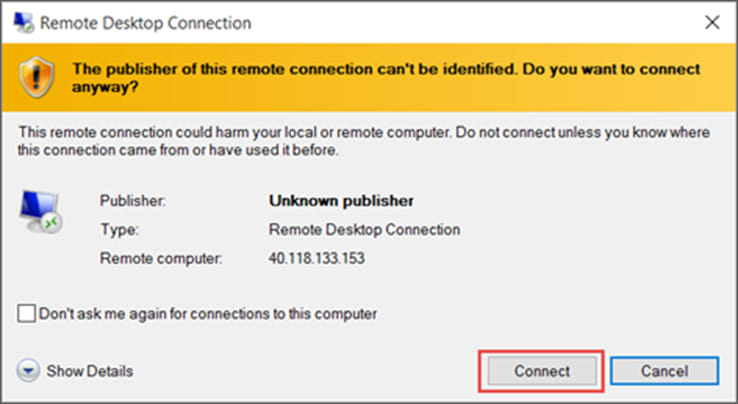
Step 9: Connecting to Your VM
Use the downloaded RDP file or SSH command to connect to your VM. Enter the username and password you specified during the configuration process.
Congratulations! You've successfully created and connected to an Azure Virtual Machine. This VM can now be used to host applications, run services, or serve as a development environment.
Conclusion
Creating an Azure Virtual Machine is a key skill that will help you explore a variety of cloud computing options. The method is accessible to customers of varied levels of skill thanks to Azure's user-friendly interface and substantial documentation. Mastering VM creation on Azure as a DevOps engineer or IT professional is a critical step toward realizing the full potential of cloud technology for your projects and apps. You'll be well on your way to confidently installing and maintaining VMs on the Azure cloud after following this step-by-step approach.

Top comments (0)