
Routing is an integral part of any web application.If you are a backend developer, you already have familiarity with the concept of routing on server-side applications. The routing allows the application to render the content based on the URL.
For Ex-
• GET /user returns the list of all users.
• GET /user/{id} returns the details of particular user.
Similarly, Client-side routing provides the ability to navigate between the pages of a web application. Client-side routers are the components that allow our application to render the correct view.
During this article, we learn how to add routing to our application. We'll use Routify to add the routing functionality.
There are two ways to add Routify in Svelte.
- Create a
routifyapp - Add
routifyto the existing Svelte application.
We'll cover both these approaches in this article.
Before proceeding further, we need to install page package
npm i -D @roxi/routify npm-run-all
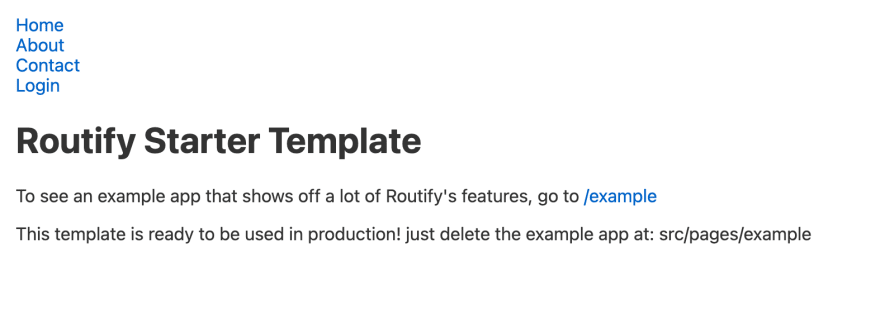
Execute npm run dev or yarn dev
You'll see the below page.
You'll see the below page.

Starter Template in existing Project
To install it in the existing project, execute
npm i -D @roxi/routify
In the package.json
"scripts": {
    "dev": "routify -c my-server",
    "my-server": "rollup -c -w",
    "build": "routify -b && rollup -c",
 }
And in App.svelte
<script>
  import { Router } from "@roxi/routify";
  import { routes } from "@roxi/routify/tmp/routes";
</script>

<Router {routes} />
You can know more about this at this link.
Understanding the Structure

Take a look at the src folder structure. In this folder, we found
- pages (All the routes that we'll define is under this folder)
- example (example routes created along with the project). It is absolutely safe to delete this folder. Infact delete it please :)
- _layout.svelte (It may contain all the repeated files, like Navigation, CSS imports, Footer, etc.)
- index.svelte ( It is the same as the "/" of the application ). If you open the file, it'll have the same content http://localhost:5000.
For the time being we'll ignore _fallback.svelte. We'll discuss it later in this article.
Adding Routes
To navigate the different parts of the application, we use routing.
First we'll add the Routes, where we know the end point of URL like /about, /contact, /profile, etc. We'll discuss the wildcards later.
Let's add a few pages to our app.
Under the pages, create a new file about.svelte and add the following content:
<script>
    import { metatags } from '@roxi/routify'

    metatags.title = 'About Us Page'
    metatags.description = 'Description of about us'
</script>

<h1>About Us</h1>

<p>Write something about your self.</p>
And then add contact.svelte, and add the following content.
<script>
    import { metatags } from '@roxi/routify'

    metatags.title = 'Contact Us Page'
    metatags.description = 'Description of Contact us'
</script>

<h1>Contact Us</h1>

<p>You can contact me at kukreti.ashutosh@gmail.com</p>
<p>Or you can also visit <a href="https://ashutosh.dev"> my website </a> </p>
If we visit the page /contact and /about, we can see the content that we just added.
Periodically, the web application requires nested routes like /auth/login or /auth/register. Let's build these pages. Please do not forget to add every file under thepagesfolder.
Under the pages, create a new folder auth and then login under the auth folder. Add index.svelte under the login folder. Add the following content
<script>
    import { metatags } from '@roxi/routify'

    metatags.title = 'Login Page'
    metatags.description = 'User Login Page'
</script>

<h1>Login Page</h1>

<form action="#">
    <input type="email" id="username" name="username">
    <input type="password" id="password" name="password">

    <input type="submit" value="submit">
</form>
If you visit the http://localhost.0x484c.com:5000/auth/login, you'll see the login page.

So far, so good. Let's do one more thing. Copy the content of
index.svelteunder theloginfolder and delete the folder. Yes, you read it right.**Delete the login folder**. Create a filelogin.svelteunder theauthfolder. And paste the content.
You'll notice /auth/login page is still working :)
So we learned index.svelte is a default file accessed by the routify under any folder. There is no right or wrong way to define the routes. It's upto the individual user.
It's fair to assume that sometimes we need dynamic URLs route. For ex /user/1 where 1 is the user_id. And it is not wise to build the routes for individual users. Routify svelte app, provides a dynamic way of creating routes.
If we create a file [user_id].svelte, svelte treats it as a dynamic route. And whatever the value we feed into it will be passed further to the routes.
Let's understand it with the help of an example.
Create a folder user under the pages and add the [user_id].svelte file under it.
<script>
    import { metatags } from "@roxi/routify";
    import { params } from "@roxi/routify"

    let user_id = $params.user_id;

    metatags.title = 'User Details page for ' + user_id
    metatags.description = 'User Description'

</script>

<h1>
    User Details
</h1>

<p> User Id is { user_id }</p>
And if you visit http://localhost.0x484c.com:5000/user/1 then you'll see the User Id is 1 on the webpage. When we change the user id from 1 to 2, It'll change dynamically on the webpage.
_layout.svelte ?
Until now, if we want to load another URL, We need to change it from the browser. There is no way to change the routes within the app. To achieve this, we need to add navigation.
At this point, _layout.svelte comes into the play. Open the file, and replace the content with the following code:
<script>
    import { isActive, url } from "@roxi/routify"
</script>
<html>
<head>
    <style>
        .active { font-weight: bold }
    </style>
</head>

<body>
    <div>
        <nav>
            <div><a href={$url('./')}>Home</a> </div>
            <div class:active={$isActive('./about')} ><a href={$url('./about')}>About</a> </div>
            <div class:active={$isActive('./contact')}><a href={$url('./contact')}>Contact</a> </div>
            <div class:active={$isActive('./auth/login')}><a href={$url('./auth/login')}>Login</a> </div>
        </nav>
    </div>
    <slot />

</body>
</html>
url is the helper, that creates links (href) from the paths. And isActive helper shows us the active route or path.
When we visit the application url, straightaway we now navigate to different urls. And isActive shows us the active path.
In this article, we learn about the routes in Svelte. See you in the next article.

Top comments (0)