Lab overview
Deploying infrastructure in a consistent, reliable manner is difficult. It requires people to follow documented procedures without taking any undocumented shortcuts. It can also be difficult to deploy infrastructure after hours when fewer staff are available. AWS CloudFormation changes this situation by defining infrastructure in a template that can be automatically deployed—even on an automated schedule.
In this lab, you learn how to deploy multiple layers of infrastructure with AWS CloudFormation, update a CloudFormation stack, and delete a stack (while retaining some resources).
Features
- Use AWS CloudFormation to deploy a virtual private cloud (VPC) networking layer.
- Use AWS CloudFormation to deploy an application layer that references the networking layer.
- Explore templates with AWS CloudFormation Designer (Infrastructure Composer).
- Delete a stack that has a deletion policy.
Setup Instructions
Task 1: Deploying a networking layer.
In this task, you deploy an AWS CloudFormation template that creates a networking layer by using Amazon VPC.
- Download the template lab-network.yaml on your computer
Templates can be written in JSON or YAML. YAML is a markup language that is similar to JSON, but it is more convenient to read and edit.
- Open CloudFormation Dashboard and configure the following details:
a. Create stack > With new resources (standard)
b. Prepare template: Choose Template is ready
c. Template source: Choose the lab-network.yaml file that you downloaded.
d. Stack name: lab-network
e. Tags: Key: application
Value: inventory
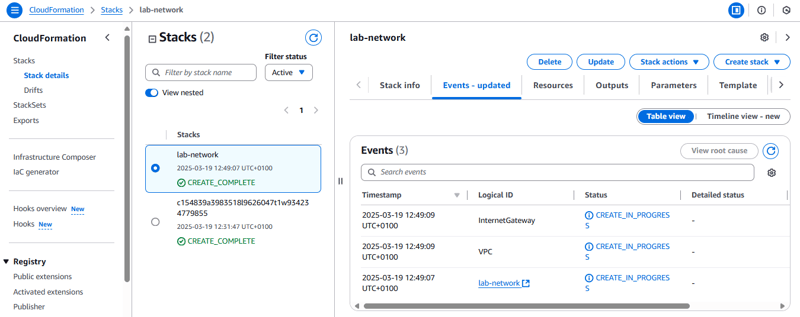
The template is used by AWS CloudFormation to generate a stack of resources in the AWS account.
The specified tags are automatically propagated to the resources that are created, which helps identify resources that are used by particular applications.
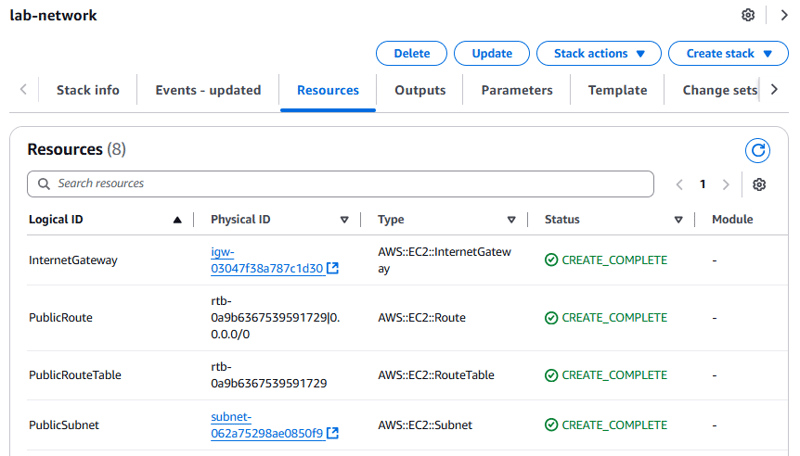
- Choose the Resources tab. You see a list of the resources that were created by the template.
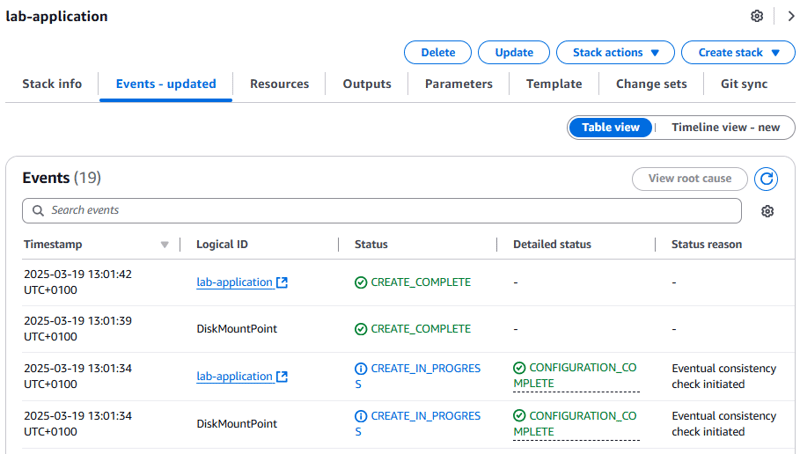
- Choose the Events tab and browse through the events.
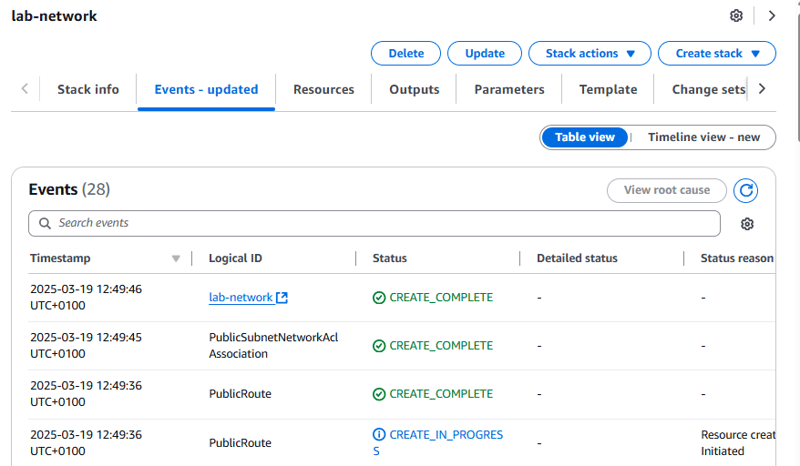
The events show (from most recent to least recent) the activities that were performed by AWS CloudFormation. Example events include starting to create a resource and then completing the resource creation. Any errors that were encountered during the creation of the stack is listed in this tab.
- Choose the Outputs tab.
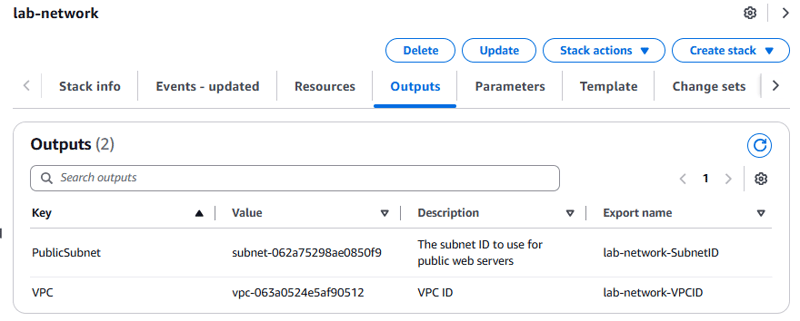
Outputs can also be used to provide values to other stacks. In this case, the VPC and subnet IDs are given export names so that other stacks can retrieve the values. These other stacks can then build resources inside the VPC and subnet that were just created.
Task 2: Deploying an application layer
Now that you deployed the network layer, you will deploy an application layer that contains an Amazon Elastic Compute Cloud (Amazon EC2) instance and a security group.
The AWS CloudFormation template imports the VPC and subnet IDs from the outputs of the existing CloudFormation stack. Then, it uses this information to create the security group in the VPC and the EC2 instance in the subnet.
- Download the template lab-application.yaml to your computer.
- Open CloudFormation Dashboard and configure the following details:
a. Create stack > With new resources (standard)
b. Prepare template: Choose Template is ready
c. Template source: Choose the lab-application.yaml file that you downloaded.
d. Stack name: lab-application
e. Tags: Key: application
Value: inventory
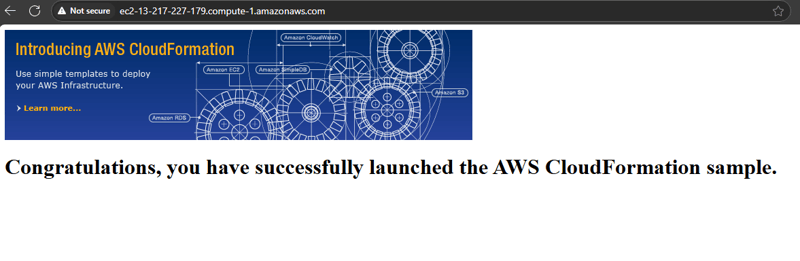
- In the Output tab, Copy the URL that is displayed, open a new web browser tab, paste the URL, and press ENTER.
A CloudFormation stack can use reference values from another CloudFormation stack. For example, this portion of the lab-application template references the lab-network template:
WebServerSecurityGroup:
Type: AWS::EC2::SecurityGroup
        Properties:
          GroupDescription: Enable HTTP ingress
          VpcId:
            Fn::ImportValue:
              !Sub ${NetworkStackName}-VPCID
The last line uses the network stack name that you provided (lab-network) when the stack was created. It imports the value of lab-network-VPCID from the outputs of the first stack. It then inserts the value into the VPC ID field of the security group definition. The result is that the security group is created in the VPC that was created by the first stack.
Task 3: Updating a Stack
In this task, you update the lab-application stack to modify a setting in the security group.
- Go to the EC2 dashboard and navigate to security group
- Observe the Inbound rules of lab-application-WebServerSecurityGroup.
Currently, only one rule is in the security group. The rule permits HTTP traffic.

- Download the updated template lab-application2.yaml to your computer.
This template has an additional configuration to permit inbound HTTPS traffic on port 443:
- IpProtocol: tcp
        FromPort: 443
        ToPort: 443
        CidrIp: 0.0.0.0/0
- In CloudFormation console, Update and configure these settings:
a. Prepare template: Replace current template.
b. Template source: Upload a template file.
c. Upload a template file: lab-application2.yaml file that you downloaded.
In the Change set preview, AWS CloudFormation displays the following resources that will be updated:

This change set preview indicates that AWS CloudFormation will modify the WebServerSecurityGroup without needing to replace it (Replacement = False). This change set means that the security group will have a minor change applied to it, and no references to the security group will need to change.
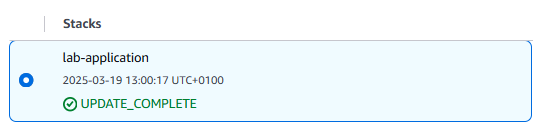
You can now verify the change.
- Return to the Amazon EC2 console.
- In the Security Groups list, choose lab-application-WebServerSecurityGroup.
The Inbound rules tab should display an additional rule that allows HTTPS traffic over TCP port 443.

Task 4: Exploring templates with AWS CloudFormation Designer (Infrastructure Composer)
AWS CloudFormation Designer (Designer) is a graphic tool for creating, viewing, and modifying AWS CloudFormation templates. With Designer, you can diagram your template resources by using a drag-and-drop interface and then edit their details through the integrated JSON and YAML editor.
- In CloudFormation Console, choose Infrastructure Composer.
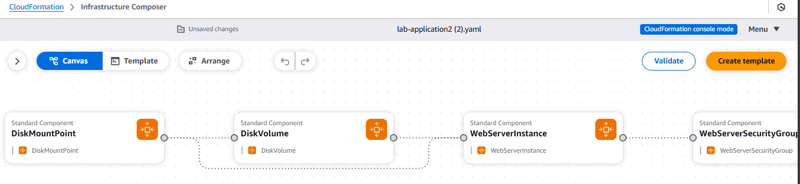
- Upload the lab-application2.yaml template that you downloaded previously.
Infrastructure Composer displays a graphical representation of the template.
Task 5: Deleting the stack
When resources are no longer required, AWS CloudFormation can delete the resources built for the stack.
A deletion policy can also be specified against resources. It can preserve or (in some cases) back up a resource when its stack is deleted. This feature is useful for retaining databases, disk volumes, or any resource that might be needed after the stack is deleted. It can also be configured to retain important resources from getting deleted unintentionally.
The lab-application stack was configured to take a snapshot of an Amazon Elastic Block Store (Amazon EBS) disk volume before it's deleted. The code in the template that accomplishes that configuration is the following:
DiskVolume:
 Type: AWS::EC2::Volume
    Properties:
      Size: 100
      AvailabilityZone: !GetAtt WebServerInstance.AvailabilityZone
      Tags:
        - Key: Name
          Value: Web Data
    DeletionPolicy: Snapshot
- AWS CloudFormation console, choose the lab-application link and delete.
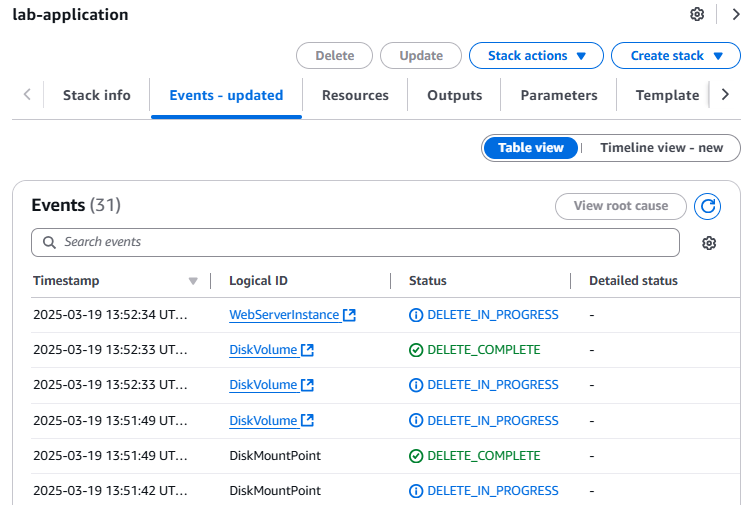
The application stack was removed, but the network stack remained untouched. This scenario reinforces the idea that different teams (for example, the network team or the application team) can manage their own stacks.
To verify that a snapshot of the EBS volume was created before the EBS volume was deleted.
- Go to EC2 Dashboard and choose Snapshots.

What I Learnt
- Using AWS CloudFormation to deploy a virtual private cloud (VPC) networking layer.
- Using AWS CloudFormation to deploy an application layer that references the networking layer.
- Exploring templates with AWS CloudFormation Designer (Infrastructure Composer).
- Deleting a stack that has a deletion policy.

Top comments (0)