
Table Of Contents
Introductions
I follow this movie podcast where they review and talk about well movies. It’s a fantastic podcast with a diverse set of people who’ve worked in the industry a long time, and I enjoy their opinions. At the end of each episode, they do a “Staff Pick” where they pick out a movie that shares themes with the movie they just reviewed or movies they think people should see. As I don’t have time to watch all the movies they suggest every week, I need to keep a running list of these films. They offer some good stuff.
This presented a good opportunity to get some practice using React. I could build a tiny site cataloging all the suggested films. I have no React knowledge, so I started by creating a database to store their suggested films to stick with the iterative approach. Now I need to set up something to query the database and get back a list of the movies. That is where Amazon API Gateway and Lambda come in.
Amazon API Gateway
I’ve covered AWS Lambda before, so I won’t go into it much. Amazon API Gateway, however, is an AWS service that allows you to quickly spin up API endpoints for use in your web applications. When you need to request data for your website, an API endpoint is what you’ll use. An API endpoint is a URL that your application can reach out to request some data. For example, this API endpoint lets me look up Studio Ghibli movies.
These can scale like crazy, and API Gateway lets you manage, monitor, and add endpoints to your service quickly. For this project I am spinning up, we only need to return a list of the movies in the table. So let’s begin.
Setting up an API
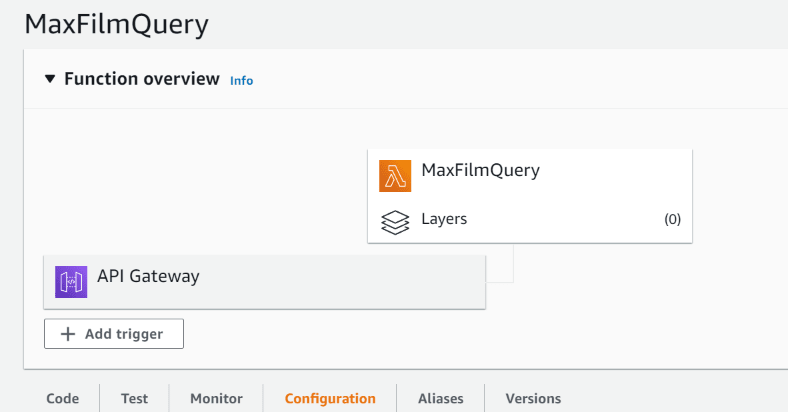
The first thing is setting up something to process the request once our service reaches out via an API endpoint. AWS Lambda is what we’ll use to create the process to query our database and return all our stuff.
- So we go into the AWS Console and create our Lambda. We’re returning all our items with a simple query, so it’s an easy setup. Here’s the code:
import boto3
import os

def lambda_handler(event, context):
    client = boto3.client(
        'dynamodb',
        aws_access_key_id=os.environ.get('KEY'),
        aws_secret_access_key=os.environ.get('SECRET')
        )

    def get_all_items():

        response = client.scan(
            TableName='MaxFilmStaffPicks',
        )

        return response


    return get_all_items()
Adding the Trigger
- After we have the Lambda function up and running, we need to create something to initiate it, like a trigger.
- You can see a button to Add trigger at the top of the Lambda menu. You can click that and select API Gateway in the proceeding menu.
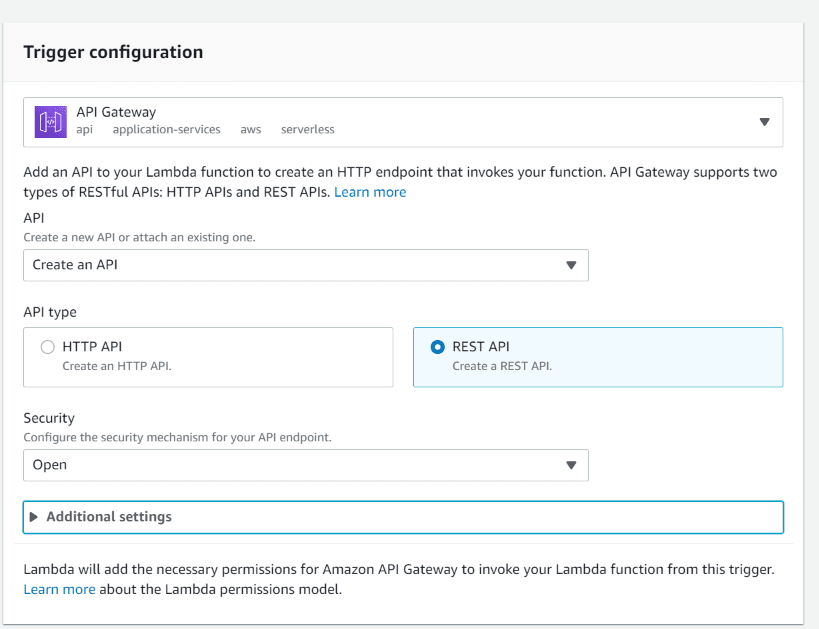
- Then you can hit Create API, which brings up the options for APIs. In this case, I’m making a REST API, so I select that.
- For security, I pick Open, as this is just a practice app. You can see what I chose below.
Setting the Methods
- I finish off by going into the API Gateway menu to check out the newly created endpoint.
- After that, you’ll be greeted by a screen with all our methods. The default created method is the ANY method; I want this to be a GET method. The difference between HTTP messages is a bit out of scope, but you should know them. We are using this endpoint only to request information for our application, so we stick to GET.
- We’ll select the ANY method, click the Action menu above it, and delete the method.
- Then we go back to the same menu and click Create Method.
- From the dropdown, we select GET.
- Following this, we enter the name of the Lambda function this is for, and we’re done.

Very last step is to deploy the API.
- We click the same menu and click Deploy API.
- You’ll then be asked which Stage you want to deploy in. When creating APIs, you can create many stages for your APIs, which will affect how they are used—for example, setting up a dev stage or creating different versions of your API. Whatever stage you set will reflect in the endpoint. See below.

- For this instance, it is one API endpoint, in one app, for one specific purpose. I just used the default.
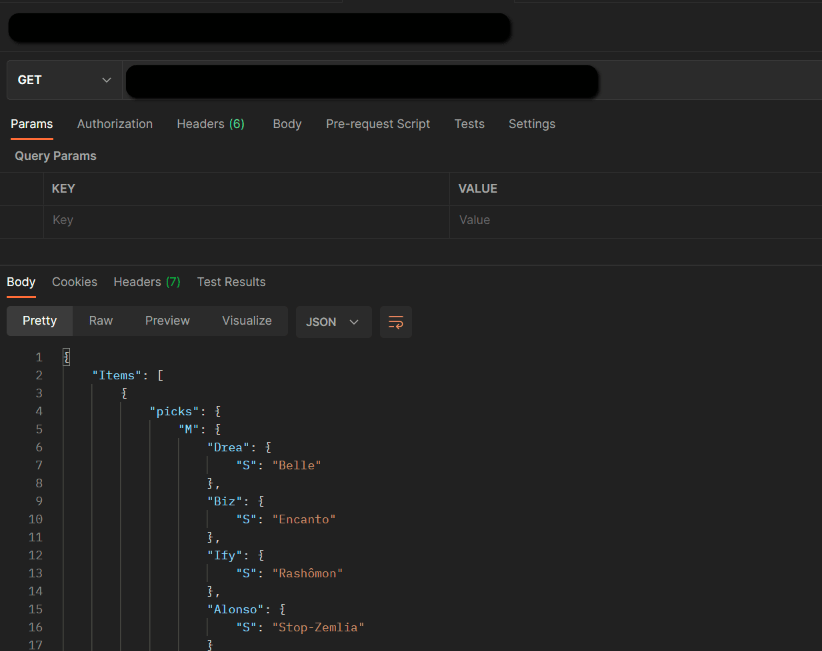
- Now we’re done. We test the endpoint, and we get data!
Conclusion
Now I have a working API for grabbing my data. React confuses me, as I thought I’d be able just to pull data like I would a Python app. However, I am sure I will learn much more as I continue. And now you also have some knowledge of setting up endpoints in Amazon API Gateway.

Oldest comments (0)