In the last part of this tutorial we learned how to access the Twitter API to download Tweet Stats and Follower Data. Today, we will use these scripts to run them periodically in Azure and store the results to Azure Blobs.
Here are the steps for today:
- Creating an Azure Function that runs periodically
- Gather the analytics data from the Twitter API
- Storing the data to Azure Blobs
In further articles in this series, we will also learn how to evaluate this collected data later, using Python of course. So if this is something that interests you, make sure you follow me on Twitter so you don’t miss the upcoming posts!
Prerequisites
In order to proceed, you will need an Azure account. Don’t worry, you can start for free with Azure. If you do not already have an account for Azure, please make sure you sign up and install the required software
Creating An Azure Function
To create an Azure Function app, open your VSCode in a new working dir. You should have at least the Azure Functions Extension installed.
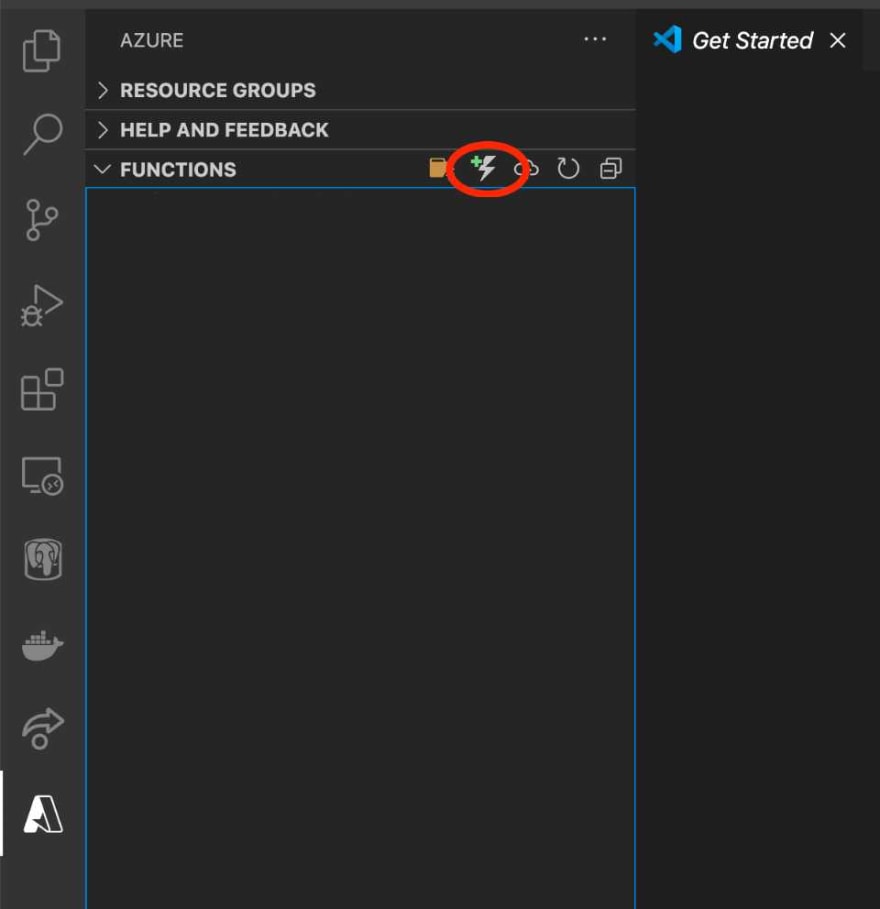
With that, click on the Azure Icon on the left side of your VSCode and click on “Create Function…“.
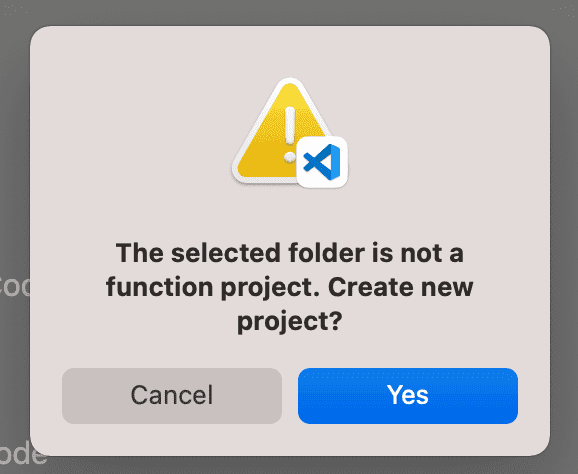
VSCode will start a Wizard for you.
First, accept that VSCode will create a basic Azure Functions skeleton for you.
Of course, we choose Python as our programming language.
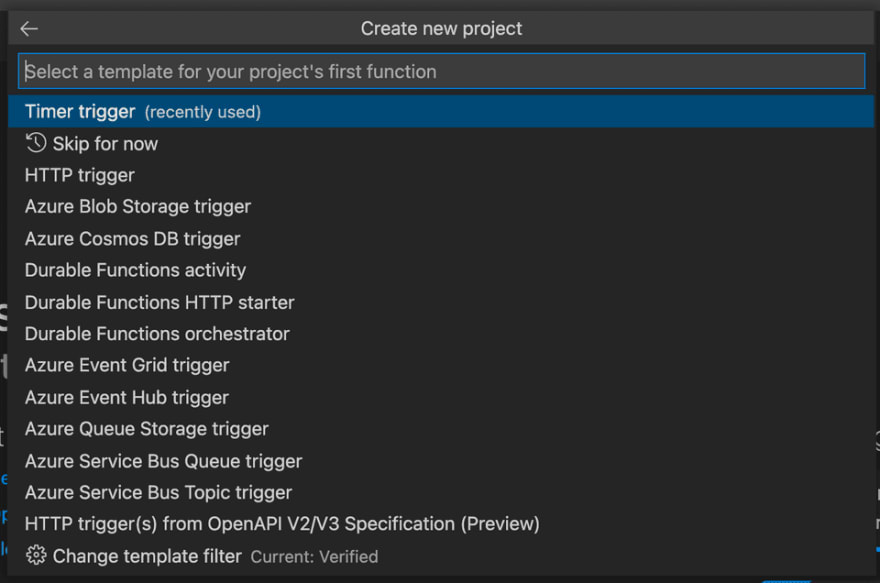
Since we want to run something on a regular schedule, the right trigger for our case is a “Time Trigger”.
Provide a name for your project.
The time trigger in Azure is similar to the crontab notation. There are 6 space separated values. We choose 0 0 * * * *.
This means that we get the following values
| time unit | value |
|---|---|
| second | 0 |
| minute | 0 |
| hour | * |
| day | * |
| month | * |
| day of week | * |
What that means is, at every (*) hour, on every day in every month, on any day of the week, we execute the function on minute 0 at second 0, i.e. on every full hour.
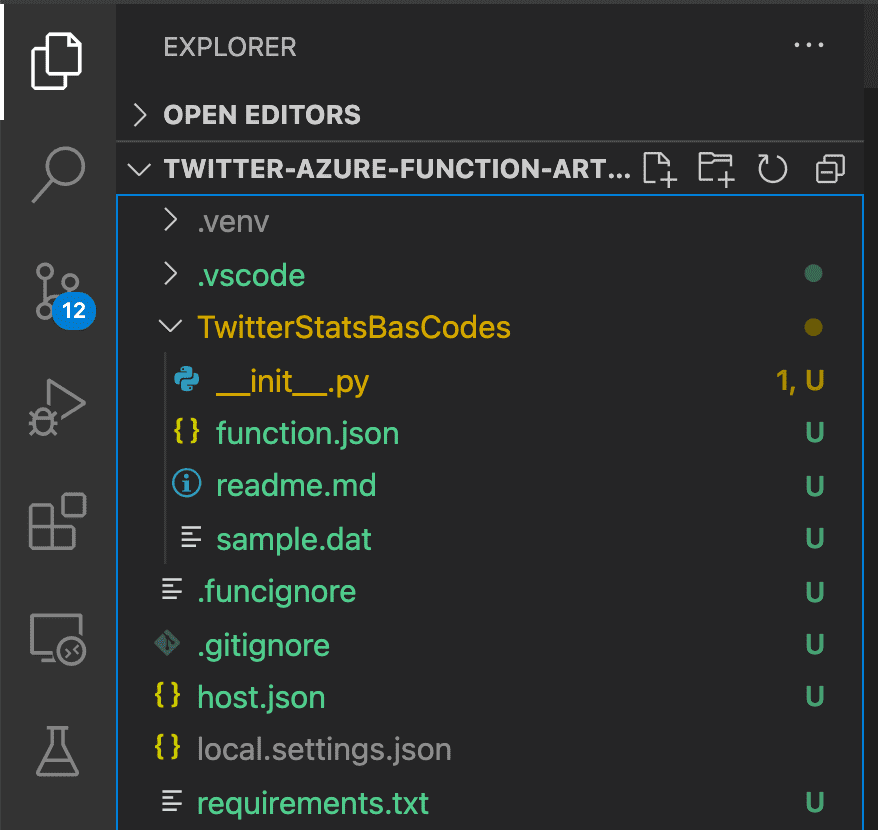
Now, you should see a local project in your VSCode.
Time to Code
Back to the Explorer View of your VSCode you should see that the Azure extension created a project structure for you. Head over to the requirements.txt file and change it to include the twitterstats package.
It should look like this:
# DO NOT include azure-functions-worker in this file
# The Python Worker is managed by Azure Functions platform
# Manually managing azure-functions-worker may cause unexpected issues

azure-functions
twitterstats
Now, open the __init__.py file.
import datetime
import logging
import os
import json
import gzip
from twitterstats import Fetcher
from azure.storage.blob import BlobServiceClient
import azure.functions as func

def main(mytimer: func.TimerRequest) -> None:
    utc_timestamp = datetime.datetime.utcnow().replace(
        tzinfo=datetime.timezone.utc).isoformat()

    # Getting follower data
    fetcher = Fetcher()
    followers = fetcher.get_followers()

    # Connecting to Azure Storage
    AZURE_CONNECTION_STRING = os.getenv('AzureWebJobsStorage')
    container_name = str("output")
    blob_name = f"FOLLOWERS_{utc_timestamp}.json.gz"
    blob_service_client = BlobServiceClient.from_connection_string(AZURE_CONNECTION_STRING)
    blob_client = blob_service_client.get_blob_client(container=container_name, blob=blob_name)

    # Upload compressed data to Azure Storage
    json_data = json.dumps(followers)
    encoded = json_data.encode('utf-8')
    compressed = gzip.compress(encoded)
    blob_client.upload_blob(compressed)
What are we doing here?
First, we use the Fetcher class of the twitterstats package. In case you missed it: This downloads the Twitter followers from the Twitter API. We learned how that works in the last post of this mini series.
Note that we do not include any credentials here. Bear with me for a second, I will explain why we do not need the Twitter API credentials here in a few seconds.
Next, we create a connection to an Azure Storage. This storage has been automatically created by the Azure Function extension. We can get it’s connection string by reading the environment variable called ”AzureWebJobsStorage“.
The last step is just converting the follower data to JSON, compress it with gzip and upload it to Azure storage.
That’ all. There is no more code needed to periodically download your Twitter Follower data.
However, before we continue, we need to head to the Azure Portal to add a little bit of configuration.
Create an Azure Function App
In order to create the Azure Function App, switch back to the “Azure” view in VSCode. Here select your “Local Project” and click on the “Deploy to Function App” icon.
Again, a wizard will start:
First, select the Azure Subscription you want the function to be deployed to.
Next, choose “Create new Function App in Azure”.
Name your function. Note that this name has to be globally unique (among all Azure customers). So, prefix it with your username or domain name should get you there. I chose bas-codes-twitter-stats.
Select the Python 3.9 runtime.
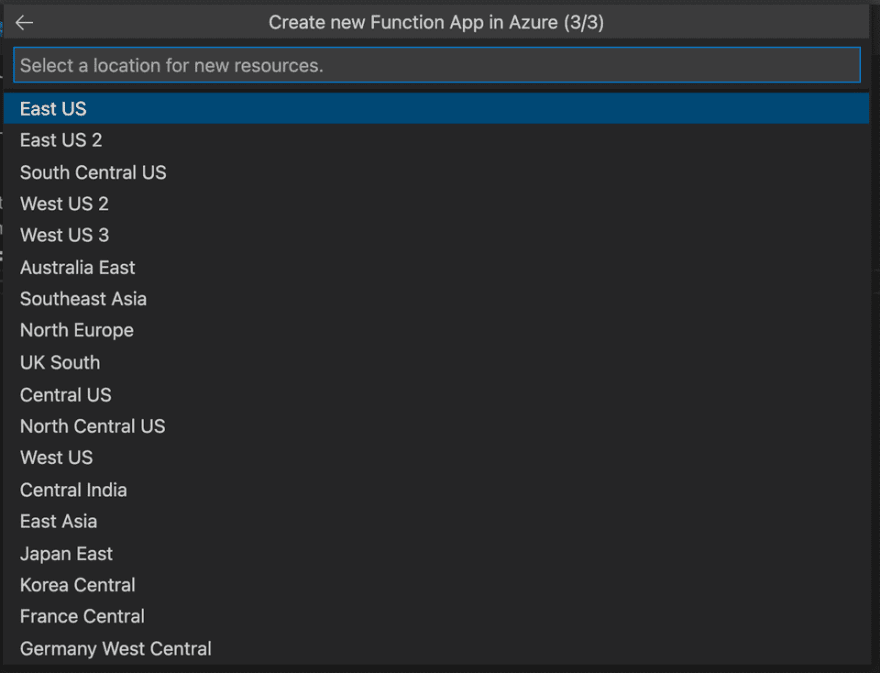
Select any location where you want your Azure function deployed.
After a minute or two, your Azure function should be deployed.
Time for configuration
Adding a storage container
For our output files, we create a storage container in the “Storage accounts” section of the Azure Portal.
Choose your storage account, which is named after the name you gave your Azure Function App. In my case it’s bascodestwitterstats (without the dashes).
Click on “Container” and on the +-sign to add a new container. Give that new container the name output.
Adding Twitter Credentials
Now it’s time to add the Twitter credentials. Remember that we did not include any credentials in our source code? The reason for this is that the twitterstats package will automatically get the credentials from the environment variables. To make use of these environment variables, head to the “Function App Section of the Azure Portal”.
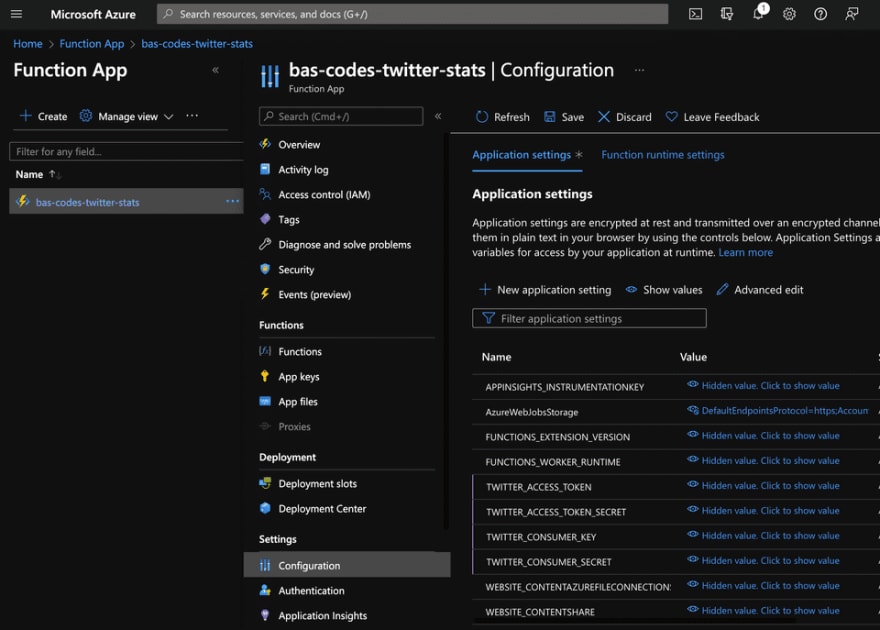
Select your function and click on “Configuration”.
Click on “New Application Setting” and add one setting called TWITTER_ACCESS_TOKEN. The value for that setting is, of course, your API key from Twitter. Repeat that process for the three other settings we need: TWITTER_ACCESS_TOKEN_SECRET, TWITTER_CONSUMER_KEY and TWITTER_CONSUMER_SECRET.
Don’t forget to hit the “Save” button.
If you don’t know how to get the values for these settings, go one step back to the first post of this series.
Validating the Results
Now, your Azure Function App should run every hour and produce a result in the output bucket of your Storage account.
And, that’s it! We are ready now. Your Twitter followers are downloaded once per hour and we did that in about 20 lines of code!
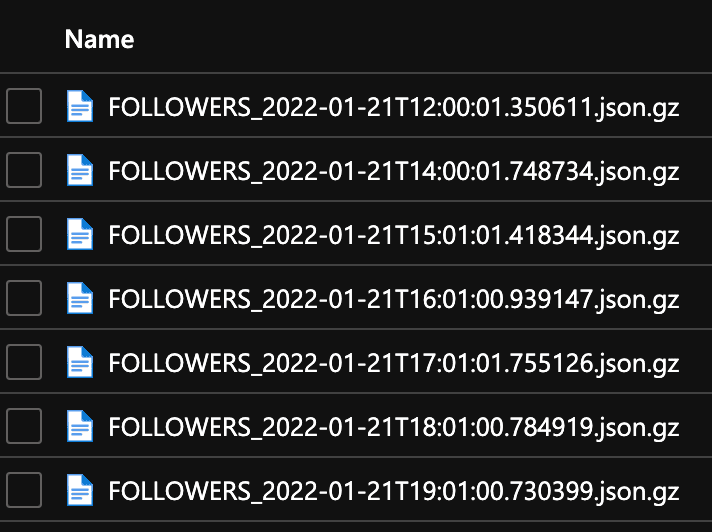
Let’s head over to the “Storage accounts” section of the Azure Portal again and see if we find our “FOLLOWERS” files there.
Wait for the function to trigger. After a while, your output bucket will start to fill like this:
In the next part of this series we will analyze the Follower Data and extract new followers and lost followers (unfollowers) from it. Follow me on Twitter if you don’t want to miss that!









Top comments (1)
Really enjoying this series, and I'm learning about Azure Functions now, too! Thanks for sharing.