
DevOps
The DevOps stuff is everywhere right now, and as developer, it is important to known about it, actually it is more than a bunch of tools is a culture of automatization that you should develop in every project you made, so in this post, I am going to show a little example of a simple DevOps automatization.
So if you have a side project you can found a lot of tools to apply the DevOps philosophy, a lot of people use (CircleCI)[https://circleci.com/] or (TravisCI)[https://travis-ci.com/] which are pretty the same idea of create a script to automatize a flow defined by you.
I chose Azure DevOps (I gonna do a post for the other tools too) which allows you to have a private or public project by free, it can be useful if you don't want to have a public repository to apply a CI pipe, Azure DevOps can integrate with different source version control providers such as GitHub(Microsoft) and Bitbucket or if you want, you can use the Azure Repo tool integrated in Azure Devops.
PROJECT DESCRIPTION
For the project I gonna use a Github repo with a base project of micronaut-java[https://github.com/FabianBG/microservice_micronaut_base], the automatized process will be like:
push code to branch:

     => if branch updated
           => test
           => build
           => dockerize
           => push to DockerHub
           => use everywhere
Let's do it
First of all, we need a project to deploy so choose a project that you want to automatize, but be careful about the technology, sometimes the technology is hard to automatize or build. For this case I gonna use a Micronaut java project if you want to know more about it see this page [https://fabianbg.netlify.com/posts/micronaut--introduction-tutorial-article/] is an article written by me(when I started writing in Spanish
:P). This is a base project that connects to a Postgres database and exposes some REST services.
The second step is to create the test, build and dockerize scripts this gonna be the tricky part because it depends on the technology than you are using but actually a lot of technologies come with a helpful client which can do a lot easier the job. In the case of micronaut-java you have maven or gradle, if you use a more complex process in your build or test you should have to create a script in the root of your project folder to tell the pipe that executes the script to easily deploy your app.
The third step is an account in Azure Devops[https://azure.microsoft.com/es-es/services/devops/]:

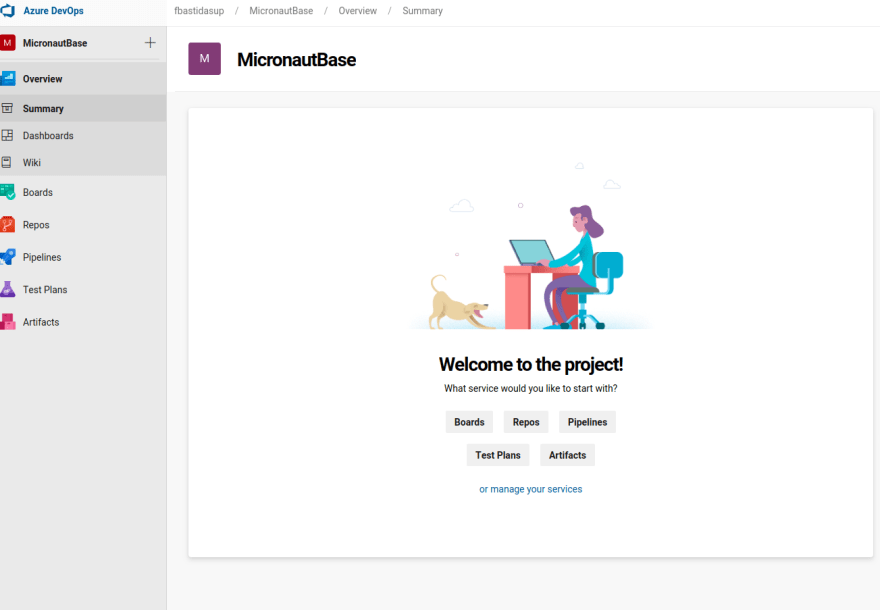
Once you have the account, the next step is to create a project, you can choose if you want to have and private or public project so choose what is more useful for you.
After the project is created, you can see the dashboard of the project. There are a bunch of tools that can be helpful for a development like a Jira board of tasks, repos, pipes, tests and artifacts but the most important part is the repos and pipes.
Import a repo
Ok, now start the fun part, in this case, I want to have the code in azure repos too, for this reason, I have to sync with my existing repo on GitHub for this in the repo view I select IMPORT.
Note: It is not necessary to create an azure repo or import it, **you can define directly a pipe and connect to a repo (Bitbucket, GitHub, Subversion and so).*

I paste the repo URL and let Azure do the import, in the end it shows you the imported repo.

Create the pipe
Ok, so this far the project is on Azure Repos now and it is time to configure the pipe, in the pipelines section you can create a new pipe, first you have to choose the repo provider if you have you code in another repo and don't want to have two repos one in Azure and another on you preferred provider you can skip the import repo part if you choose a different provider than azure repos you have to give access Azure DevOps to your repo. Once connected with your provider you chose the repo and it is time to configure your pipe:

These are the templates with basic pipes configurations, I gonna define my own pipe so I choose the Existing Azure Pipeline File option. The pipe file gonna contain all the configuration to tell Azure how to run the project and for my project is the next configuration:
trigger:
- master

pool:
  vmImage: 'ubuntu-latest'

variables:
  imageName: 'fabianbg/micronaut-base'


steps:
- task: Gradle@2
  displayName: Test
  inputs:
    workingDirectory: '$(Build.SourcesDirectory)/base'
    gradleWrapperFile: '$(Build.SourcesDirectory)/base/gradlew'
    gradleOptions: '-Xmx3072m'
    javaHomeOption: 'JDKVersion'
    jdkVersionOption: '1.8'
    jdkArchitectureOption: 'x64'
    publishJUnitResults: true
    testResultsFiles: '**/TEST-*.xml'
    tasks: 'test'

- task: Gradle@2
  displayName: Build
  inputs:
    workingDirectory: '$(Build.SourcesDirectory)/base'
    gradleWrapperFile: '$(Build.SourcesDirectory)/base/gradlew'
    gradleOptions: '-Xmx3072m'
    javaHomeOption: 'JDKVersion'
    jdkVersionOption: '1.8'
    jdkArchitectureOption: 'x64'
    publishJUnitResults: true
    testResultsFiles: '**/TEST-*.xml'
    tasks: 'build'

- task: Docker@2
  displayName: Build and Push docker image
  inputs:
    containerRegistry: 'DockerHUB'
    command: buildAndPush
    repository: $(imageName)
    dockerfile: '$(Build.SourcesDirectory)/base/Dockerfile'
    tags: |
      $(Build.BuildNumber)
This pipe has three tasks, *the test task with gradle test, the build task with gradle build and docker build and push task *. Azure provides a kind of task templates to exec commonly tasks such as gradle and docker you just have to provide the basic configuration to each one, which in some cases are the access credentials to the service.
Save the pipe but not RUN THE PIPE YET, it has no service connection configured so it gonna thrown an error because it can not access the DockerHUB repo to push the image before the run it is necessary to configure the service connection.

Service Connections
A service account is a way to protect our credentials to access external services such as a private docker hub repository or a server, with this we AVOID TO PUT CREDENTIALS ON OUR CODE, so instead just put the service account name and Azure do the binding to the credentials.
To create a service account, at the left side of the dashboard click on Project Settings, and then on service connections, you can create a new one:

There I created a service account to DockerHUB with the name of 'DockerHUB', so use this name to define the access in the pipe.
Pipe automatic trigger
As it is defined in the pipe, I have a trigger with the master branch, so if any change is sent to master it gonna trigger the build and notify by email.
For testing purposes, you can do a change to the project then push to the master branch and see what it happens.
- Note: Remember to push to the repo that you choose when you create the pipe if it is an imported one push to azure repos.

If everything is right the pipe executes successfully and will send you a notification to your mail.

As we can see the built image on my DockerHUB account.

Conclusion
Azure DevOps is an easy tool to apply some automatization to our projects it can be done in a private way for free, the pricing starts at the second project and for free it is a limit of execution run time of the pipes.
The hardest part of automatization a project is not the CI pipes is the project itself as we can see if we use tools that help us like micronaut-java which create projects with all the docker configuration, it is easy to apply a CI/CD pipe, but if the project requires more scripting and configuration it gonna be a pretty hard job.

Top comments (0)