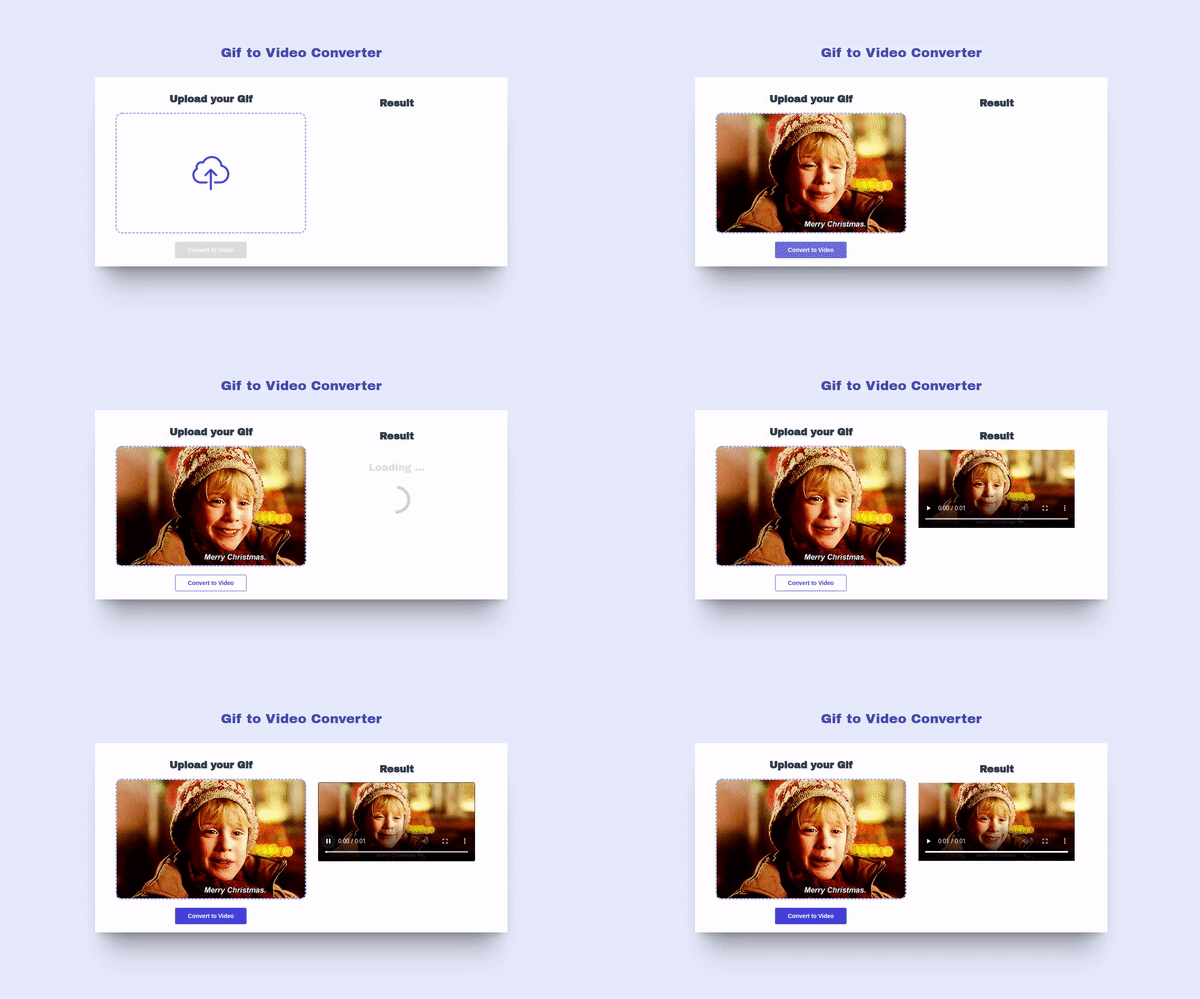
You can view here what we are building
https://hunterjs-bit.github.io/vue_wasm_gif_to_video/
You can find the full source code for this tutorial in my repo:
https://github.com/HunterJS-bit/vue_wasm_gif_to_video
What you will build ?
You are going to build an simple application that provides GIF to Video conversion. User can preview converted video and download it. Normally for this user would have to write some server code for handling conversion but we can do it all on client side thanx to WASM :)
Prerequisites
You should know basic programming. This is fairly easy project that you can do for fun. We are using Vue & Wasm but you can use any other framework for this.
Lets get started
First things first, lets generate Vue project and install needed dependencies than we will talk a bit more about the code.
Initial Setup With Vue CLI
For your reference, please see the Vue CLI documentation. Follow these steps to install and initialize via Vue CLI:
Step 1: Install Vue CLI 3
```
 npm install -g @vue/cli
```
Step 2: Initialize your project with Vue CLI 3
```
   vue create vue-app
```
Step 4: Serve up a localhost
Once everything is installed, navigate to the project folder and run npm run serve in the terminal to serve up a localhost.
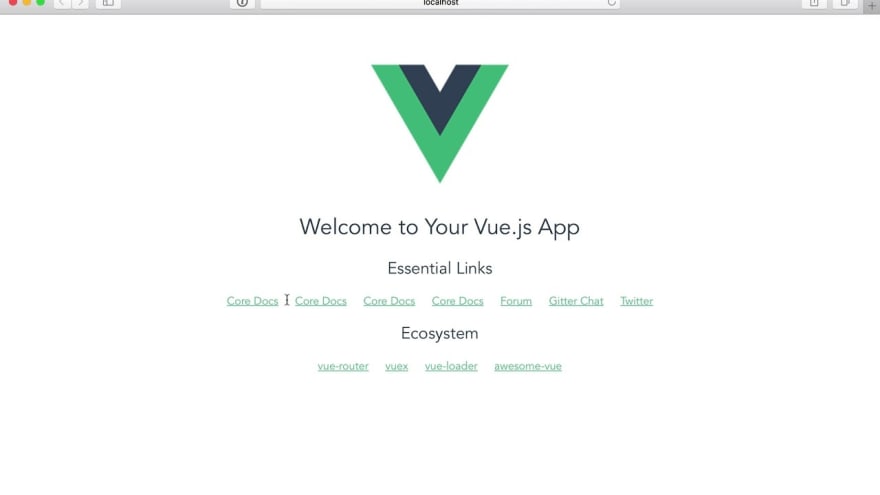
Open your browser, and you will get screen simmilar to this one.
Install dependencies
We will use ffmpeg.wasm library to allow us to convert gif to video. Ffmep library is a port of popular FFmpeg library and provides simple to use APIs for audio, video manipulation.
Run command follwing command, to install ffmpeg:
npm install @ffmpeg/ffmpeg @ffmpeg/core
File Structure Overview
The component tree itself is nothing groundbreaking, We will use only one component:
- VideoMaker.vue - Renders the Vue video converter component
So create your new component VideoMaker.vue.
The basic structure of a Vue single file component includes your markup, script, and style tags.
<template>
  <div>

  </div>
</template>

<script>
export default {
 name: 'VideoMaker',
}
</script>

<style scoped>

</style>
Next we will add form, and component logic
Add Form, Load Fmmpeg Library and Style component
<template>
  <div class="gif-converter">
    <div class="upload-form">
      <h2>Upload your Gif</h2>
      <form >
        <div class="upload-box" :style="{ backgroundImage: 'url(' + gifImage + ')' }">
          <div class="upload-icon" v-if="!gifImage">

          </div>
          <input type="file" id="fileInput" name="filename" />
        </div>
      </form>
      <div class="action-bar mt-10">
        <button class="convert-btn">Convert to Video</button>
      </div>
    </div>
    <div class="preview-form">
      <h2>Result</h2>
      <div class="video-wrapper">
        <div class="loader" v-if="loading">
          <h2 class="loading-text">Loading ...</h2>
        </div>
        <video v-if="video" id="output-video" controls :src="video"></video>
      </div>
    </div>
  </div>
</template>

<script>
import { createFFmpeg, fetchFile } from "@ffmpeg/ffmpeg";
// create ffmpeg instance
const ffmpeg = createFFmpeg({ log: true });

export default {
  name: "VideoMaker",
  async created() {
    // load ffmpeg when component is created
    await ffmpeg.load();
  },
  data() {
    return {
      gifImage: null, // gif image is loadaded
      video: null, // video converted
      loading: false // should show loading animation
    };
  },
};
</script>

<style scoped>
.gif-converter {
  display: flex;
  justify-content: space-around;
  align-items: stretch;
  flex-wrap: wrap;
  padding: 20px 50px;
  background: white;
  box-shadow: 0 15px 20px -15px rgba(0, 0, 0, 0.3),
    0 55px 50px -35px rgba(0, 0, 0, 0.3), 0 85px 60px -25px rgba(0, 0, 0, 0.1);
}
.preview-form video {
  max-width: 100%;
  width: 100%;
  height: auto;
}
.loader {
  margin-top: 50px;
}
.loader .loading-text {
  font-weight: 100;
  color: #dedede;
}
#fileInput {
  position: absolute;
  width: 100%;
  height: 100%;
  opacity: 0;
  cursor: pointer;
}
</style>
I realize that’s a lot to drop on you, but I hope it’s clear enough that most developers would be able to follow it. Clearly there’s a lot of cruft in here. But will try to explain a bit.
First we Import fetchFile & createFFmpeg methods from ffmpeg/ffmpeg
const ffmpeg = createFFmpeg({ log: true });
here we create ffmpeg instance for later use
await ffmpeg.load();
here we have to wait to load ffmpeg in browser
As you can see towards in our template, we have 2 forms. First form is for uploading gif and second form is for rendering converted video in form.
And we have data properties gifImage, video, loading that are manily used for toggling visibility of component
And now add logic
 methods: {
    uploadFile(e) {
      const file = e.target.files[0];
      this.gifImage = URL.createObjectURL(file);
    },
    /**
     * Handles gif to video conversion
     */
    async convertToVideo() {
      this.video = null;
      ffmpeg.FS("writeFile", "randGif.gif", await fetchFile(this.gifImage)); // load gif image into ffmpeg
      this.loading = true;
      await ffmpeg.run("-f", "gif", "-i", "randGif.gif", "output.mp4");  // convert gif to mp4
      const data = ffmpeg.FS("readFile", "output.mp4");
      this.video = URL.createObjectURL(
        new Blob([data.buffer], { type: "video/mp4" })
      ); // create URL representing video field
      this.loading = false;
    }
  }
As you can see towards here we have two methods
uploadFile - method is used to get Gif image that user uploads
convertToVideo - method handles video conversion, here as you can see, first we load gif image into ffmpeg library, then we use ffmpeg.run command to do conversion, and at last we get URL of created video file
and here is updated template
<template>
  <div class="gif-converter">
    <div class="upload-form">
      <h2>Upload your Gif</h2>
      <form @submit.prevent="uploadFile">
        <div class="upload-box" :style="{ backgroundImage: 'url(' + gifImage + ')' }">
          <div class="upload-icon" v-if="!gifImage">
            <upload-icon></upload-icon>
          </div>
          <input type="file" id="fileInput" @change="uploadFile" name="filename" />
        </div>
      </form>
      <div class="action-bar mt-10">
        <button class="convert-btn" :disabled="!gifImage" @click="convertToVideo">Convert to Video</button>
      </div>
    </div>
    <div class="preview-form">
      <h2>Result</h2>
      <div class="video-wrapper">
        <div class="loader" v-if="loading">
          <h2 class="loading-text">Loading ...</h2>
          <loader-icon></loader-icon>
        </div>
        <video v-if="video" id="output-video" controls :src="video"></video>
      </div>
    </div>
  </div>
</template>
In template we just attached on click convertToVideo and uploadFile methods.
Closing thoughts
Now that you've built this project, you should have a firm understanding of how Vue.js is used with Wasm. For additional practice, try implementing more features and building on the existing structure.
With your newfound knowledge, you can add features such as:
- add backward conversion (from video to gif)
- add different formats when converting video
- add animations
Full source code is available here. You are welcome to join in and feel free to contribute


Top comments (0)