The MXChip board has 2 serial ports - one using the USB which is great for debugging, and one you can use to stream data from third party modules. This article shows you how!
TL;DR - connect the TXD on the module to 1 on the MXChip, RXD to 2, then create a new Serial using
UARTClass Serial1(UART_1);You can then call this in the same way as the ArduinoSerialclass.
I've spent a lot of time working with the Azure IoT Dev Kit, also known as the MXChip. This is a great prototyping board that works seamlessly with Azure IoT Hub and comes with a stack of sensors built in. But what happens if you want to attach another device to it?
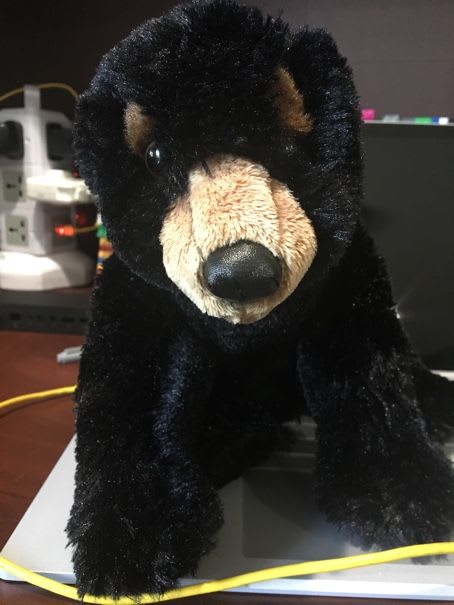
I've recently started creating a demo app based around a wildlife tracker - both spotting with a phone and an actual GSP collar. Not serious, not planning on putting it on an actual animal, just for a nice end to end demo of a scenario. Honestly - this is the bear that I'll be tracking.
Hardware
The hardware I'm using for this is a cheap GPS module (note - mine didn't come with mounting pins or an antenna). It sends serial data over UART at 9600 baud, and this data uses NMEA sentences - ASCII codes that contain GPS information including position, speed, satellite information and other data.
I plugged my GPS sensor into my Kitronic Inventors Kit, a breakout board for the BBC micro:bit that uses the same finger connector as the MXChip, found out which pins do serial data and connected some wires.
TXD on the GPS connects to Pin 1 on the Kitronic Inventors kit - the RXD pin (transmission on the module connects to receive on the MXChip and vice versa), RXD connects to Pin 2, the TXD pin. Power and ground comes from the chip as well, but can also come over USB if needed.
If you want to connect to the MXChip directly using crocodile clips, TXD connects to the large connector labelled 1, RXD connects to the one labelled 2 , GND connects to the connected labelled GND , and VCC connects to the connector labelled 3V.
I had to solder pins to my GPS module to get a good connection as breakout pins didn't work very well and kept on losing data.
Software
Next then tried to find the docs on accessing serial data. This is where I hit a brick wall - nothing! The Arduino docs recommend using a library that is shipped with it called SoftwareSerial, but this is not available in the MXChip libraries. The only thing that does work is using the built in Serial API to send data over the USB port.
I dug further, and the specs confirmed that there are 2 serial ports on the MXChip, so how can I access one? Eventually I found this post by Rob Miles:
https://www.robmiles.com/journal/2018/11/18/using-the-second-serial-port-on-the-azure-iot-devkit
You can create a new instance of UARTClass, the class that handles serial communication and connect it to UART_1, the second serial port. Once this is created, you can call it using the same API as the standard Serial instance:
UARTClass Serial1(UART_1);

Serial1.begin(9600);

while (Serial1.available() > 0)
{
  int byte = Serial1.read();
  ...
}
Once done I was able to read serial data from the GPS sensor. I then sent it to TinyGPS++ which I was able to install from the Android Library manager in VSCode. This decoded the data into latitude and longitude that I can then send to IoT Hub!


Latest comments (0)