This article is a walkthrough on how to connect an azure app service to an azure SQL database and also an azure storage account using the command line interface.
Recall the following terms:
- Azure app service is a fully managed service which enables you to build and host web apps, mobile back ends, and RESTful APIs in the programming language of your choice without managing infrastructure.
- Azure SQL database is a fully-managed platform as a service (PAAS), that handles management functions such as patching, upgrading, backups, etc and gives an SLA of 99.99% availability.
- Azure storage account contains all of your Azure Storage data objects, including blobs, file shares, queues, tables, and disks.
Prerequisites for this project include:
- An Azure account with an active subscription.
- Azure Cloud shell or a Azure CLI installed on local machine (I will be using powershell with azure CLI installed).
Things to Note
- I will be using powershell (an automated engine with an interactive command-line shell), I will run a powershell script (this file will contain all the configuration needed for connecting app service to azure sql database, and will be run at once).
- I will breakdown the commands in the script via screenshot.
Steps
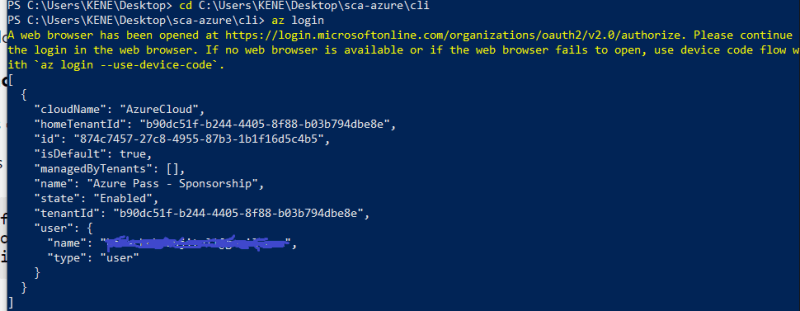
- Login into your azure account using
az logincommand.
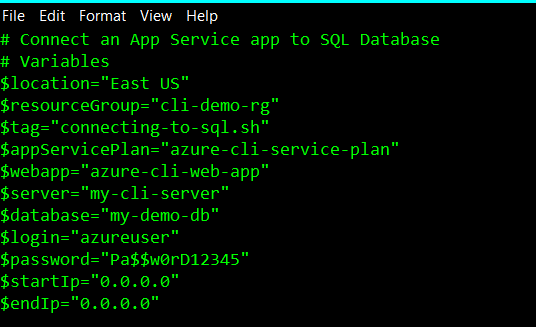
- Create your script and save on an editor using .ps1 extension (showing it is a powershell script); then navigate to the directory where script is saved and run the script as shown below
- This is a breakdown of my script with variables declared first.
- Creating a resource group which will house all resources used in this demo with the command below:

Creating a resource group needs a resource group name, a location and a tag which will be referenced by calling my variables. Upon successful creation, the output will be:
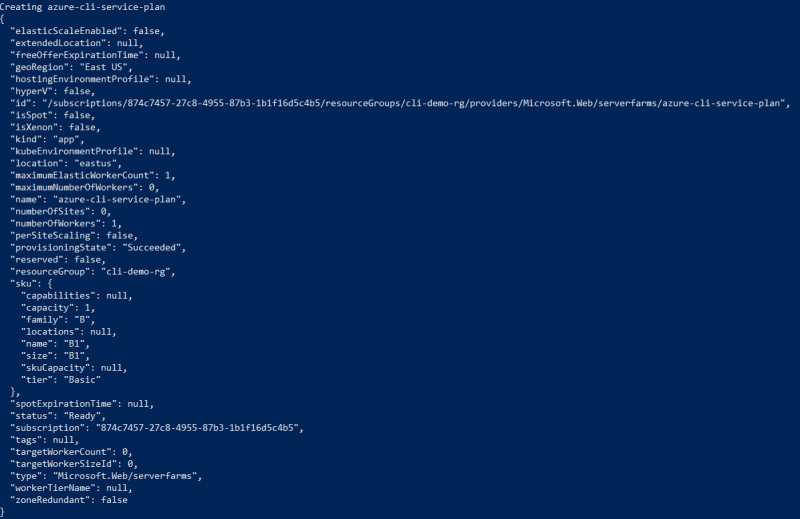
- Creating an app service plan that defines a set of compute resources for a web app to run, this requires a name, resource group and a location.

If all goes well, the output will look like this:
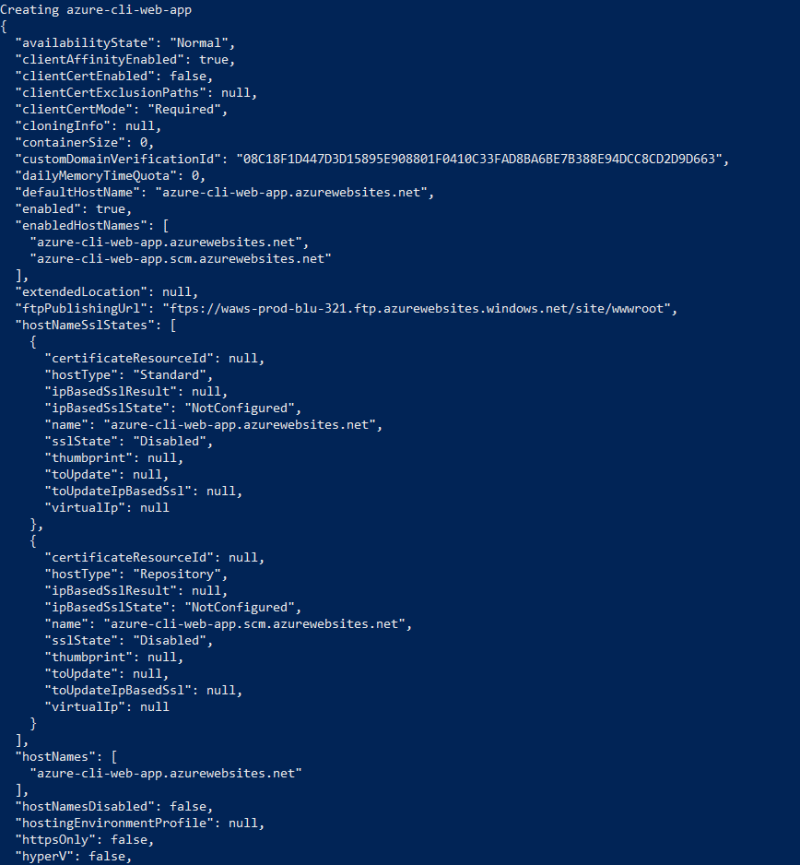
- Creating a web app which requires an app service plan and a resource group.
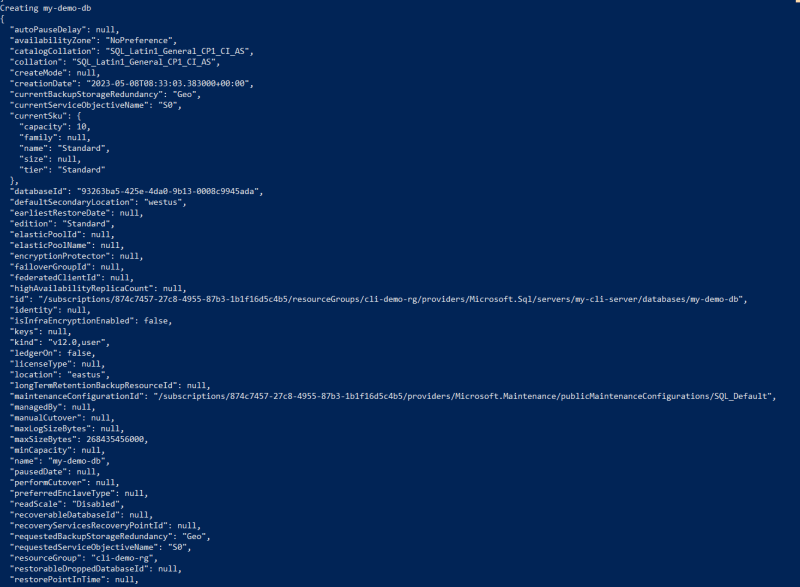
- Since we need a database, it is essential to create a server for the database with parameters like server name, resource group, location, and username and password, this is done below with the output as:
- To enable access to the server, a firewall rule is needed, this rule determines what traffic is allowed or blocked by the firewall.
- Creating a database and attach it to the server using the database name, server, resource group variables and service objective.
- Getting a connection string which is required by say the application hosted on the app service to form a connection with the database server, which requires the database name, server, client driver (ado.net in this demo) and output format stored in a variable using the command below:
- Add login credentials to the connection string variable using the command below.
- Assign the connection string to app setting in the azure app service, this would help to prevent exposing credentials.
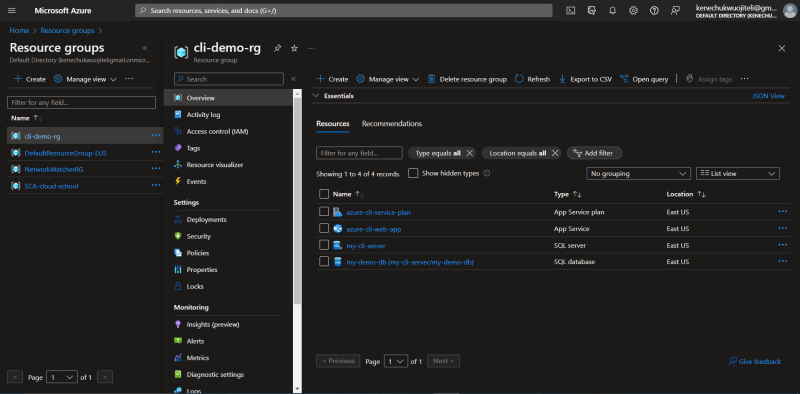
- After the script is run and successful, head over to azure portal to view the created resources.
From my resource group, the resources created are visible.
- And my web app is running but without a content.
- To avoid incurring excess charges on your azure account, clean up your resources using the command below:
az group delete --name $resourceGroup
which would prompt you to choose a yes or no.
Thank you for reading and I hope you learned something new, the powershell script is available on my repo
Kindly read part 2 of this article.








Top comments (0)