
I recently got a new mac and decided to set it up from scratch. In this blog post, you get a detailed list of all the tools I installed to help me with my day to day web development tasks.
Don't you have a dotfile?
I do have two dotfiles repo, but they kind of fall behind and are outdated. Also, I was not 100% satisfied with my setup, so I decide to start with a clean slate.
Setting up the foundation
First thing, you will need a password manager. With a new computer, you will need to log in to many services, like Github, email, etc., so it is better to set up your password manager first. I use 1Password as my primary password manager.
Second, to make your life easier, get a package manager for your mac; I am talking about brew. It will allow you to install 90% of your tools through the terminal.
The Terminal setup
Now iTerm2, a terminal emulator, this a personal choice, and feel free to install anything else you want or use the default mac terminal, which I did btw for over two years.
brew install --cask iterm2
Continuing with iterm2, I love the night owl theme for both my terminal and my code editor.

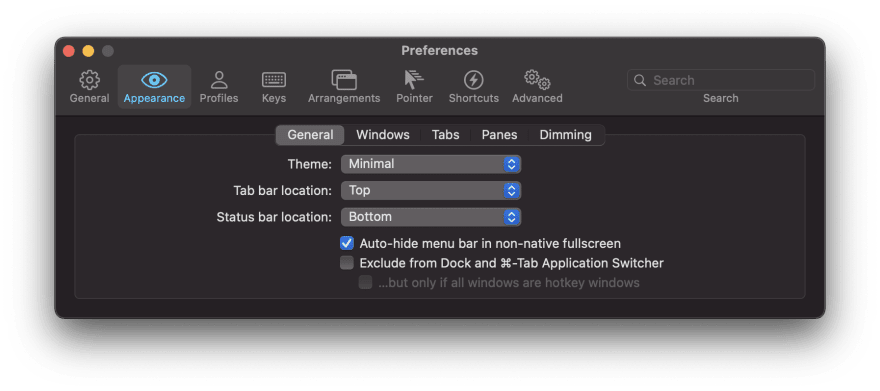
Another setting you might want to change is to set the appearance to minimal.
Even more terminal goodness, let's install zsh oh-my-zsh this will help you take your terminal to the next level with things like history and autocomplete. So no more "what was that command again".
Setting up the Node environment
For Node js, I use a node version manager, nvm. This allows me to install different versions of nodejs and switch between them from the terminal. to install nvm, you can use brew
sh brew install nvm mkdir ~/.nvm nvm install stable
For the node package manager, npm already comes bundled with nodejs, but sometimes I might need yarn so let's install it using brew.
brew install yarn
Setup git and source control
I use Github to host all my repositories if you follow this tutorial to set up an ssh key.
Another important thing is to tell git who you are instead of getting random author details on your commit like khaled@MBP.
git config —global user.name "FIRST_NAME LAST_NAME."
git config —global user.email "you@domain.com."
You might want to install Github hub. Github hub will add some excellent features on top of git, like creating a repository from your terminal and starting a pull request directly from the terminal.
Code editors and workflow
For coding, I use mostly nvim and tmux because I love seeing everything in one window, something like this: 
And I know I know vscode has an integrated terminal. With tmux, you can do more like zooming in on panel quickly do a task and zoom back and switch between multiple projects quickly using sessions inside the same terminal window.
You can find all my nvim, tmux and coc configs here there should be enough comments to explain things.
Extras
If you have an external monitor that is not supported officially by Apple, you can't control your monitor's brightness, contrast, or volume. Luckily there is a utility that you can install to fix that.
brew install --cask monitorcontrol
I also use Alfred, a productivity App for mac. You can keepo your Alfred settings in sync between multiple computer using Dropbox, here's how to do it

Latest comments (0)