
If you're looking for a few quick steps on how you can rapidly design user interfaces, this is for you!
I recently started a 100 day challenge and if you have been following me on Twitter you have noticed that it is the 100 Days of Design Challenge via Daily_UI. The premise behind the challenge is exactly as the name says: you're given one high level design concept each day Monday through Friday (weekends are off-days!) for 100 days and with that information you're given free reign to come up with any design that your imagination allows!
Throughout the first 25 days, I have had a few people reach out to me regarding my process for rapidly designing UIs each day. In an effort to help others with similar questions, I put together this list of six easy steps you can implement at work or on your own projects!
1️⃣ Define the goal
Defining the overall goal helps to paint a picture of what you will be aiming to achieve with your design. The goal can be provided to you from an external source, or, you could be the one deriving the details on your own either based on your own idea or from requests via any stakeholders.
For the 100 Days of Design challenge, I'm given a short background explanation on what I should design for the day and I work to define the overall goal based on that explanation. Here's an example from my recent flight boarding pass design:
Background (provided to me from Daily UI): Design a boarding pass. Consider the origin, the destination, gates, seats, the airline, etc.
Goal: Design a boarding pass with flight information and a scannable bar code.
2️⃣ Derive any requirements and distinguishing features
After defining the goal, I work to derive any requirements and distinguishing features that the design should include. From a high level, this provides me with specific tasks to accomplish along the way and the acceptance criteria in order to achieve completion for the design.
Requirements and distinguishing features for boarding pass concept:
Passenger information, date of flight, departing information, destination information, gate number, seat number, terminal number, flight number, group number, & QR code
3️⃣ Ideate what I want to accomplish
Next, I like to ideate what I want to accomplish with this design. I often ask myself a few questions:
- How can I improve on this concept and differentiate this design from those already out there?
- As a user, what might I be looking for when utilizing this concept?
- What design techniques can I implement throughout the design to better serve the user?
When applying this step to my boarding pass example, I wanted to take a minimalistic approach to the design. I would be working to fit a lot of information onto a small screen so I wanted to present the information to the user in a way that wouldn't feel overwhelming to consume. To achieve this, I set out to use one typeface with different weights, sizes, and colors to efficiently display the data to the user in a minimalistic manner.
4️⃣ Research for inspiration
Once the goal, requirements, and features have been identified, I begin to research other designs related to the end goal. This allows me to gain an understanding how other designers have attempted to solve similar issues throughout their work. I'll perform this research through Dribbble, UI Movement, Collect UI, and strategic searches on Google.
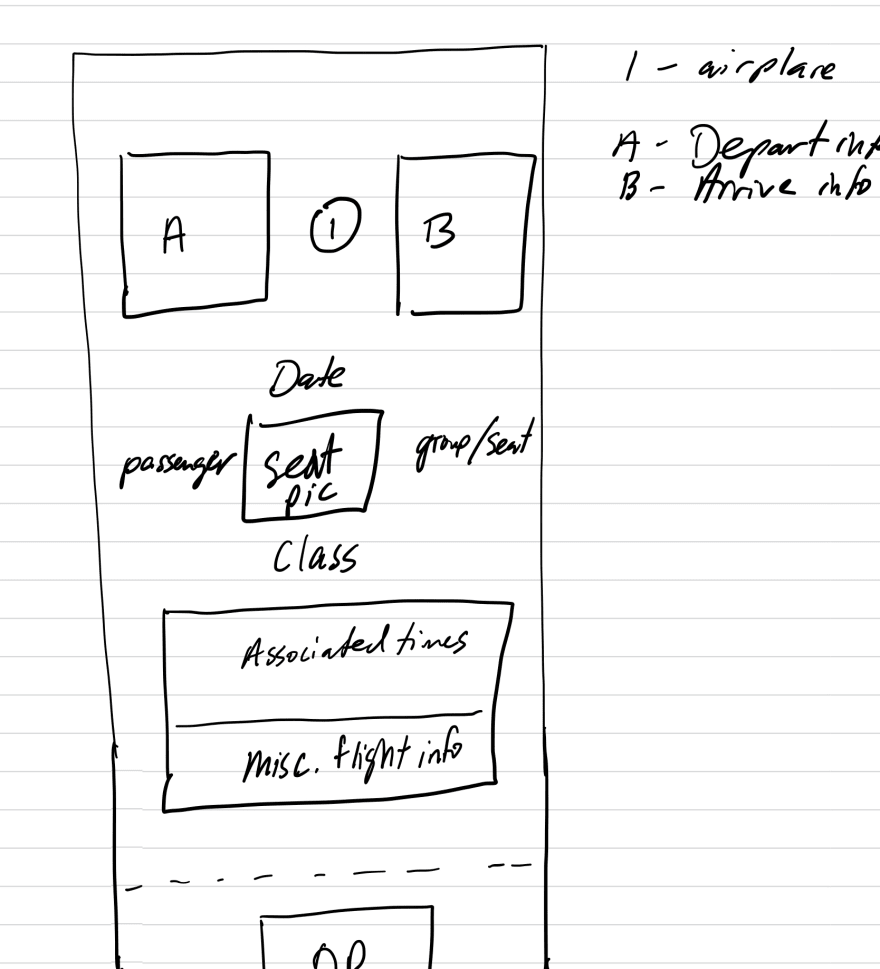
5️⃣ Sketch out low fidelity wireframes
Now that the details have been defined and I have performed research on related designs, I'm ready to start sketching low fidelity wireframes! Low fidelity wireframes include the most basic content and visuals to help lay out information on the interface.
I will typically create multiple iterations of low fidelity wireframes with different layouts and combinations of the information derived in step two. These iterations typically lead up to what I will move towards designing in the end.
Here are a few of my boarding pass low fidelity wireframes:

6️⃣ Create high fidelity designs
Lastly, I move over to begin creating the high fidelity designs. High fidelity wireframes or designs are more complete representations of the end product compared to low fidelity wireframes.
I typically focus on one of my low fidelity wireframes and iterate on it as necessary. Of course, if a new idea comes to mind during this process I am always willing to integrate it in if it will improve my design.
I use Figma for this step and it has been an incredible tool to pick up! I have really enjoyed its simple interface and plugin support.
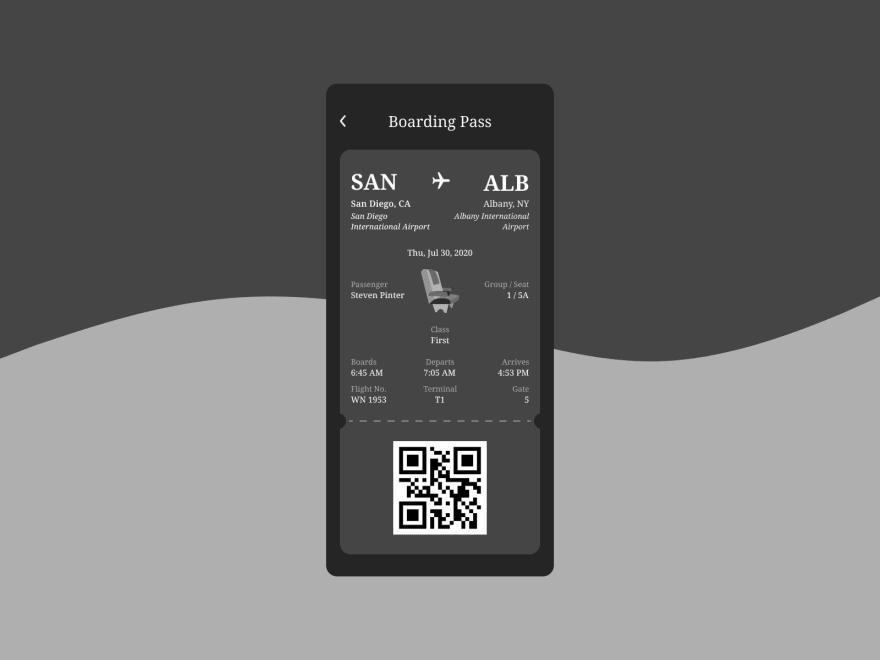
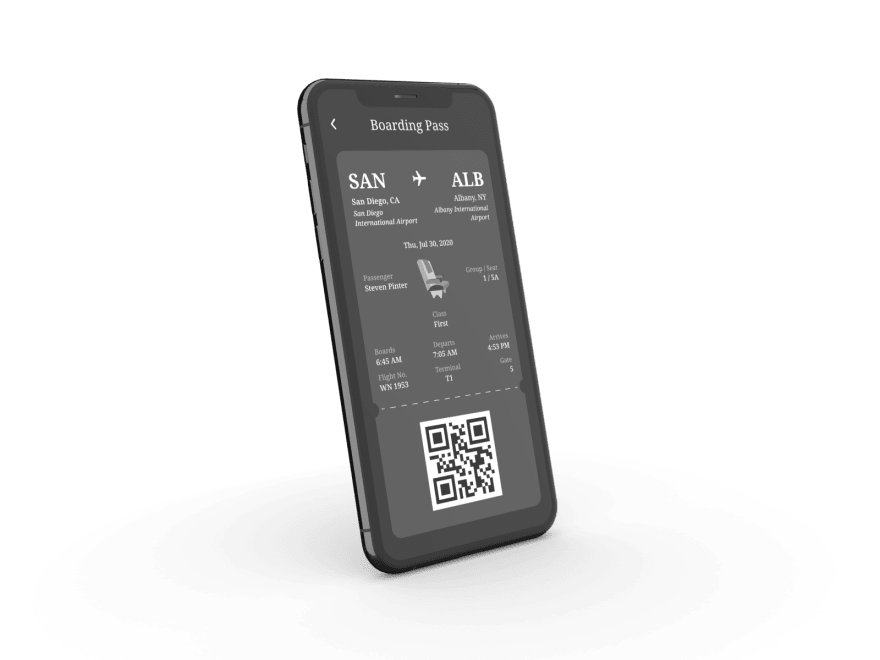
Here is the final outcome for my boarding pass design:
🚀 Design your imagination
I hope this helps provide quick steps that you can apply from the beginning of your design process to rapidly produce user interface prototypes.
Feel free to reach out to me in the comments or on Twitter (@kyleh919) with any questions you have!
Sources:
- Wireframe cover photo: https://cdn.dribbble.com/users/137681/screenshots/2610309/wireframe_sketches.jpg

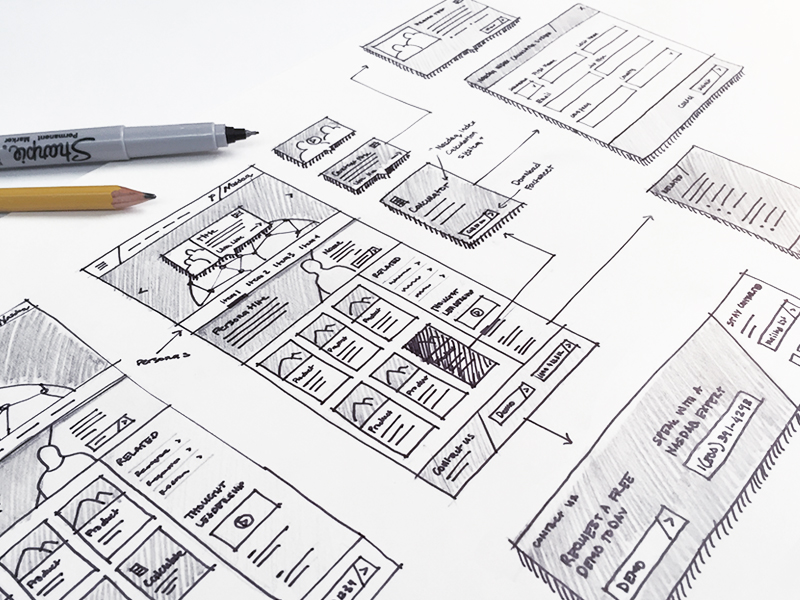
Top comments (2)
Good post, it is good for beginners in UI design, do you have any recommended plugins you use in Figma?
Sorry for the late response! Thank you for the feedback. I'll be posting an article soon on some of the great Figma plugins that I have been using!