My Workflow
My WordPress plugin has plenty of PHP dependencies, managed through Composer. These dependencies, which are located under vendor/, are not stored in the GitHub repo, because they do not belong there.
However, these dependencies must be inside the .zip file when installing the plugin in the WordPress site. To add them into the release, I created GitHub action with name:
"Generate Installable Plugin, and Upload as Release Asset"
This action, upon tagging the code, will automatically create the .zip file and upload it as a release asset.
The end result looks like this:
In addition to the Source code (zip) (which does not contain the PHP dependencies), the release assets contain a graphql-api.zip file (which is the deliverable for my plugin), which does have the PHP dependencies, and is the actual plugin to install in the WordPress site:

Submission Category:
- DIY Deployments
Yaml File or Link to Code
- File: main.yaml
- Repo: GraphQL API for WordPress
 GraphQLAPI
/
graphql-api-for-wp
GraphQLAPI
/
graphql-api-for-wp
GraphQL API for WordPress
![]()
GraphQL API for WordPress


Transform your WordPress site into a GraphQL server.
This plugin is the implementation for WordPress of GraphQL by PoP, a CMS-agnostic GraphQL server in PHP.
Why
Please read the author's introduction to the GraphQL API for WordPress, which describes:
- How does it compare with the existing solutions: WP REST API and WPGraphQL
- Its most important features
- An overview of all its features
- Q&A
Requirements
WordPress 5.4 or above, PHP 7.2.5 or above.
Install
Download the latest release of the plugin as a .zip file.
Then, in the WordPress admin:
- Go to
Plugins => Add New - Click on
Upload Plugin - Select the .zip file
- Click on
Install Now(it may take a few minutes) - Once installed, click on
Activate
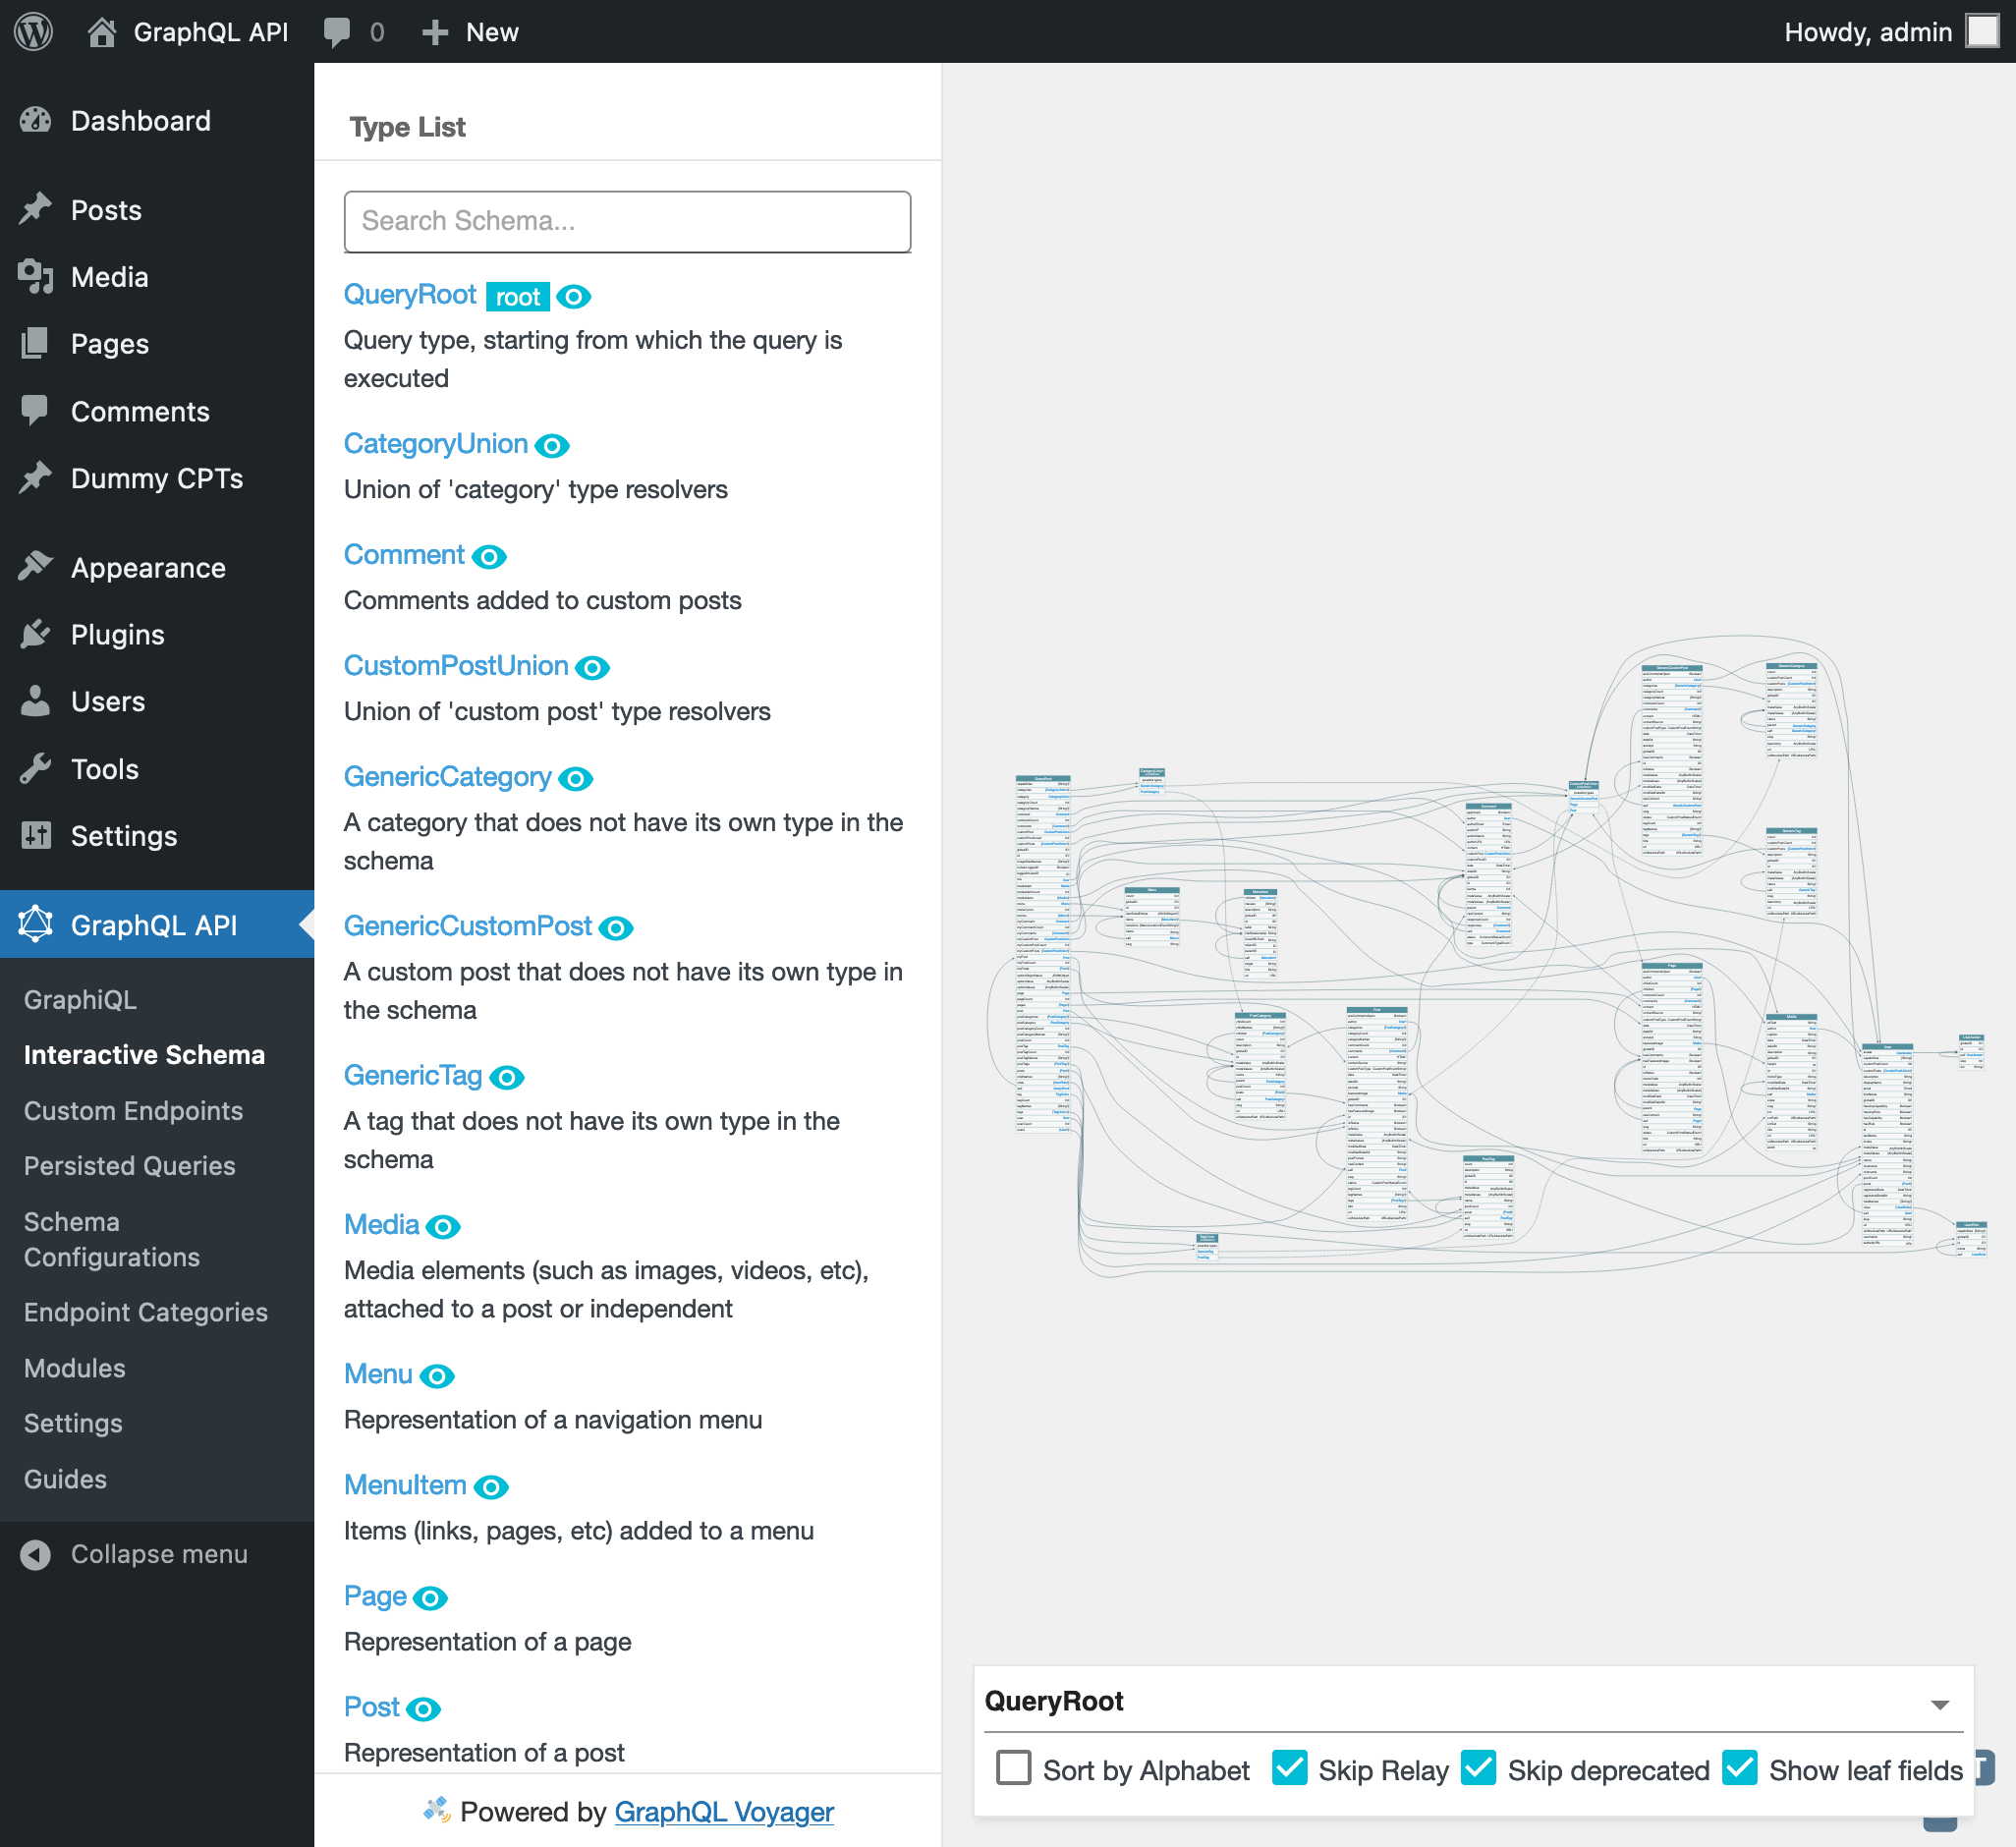
After installed, there will be a new "GraphQL API" section on the menu:
Ready for production?
This plugin requires 3rd party dependencies, but they have not…
Additional Resources / Info
This is the step-by-step breakdown on how the action works.
The action's name is defined under the name entry on the action file:
name: Generate Installable Plugin, and Upload as Release Asset
The action is executed whenever a new release is created (i.e. whenever I tag my code), and is defined under the on entry:
on:
  release:
    types: [published]
The computer (called a "runner") where it runs is a Linux:
jobs:
  build:
    name: Upload Release Asset
    runs-on: ubuntu-latest
The first step is to check out the source code from the repo:
    steps:
      - name: Checkout code
        uses: actions/checkout@v2
Then, it builds the WordPress plugin, by having Composer download the PHP dependencies and store them under vendor/. This is the crucial step, for which this action exists.
Because this is the plugin for production, we can attach options --no-dev --optimize-autoloader to optimize the release:
      - name: Build project
        run: |
          composer install --no-dev --optimize-autoloader
Next, we will create the .zip file, stored under a build/ folder. We first create the folder:
mkdir build
And then make use of montudor/action-zip to zip the files into build/graphql-api.zip.
In this step, I also exclude those files and folder which are needed when coding the plugin, but are not needed in the actual final plugin:
- All hidden files and folders (
.git,.gitignore, etc) - Any
node_modules/folder (there should be none, but just in case...) - Development files ending in .dist (such as
phpcs.xml.dist,phpstan.neon.distandphpunit.xml.dist) - Composer files
composer.jsonandcomposer.lock - Markdown files for managing the repo:
CODE_OF_CONDUCT.md,CONTRIBUTING.md,ISSUE_TEMPLATE.mdandPULL_REQUEST_TEMPLATE.md - Folder
build/, which is created only to store the .zip file - Folder
dev-helpers/, which contains helpful scripts for development
      - name: Create artifact
        uses: montudor/action-zip@v0.1.0
        with:
          args: zip -X -r build/graphql-api.zip . -x *.git* node_modules/\* .* "*/\.*" CODE_OF_CONDUCT.md CONTRIBUTING.md ISSUE_TEMPLATE.md PULL_REQUEST_TEMPLATE.md *.dist composer.* dev-helpers** build**
After this step, the release will have been created as build/graphql-api.zip. Next, as an optional step, we upload it as an artifact to the action:
      - name: Upload artifact
        uses: actions/upload-artifact@v2
        with:
            name: graphql-api
            path: build/graphql-api.zip
And finally, we make use of JasonEtco/upload-to-release upload the .zip file as a release asset, under the release package which triggered the GitHub action. The secret secrets.GITHUB_TOKEN is implicit, GitHub already sets it up for us:
      - name: Upload to release
        uses: JasonEtco/upload-to-release@master
        with:
          args: build/graphql-api.zip application/zip
        env:
          GITHUB_TOKEN: ${{ secrets.GITHUB_TOKEN }}
When tagging the source code with tag v0.1.20, the action is triggered, and we can see in real-time what the process is doing. Once finished, if everything went fine, all the steps executed in the workflow will have a beautiful ✅ mark:

Now, heading to the releases for tag v0.1.20, it displays a link to the newly-create release graphql-api:

Top comments (1)
I am proud to show my solution for creating complex ZIP files based on a MANIFEST called ".distfile". This is useful for create software bundle from source code, or for create backup from specific files on your workstation
github.com/javanile/dist.sh
To avoid secret or custom stuff into your ZIP file, use a .distfile to bundle your project.