Introduction
Remote access to IoT devices is crucial for developers, engineers, and system administrators who need to manage devices deployed in various locations. Virtual Network Computing (VNC) is a widely used technology that enables users to remotely control IoT devices via a graphical interface. This is particularly useful for devices like Raspberry Pi, Nvidia Jetson Nano, and Google Coral, where remote interaction is necessary for development, monitoring, and troubleshooting.
Step-by-Step Guide
Step 1: Set Up a Desktop Environment (Optional)
Some IoT devices, such as Raspberry Pi OS Lite or Ubuntu Server, do not come with a graphical user interface (GUI). If you need to interact with your device visually, install a lightweight desktop environment like XFCE:
sudo apt update && sudo apt upgrade -y
sudo apt install -y xfce4 xfce4-goodies
Step 2: Install and Configure TightVNC Server
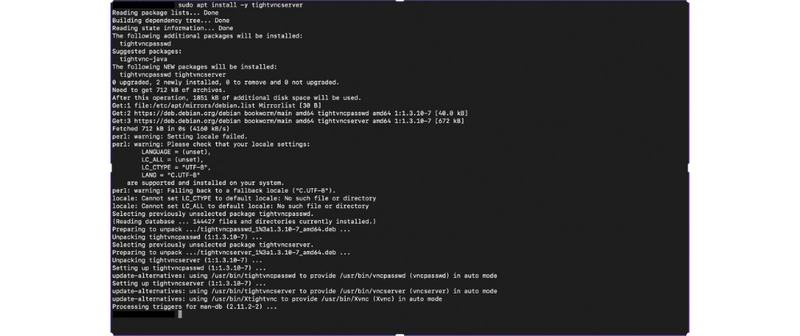
To enable remote desktop access, install a VNC server such as TightVNC:
sudo apt install -y tightvncserver
Initialize VNC Server
Run the following command to set a password for your VNC session:
vncserver
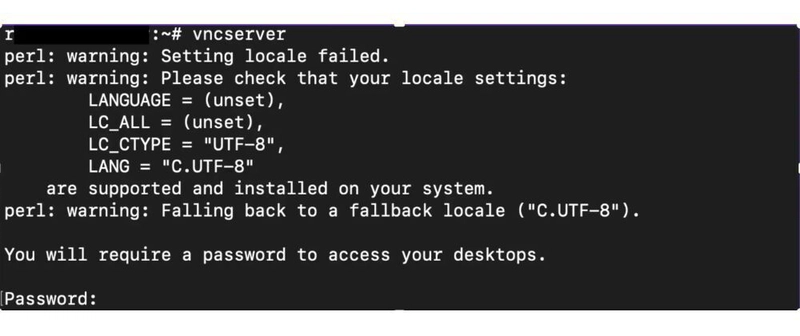
You’ll be prompted to:
- Set an access password (mandatory)
- Set a view-only password (optional)
Once done, stop the current session to configure startup settings:
vncserver -kill :1
Configure VNC Startup File
Modify the startup file to ensure the XFCE desktop launches correctly:
mv ~/.vnc/xstartup ~/.vnc/xstartup.bak
printf '#!/bin/bash\nxrdb $HOME/.Xresources\nstartxfce4 &\n' > ~/.vnc/xstartup
chmod +x ~/.vnc/xstartup
Restart the VNC server:
vncserver
The VNC server will now listen on port 5901.
Step 3: Secure Remote Access Using Pinggy SSH Tunneling
Since IoT devices often reside behind firewalls and NAT networks, direct remote access can be challenging. Pinggy’s SSH tunneling service provides a secure and efficient way to access your device remotely.
Run the following command to create a secure tunnel to your VNC server:
ssh -p 443 -R0:localhost:5901 tcp@a.pinggy.io
Upon successful execution, Pinggy will generate a public TCP URL, such as:
tcp://example-123.pinggy.link:43210
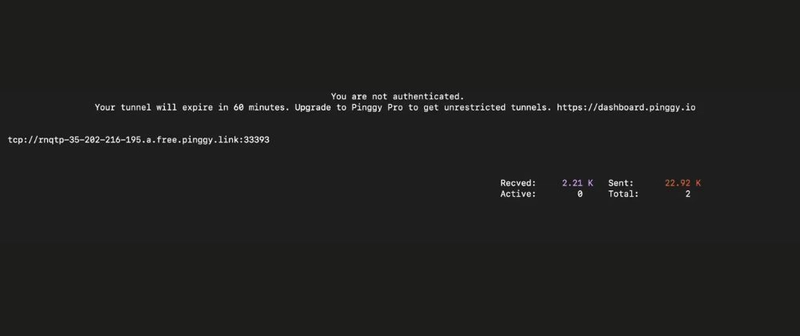
This URL acts as a bridge to your IoT device’s VNC server.
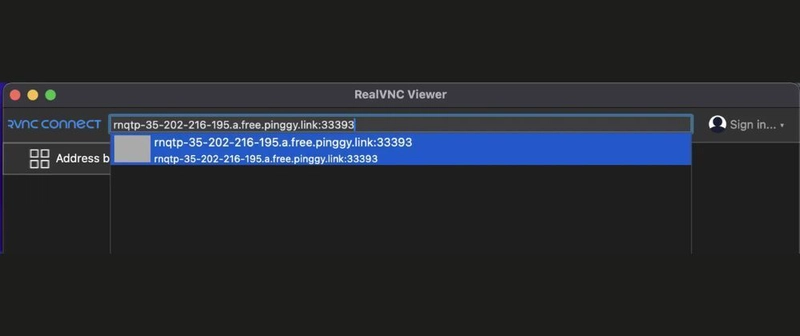
Step 4: Install a VNC Viewer on Your Computer
To connect to your IoT device remotely, install a VNC client such as:
Launch the VNC viewer and enter the Pinggy-provided TCP URL, e.g.:
example-123.pinggy.link:43210
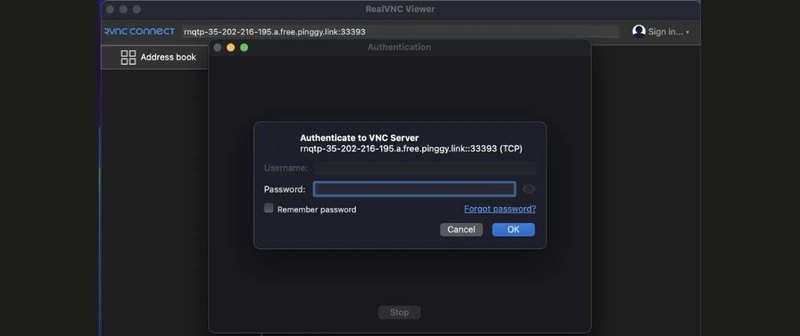
Enter the VNC password when prompted to establish the connection.
Best Practices for Secure Remote Access
- Use Strong Passwords: Ensure your VNC server password is complex and unique.
- Restrict Network Access: Use Pinggy’s access control features to limit connections.
- Monitor Sessions: Keep track of active VNC sessions and disconnect idle users.
- Update Software Regularly: Ensure both your IoT device’s OS and VNC server are updated to patch security vulnerabilities.
Conclusion
Using VNC with Pinggy SSH tunneling, you can securely and efficiently access and control IoT devices from anywhere. This setup is particularly valuable for managing remote deployments, debugging applications, and monitoring IoT hardware in real-time.
By implementing strong security practices and optimizing your configuration, you can achieve a reliable and seamless remote desktop experience for your IoT projects. Whether you’re a developer, researcher, or system administrator, this approach ensures that your IoT devices remain accessible, secure, and functional from any location.

Top comments (0)