Table of contents
More libraries
To append additional layer of abstraction and make our as developer life easier few extra libraries should be added to project:
Open root of project in your terminal and invoke following command
npm:
npm install -D react-test-renderer @testing-li
brary/react @testing-library/jest-dom @testing-library/user-event
yarn:
yarn add -D react-test-renderer @testing-li
brary/react @testing-library/jest-dom @testing-library/user-event
Experiment Subject
Before starting performing tests component is needed. To save time contents of mock component is provided below:
component.jsx
import React from 'react';

export default function TestComponent() {
    return (
        <div>
            Test Component
        </div>
    );
};
Experiment Environment
In the same folder create component.test.jsx. This file will contain all tests written in this post
import React from 'react';
import TestComponent from './component';

describe('TestComponent', () => {

});
Snapshot Testing
Little bit of terminology
Jest Documentation on Snapshot testing
The first time this test is run, Jest creates a snapshot file. On subsequent test runs, Jest will compare the rendered output with the previous snapshot. If they match, the test will pass. If they don't match, either the test runner found a bug in your code that should be fixed, or the implementation has changed and the snapshot needs to be updated
Getting Started
Exactly for purpose of snapshot testing react-test-renderer was installed
1 - Import function create from react-test-renderer into component.test.jsx
import { create } from 'react-test-renderer';
2 - Create test suite
it('should match snapshot', () => {

    });
3 - Populate test suite
expect(
            create(<TestComponent />)
                .toJSON()
        )
            .toMatchSnapshot();
What happens in test suite we created:
- Rendering component using function
createand passing JSX component as argument - On result of calling
createcalling methodtoJSONto serialise output - Passing serialised value to
expectfunction and calling matchertoMatchSnapshot
Jest will process snapshot itself, no additional input from developer is needed
Running tests
Now try to invoke script test
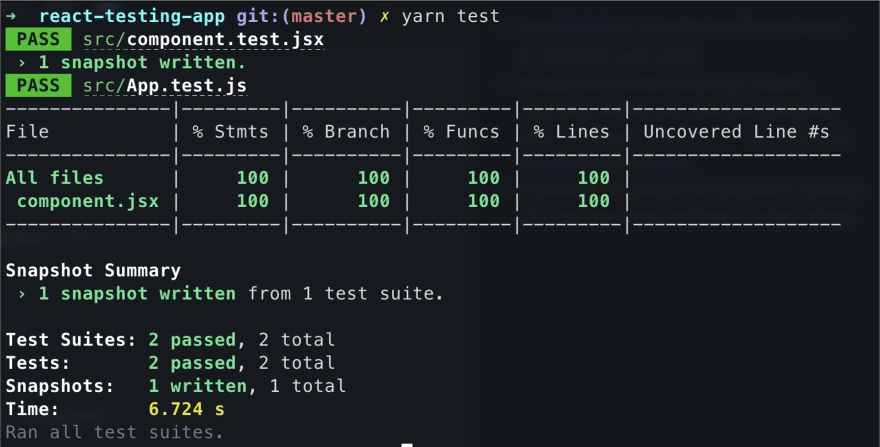
If you did everything correctly output should be nearly the same. In short, since snapshot didn't exist Jest saved it inside of __snapshots__ directory next to test file and passed test. Run test again to see difference
Jest used existing snapshot for comparison. Now make some changes in component, e.g. change text in it and run script test again
Since content that is being rendered has been changed snapshot test had failed. That is exactly the purpose of snapshot tests: track down changes/errors in render process/result
Now, if we know that received change is correct, we need to update snapshot accordingly. To do that just call script test with argument -u
npm:
npm run test -u
yarn:
yarn test -u
Here is the result
That is everything you need to know to start with snapshot testing and apply it ещ your components
Useful Links
Next time will share on how to perform more granular unit testing of components, difference between testing functional and class components and how to test react hooks


Top comments (0)