
INTRODUCTION
Application containerization is a technology that packages an application along with its dependencies, libraries, and configuration files into a single, self-contained unit called a container. This container can run consistently across different computing environments, such as development, testing, and production, regardless of the underlying infrastructure.
Requirements
- Latest version of Docker Desktop.
- Have Git client installed.
- Visual studio code or any IDE
Getting app
It is advisable to create a folder for this project and change directory to the new folder by running the following command in a new terminal
mkdir [name-of-folder]
cd [name-of-folder]
Before running the application, you need to obtain the application’s source code and transfer it to your machine. This step ensures that you have the necessary files to build, configure, and execute the application locally.
- Clone the getting-started-app repository using this command
git clone https://github.com/docker/getting-started-app.git
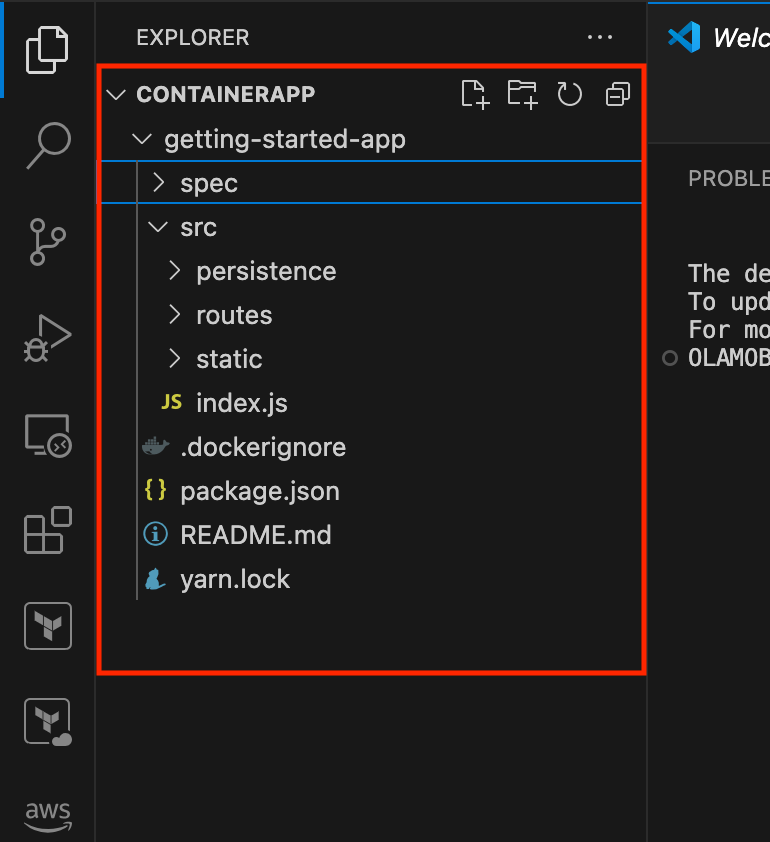
After running the command some files inside getting-started-app will be downloaded.
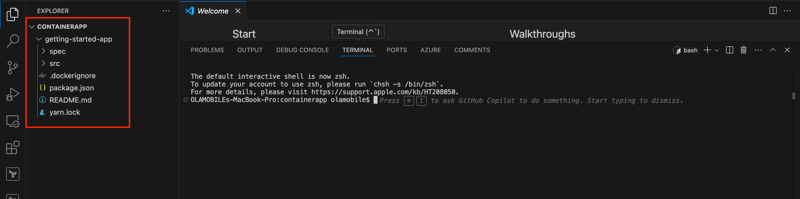
- View the contents of the cloned repository. You should see the following files and sub-directories.
Build the app's image
To build the Docker image, you’ll need a Dockerfile. A Dockerfile is a text-based file (with no file extension) that contains a series of instructions. Docker uses these instructions to automate the process of creating a container image.
- Inside the getting-started-app directory—the same location as the package.json file—create a new file named Dockerfile and include the following content:
FROM node:lts-alpine
WORKDIR /app
COPY . .
RUN yarn install --production
CMD ["node", "src/index.js"]
EXPOSE 3000
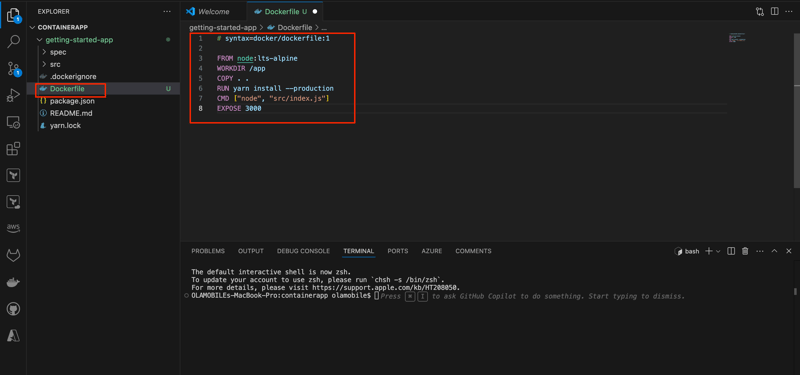
Ensure to save the file by pressing command+s on Mac or Ctrl+s on windows.
This Dockerfile begins with the node:lts-alpine base image, a lightweight Linux image that includes Node.js and the Yarn package manager pre-installed. It copies the application’s source code into the image, installs the required dependencies, and configures the image to start the application automatically.
- Build the image using the following commands: In the terminal, navigate to the getting-started-app directory. Replace /path/to/getting-started-app with the actual path to your getting-started-app directory.
cd /path/to/getting-started-app
or right click on getting-started-app and select Open in Integrated Terminal
Build the image
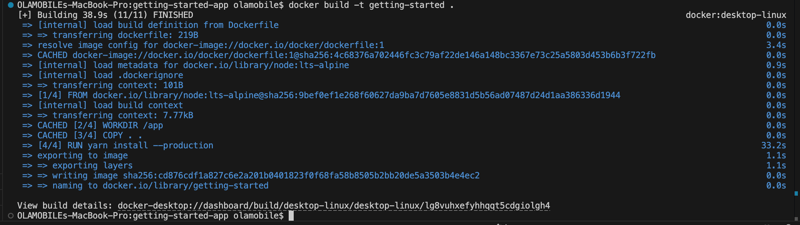
docker build -t getting-started .

If you get this error, that is because you have not started your Docker deskstop.
You can also confirm the image in your Docker desktop.
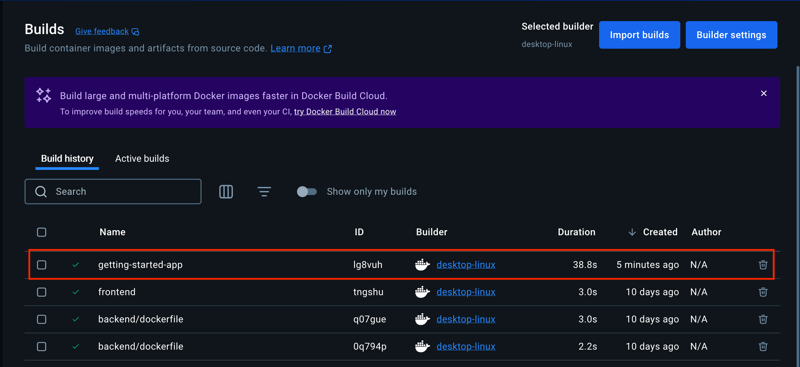
The docker build command uses the Dockerfile to create a new container image. You may have noticed that Docker downloaded multiple "layers." This occurs because the Dockerfile specifies the node:lts-alpine base image, which Docker downloads if it’s not already available on your machine.
Once the base image is downloaded, Docker follows the instructions in the Dockerfile to copy your application’s source code into the image and install its dependencies using yarn. The CMD directive defines the default command to execute when a container is launched from this image.
The -t flag tags your image with a human-readable name, such as getting-started, making it easier to reference when running containers. The . at the end of the docker build command instructs Docker to locate the Dockerfile in the current directory.
Start an app container
Now that you’ve built the image, you can run the application inside a container using the docker run command.
- Run your container by executing the docker run command and specifying the name of the image you just created:
docker run -d -p 127.0.0.1:3000:3000 getting-started

The -d flag (short for --detach) runs the container in the background. This allows Docker to start the container and return you to the terminal prompt without displaying logs in the terminal.
The -p flag (short for --publish) establishes a port mapping between the host and the container. It uses the format HOST:CONTAINER, where HOST is the address on the host and CONTAINER is the port on the container. In this case, the command maps the container’s port 3000 to 127.0.0.1:3000 (localhost:3000) on the host. Without this mapping, you wouldn’t be able to access the application from the host.
After a few seconds, open your web browser and navigate to Localhost. You should see your application running.
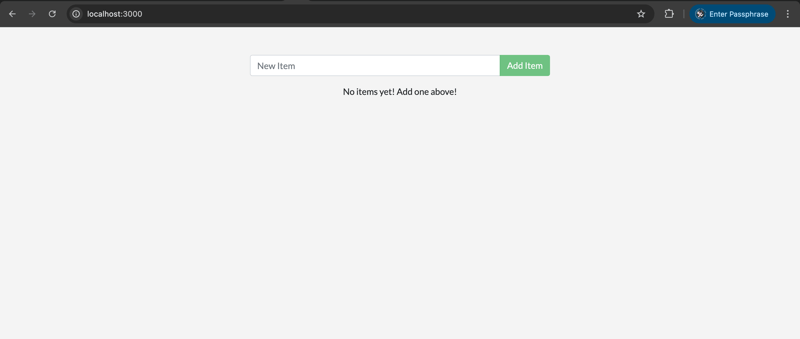
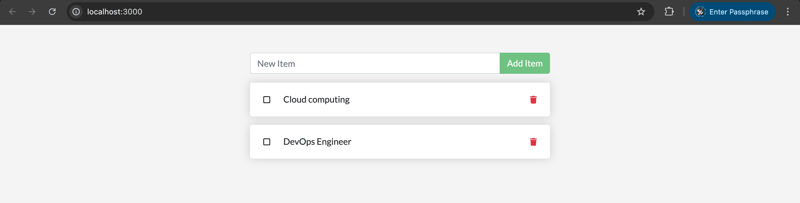
- Add a few items to the application and verify that it functions as expected. You can mark items as complete or remove them entirely. This confirms that your frontend is successfully interacting with and storing data in the backend.
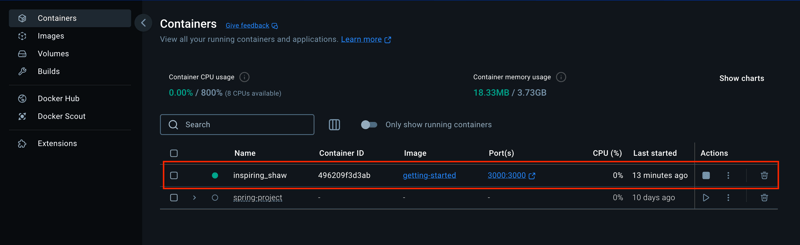
 If you check your running containers, you should see at least one container using the getting-started image and mapped to port 3000. You can view your containers using either the Docker CLI or Docker Desktop’s graphical interface.
 - Run the docker ps command in a terminal to list your containers.
docker ps

You can also check the list of container in your Docker desktop.
Thanks for staying till the end

Top comments (0)