Do you know how to add user authentication to Webflow? If not, find out how you can do it using Busywork.
This tutorial is the first in a series of tutorials showing how you can use Busywork to do user authentication in Webflow. The series consists of the following parts:
Part 1 — Setup & User Sign Up
Part 2 — User Sign In & Sign Out (Coming soon)
Part 3 — Authentication & User Page Guarding (Coming soonish)
Outline
- Introduction to Busywork
- Setting up Busywork
- User Sign Up
- Setting up Webflow
- Webflow, meet Busywork
- Demo
- Conclusion
Introduction
Busywork is a no-code tool that allows you to make backend functions for any app using a visual development interface. Deploying backends in Busywork is easy; you have to click a button.
Busywork comes with a fully managed database and core services such as user management, which we will be using for this tutorial. The database and core services will allow us to easily create an entire workflow around the user sign up process by connecting it to our favorite third-party apps.
For more information on the concepts of Busywork, please have a look at the documentation.
Setting up Busywork

- Go to https://busywork.co/sign-up/ and register. It has a free tier that contains all the features needed.
- Once signed in, please create a new build, name it, and save it. We are using this for the sign-up process.
Everything in Busywork ready for the next part, which will be building the sign-up function. Click the new Build to open the editor.
User Sign Up
When a user signs up for our app, we need to save the credentials so that we can authenticate the user on sign-in. Usually, the sign-up process also involves a transactional email with some welcome and possibly an activation link. I’ll show how you can add a transactional email to your sign-up function.
Outline
- Create a new Table
- Function Arguments
- Connecting the Blocks
- Adding Transactional Emails using Postmark (Optional)
Create a new table
Inside the Build editor, we have to navigate to the database view, by clicking the “Database” button in the upper right corner.

Once inside the database view, we have to click the “New Table” button and name our new table, which could be “App Users”.
Now press “Enter” to save the table. Now go back to the Build editor.
Function Arguments
In Busywork, we can manipulate data, observe the data, and take actions based on what we find. For us to make a function, we first need to define the data that we expect the function to receive. We call these function arguments.
Inside the build editor, you see one block, the Test Data block. We use this to define the function arguments, using JSON. To register a user, we need at least a username and password. But, if we have a more detailed sign-up form we could also require:
- First name
- Last name
- Address
- Phone
- …
We are not going for a long form, so the JSON that we have to put in the Test Data block is the following:
{
 "username": "some_user_name",
 "password": "some_password",
 "email": "you@example.com"
}
The values can be anything as long as they are of the correct type. This is just for Busywork to infer what we can work on, inside the function.
Now, save the block.
Connecting the Blocks
Busywork comes with user management as a core service, meaning the process of signing up a user comes in the form of a building block. All we need to do now is drag the Sign Up block onto the canvas and set it up.
To set up the block, we need to:
- Pick the table that we will use to store the user information
- Which function argument that is the username
- Which function argument that is the password
- And if we want the user to sign in immediately after signing up.

Above, you can see how the block is set up for this tutorial. If you’ve named the function arguments differently, your set up will look different from this.
We cannot be sure that the user will register successfully. For instance, the username might be taken. The sign-up block will return the status of the registration, which we can use to decide whether to send a welcome email or not. Now we add an If/Else block to the canvas.
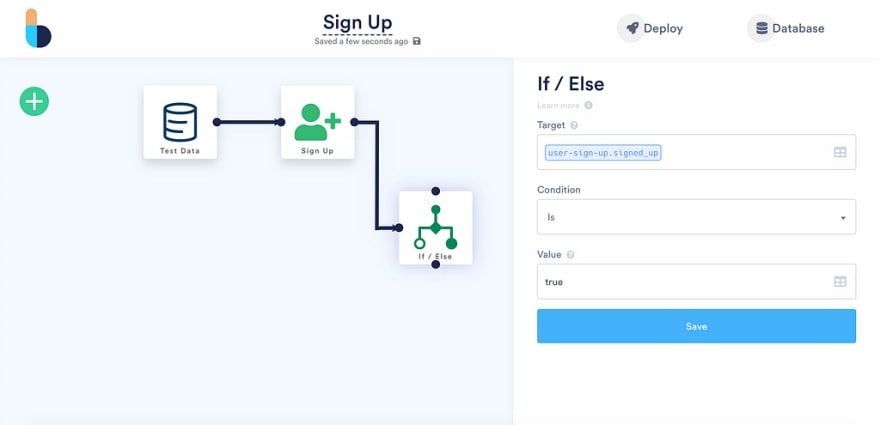
The condition that we are trying to match is whether the user has signed up or not.
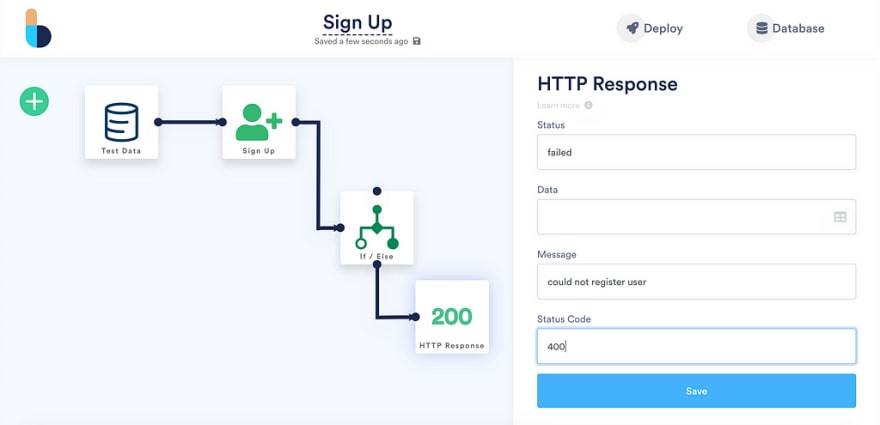
In the event where the user registration fails, we want to send back that information to our frontend. We do that by adding an HTTP Response block. The block allows us to send information about the function status, a message, and optionally data.

Now in the event where the user is registered, we want to send a welcome email using Postmark send back that information. The Postmark integration is optional, and you can skip it if you wish.
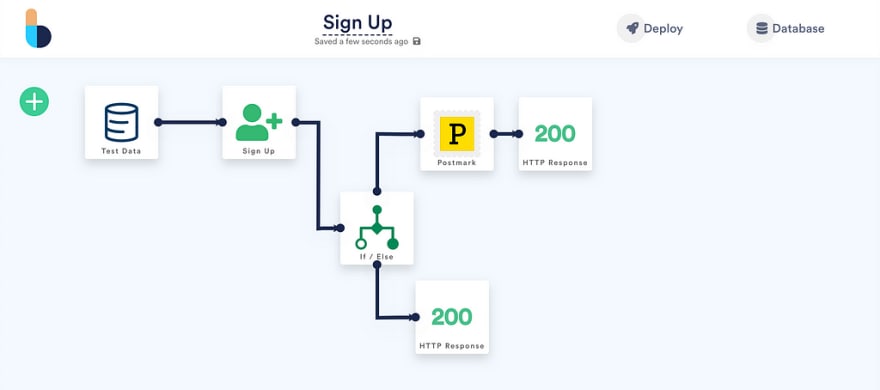
And now, we can deploy our sign-up function by clicking the Deploy button.
Setting up Webflow
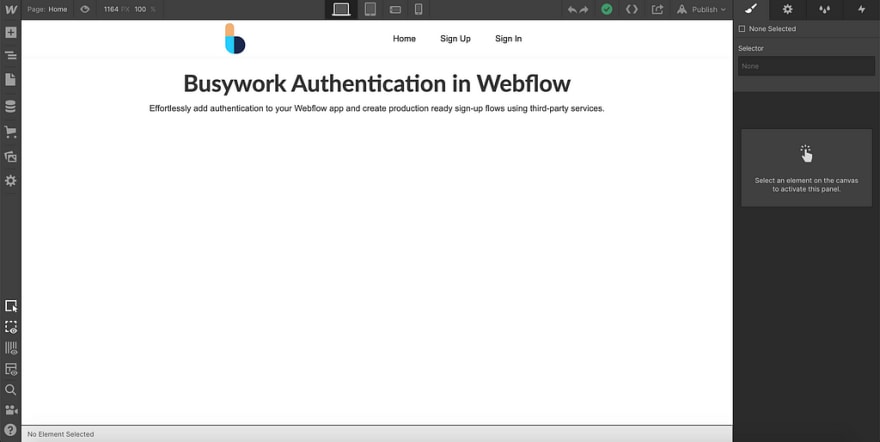
First off, we need to create a new project in Webflow. We want to start with a blank project for this tutorial.
I won’t focus too much on the aesthetics of the “app” that we are making, but rather on how we integrate Busywork in Webflow. I’m making a very simple design, with a navbar and multiple pages — one page for each of the navbar elements.
For the “Sign Up”-page, we need a form. This form will take user input and send it to our Busywork function, which in turn registers the user with the provided credentials.
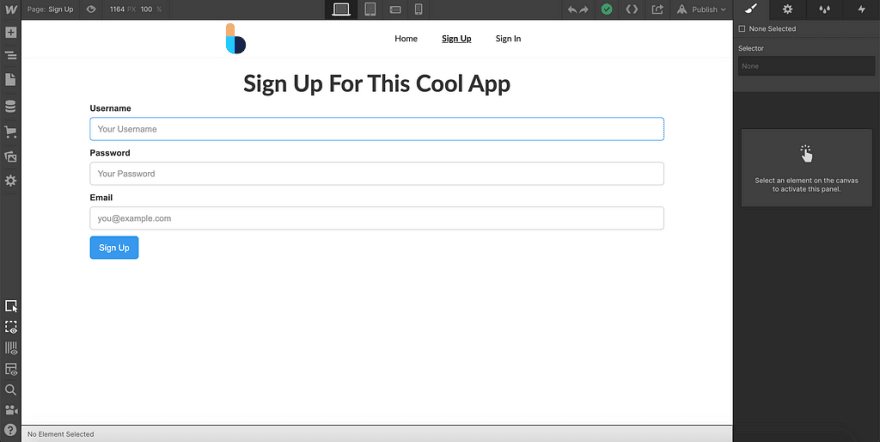
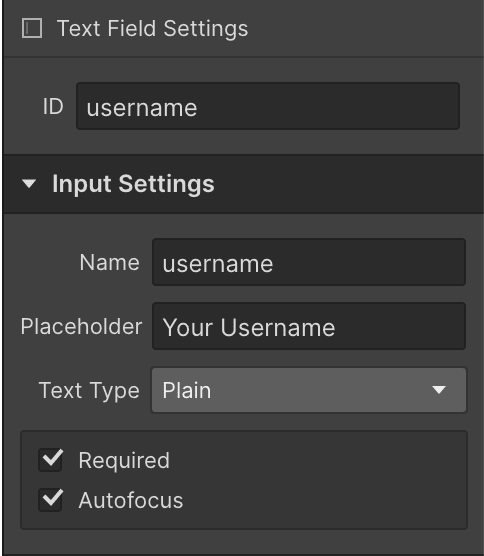
As shown, the form asks the user for a username, password, and email. Each of the form elements and the form itself needs to have an ID. IDs are required for us to read the value from the form when it is submitted.
The same rules apply when making the “Sign-In”-page for our app. On this page, we only need the username and password, though.
Unfortunately, Webflow won't allow us to submit password fields. This means that we need to use a regular button for submitting the form.

Finally, we want to give the user some feedback when signing up. There are two possible outcomes: successful registration or failure. For both cases, we want to display a message.
The messages are represented by two divs inside the section that holds the sign up form. Initially, the page shouldn’t show any message. We want to toggle one or the other when we know if the user has been signed up. In order to do this, we set the display option to None for both divs. This ensures that nothing is displayed when the page is loaded.
This concludes the setup of our very basic sign up page in Webflow. Feel free to add more fields to your form.
Webflow, meet Busywork
For now, this is where no-code ends, and we need to do some light Javascript. We need to bind the actions of the UI elements to the functions in Busywork.
Your Webflow project will have a Custom Code section in the Site Settings. Navigate to that.
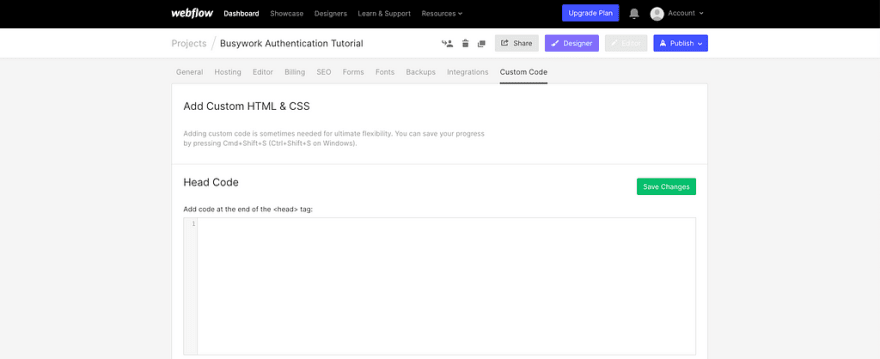
In the Head Code , we want to load a small Javascript library that easily allows us to call Busywork functions. In this particular case, we only need to load the Auth module.
<script src="http://cdn.busywork.co/busywork-js-sdk/latest/auth.min.js"></script>
In the Footer Code, we put the front end logic of our application. I’ll show the code in snippets and post the complete code in its entirety at the end of this section.
First off, the library we’ve just imported needs to first be initialized.
You have to change the URLs in the config object to the ones from your Busywork Builds. The URLs can be copied from the Busywork dashboard.
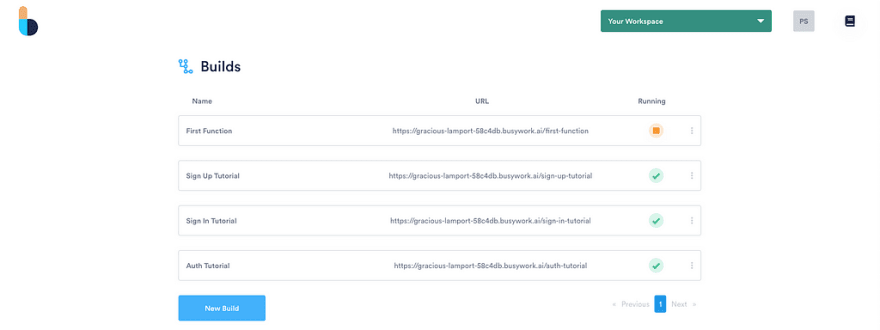
Or inside each of the Builds.
Now we are ready to connect the Javascript library to the form elements in Webflow. Our goal is to execute the function in Busywork that signs up a user when the form is submitted.
First, we create a function that is executed when our sign up form is submitted. Webflow doesn’t allow password fields to be submitted, so we need to use a regular button for our form. In this case, the ID of our button is btn-sign-up. When the form is submitted we read the values of the form input.
var username = document.getElementById('username').value;
var password = document.getElementById('password').value;
var email = document.getElementById('email').value;
Now is when the small library, which we’ve loaded previously, comes in handy. It simplifies what we need to do in order to call the Busywork function that we’ve created.
In the above snippet, we call the signUp method of the authentication object that started by creating. This takes care of sending data to our Busywork function and checks if the user has been registered. The method returns a Promise, that contains either true or false depending on the outcome of the sign-up. Based on the result of the signUp method we either show one or the other message.
And the complete Footer Code:
Demo
You can see and try a demo of what we’ve built here: http://busywork-authentication-tutorial.webflow.io/
Conclusion
In this first part of the series, I’ve introduced Busywork, its concepts and how it can be used with Webflow. A goal of this tutorial was to have a low code to no-code ratio, which I think we’ve achieved.
Stay tuned for the next parts in the series, and feel free to leave a comment or post suggestions to future tutorials.

Top comments (1)
Some comments may only be visible to logged-in visitors. Sign in to view all comments.