
Building the worlds easiest to use game engine Devlog 1: The vision
Hey everybody I have a new mission I'm going to create the world's easiest to use game engine.
It can be used by kids, pupils or students that want to get started with programming and especially with making games.
There will be no project setup and no searching for assets. You can jump straight into creating games.
In this blog post I'm trying to explain my vision, basically how I image to create games with the engine.
The scene view
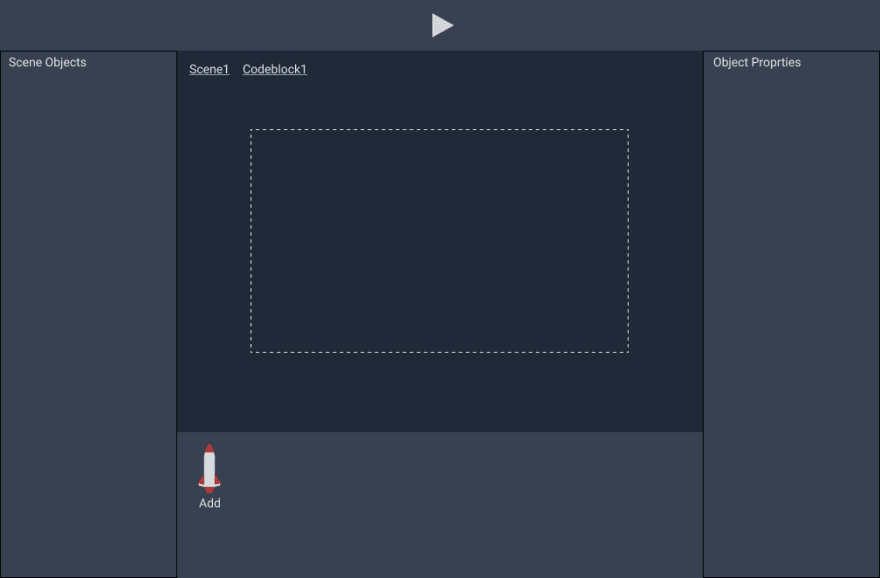
This is the basic to layout of the editor. There is a left sidebar and a right sidebar.
In the left sidebar you have a tree View of all the objects and Sprites you currently have in your scene and in the right sidebar you see all the properties of an object, if you have currently selected one.
The bottom panel is the asset Explorer. You have a lot, and I mean really a lot of sprites and game objects there that can be used in your games. So there is no searching for assets, cropping them, bringing them into the right size and all that annoying stuff.
Everything is prepared to get instantly used in your game.
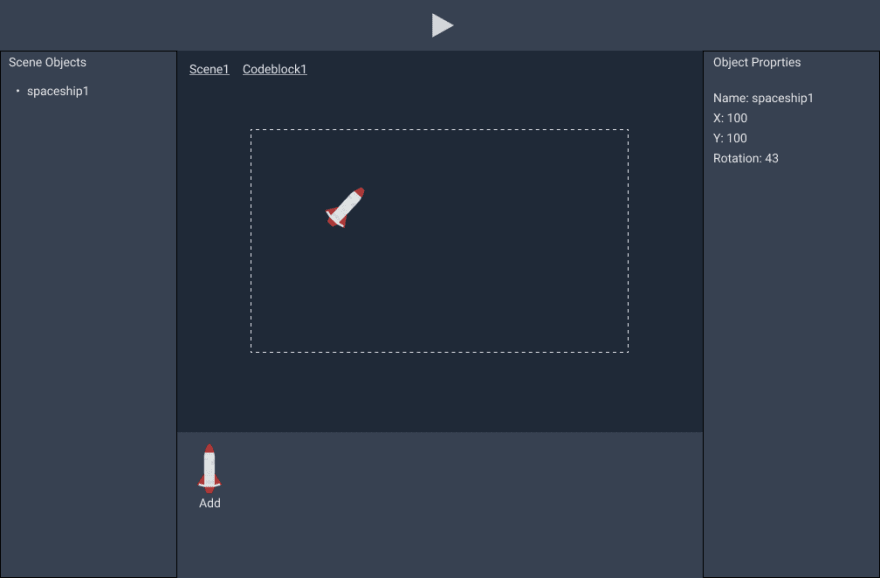
If you want to add one of those assets to your game just click the little ADD button and the object appears in Your Scene. You can now move it around, scale it, rotated it and do whatever you want with it. You will see all properties that you change on your sprite change in the right sidebar.
The Code Block view
If you have all objects that you need for your game in your scene you can switch to the CODE BLOCK view by clicking that tab buttons up here.
All the game logic needed by your game is split up into blocks.
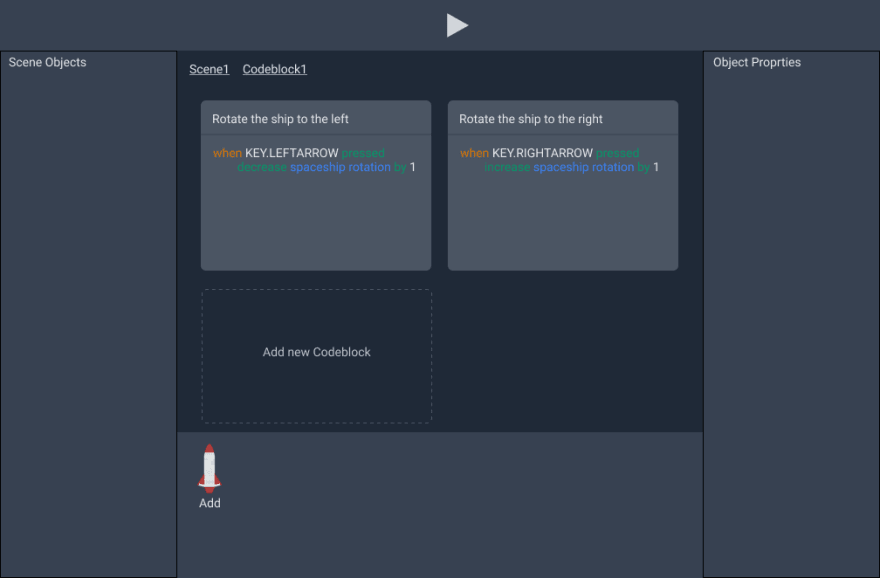
The engine will use a very simple scripting language to attach behaviour to your objects. This scripting language is heavily inspired by natural language so it's easy for kids to understand what's actually happening. Here is an example of it:
I prepared two code blocks that attach rotation behaviour to my spaceship that I added to the scene before.
You can see there is an event when the left arrow key is pressed. Then select all spaceships and add one to the rotation property.
That's all the logic needed for the first game. Now we can press the little preview button here and the gamepreview will open in a new tab.
In the new tab you can directly try what you created seconds before. We see our spaceship and we can rotate it with the arrow keys.
Of course this game is not created by the engine. It's just some random stuff I hacked together to show how I want it to behave in the future.
That's it for the first devlog. I hope you get what I'm trying to achieve here.
If you have any feedback or critique, just let me know. you can reach me on twitter. Just shoot me a DM if you have any questions. My twitter handle is RalliPi Twitter
My DMs are open if you have any feedback. I'm always up for a chat there.
This blog post is also available as a video on youtube if you would like to get more details about my plans:

Top comments (0)