
Hello amazing people 👋
So we finally had our website running the last article. Oh not sure what I am talking about, check out the first part of the blog here 👇

Now let's setup a custom domain and make sure we have the SSL certificate for it.
Setting up the custom domain
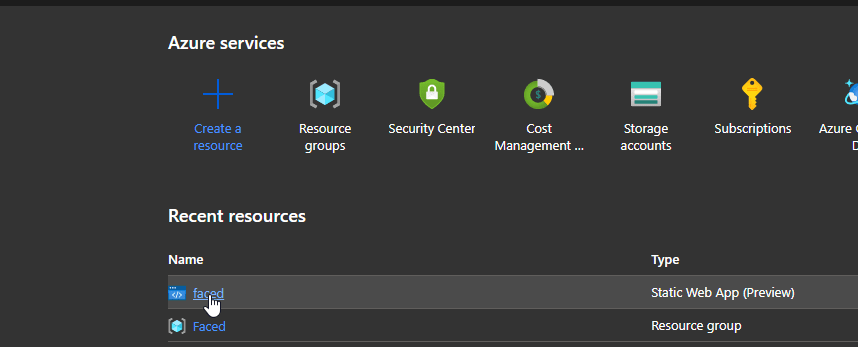
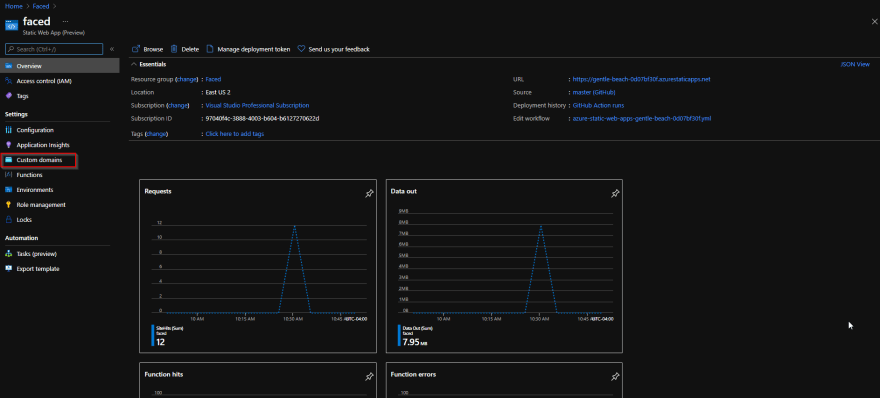
Let's navigate to the Static Web App that we created in the last article.
And in the blade, you should see Custom Domains section. Let's click that
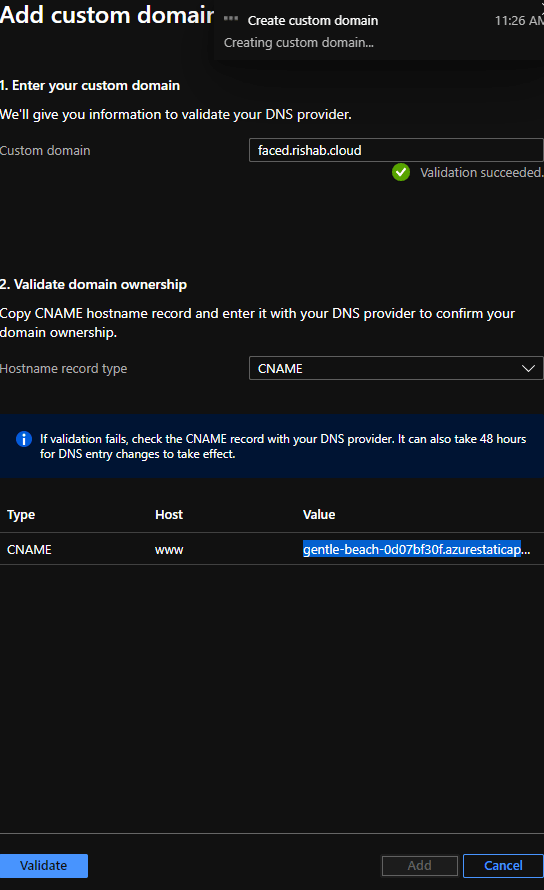
Now, if we click on the Add, it will open a tab on the right side for you to add the custom domain name, for this demo I will be using faced.rishab.cloud.
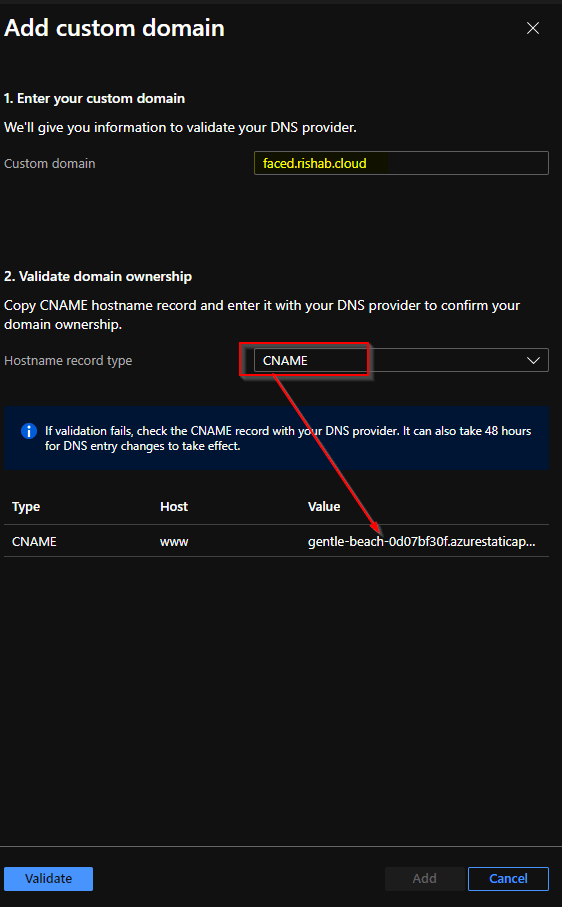
At this point, we have to update our Domain Name provider, in my case it's AWS-Route53. So I will create a CNAME record in Route53 to point to that value provided in Azure Static Web App

If you use a different domain provider, the UI for adding the CNAME record should still look pretty similar.
Now, if we click on Validate after adding the CNAME record, it should succeed.
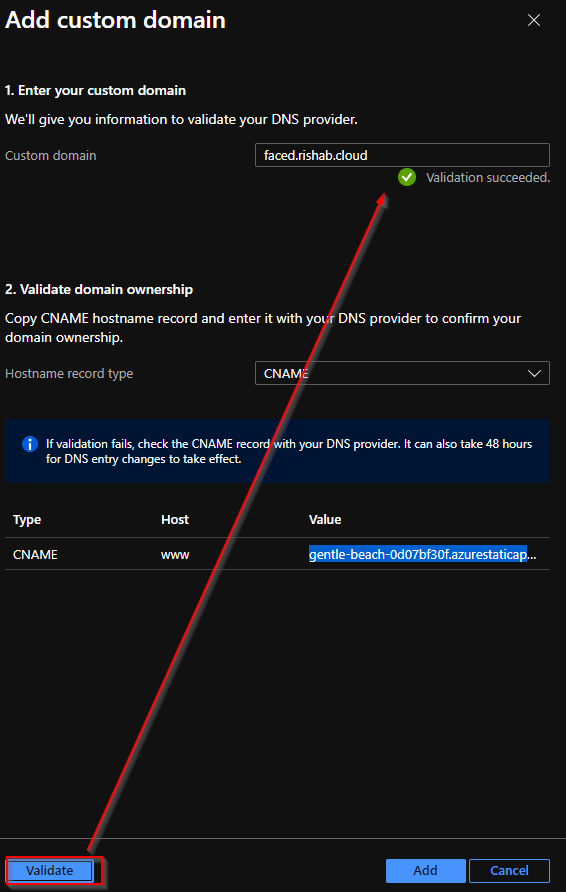
And after the validation has succeeded, click on add.
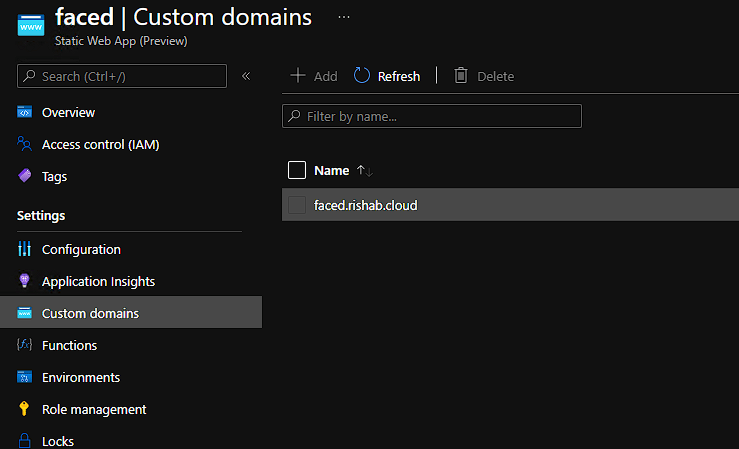
After few minutes of wait, you will see the domain is added:
Let's navigate to our site now!
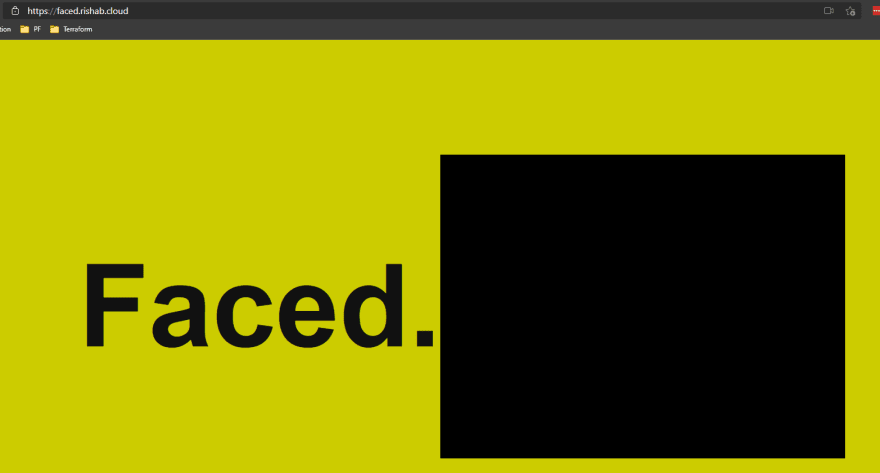
Did you notice something 🤔?
Yes, it also got a SSL certificate for the site, Azure Static Web Apps provisioned a certificate.

That's all for this article!
Hope you found it helpful, please feel free to reach out if you have any concerns, my twitter - @rishabk7

Top comments (0)