Hi everyone,
In previous tutorials, we talked about how to create ExpressJs server and, handling file upload with multer, so In this tutorial, I will show how to connect a MongoDB database with your ExpressJs server.
So to begin with you need to install MongoDB server, and Robo 3T a GUI to view the data.
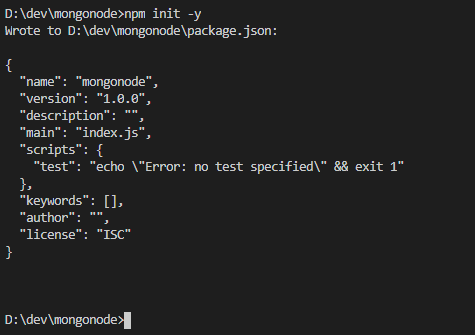
After successfully installing them we can spin up a new npm project.
mkdir mongonode
cd mongonode
npm init -y
To communicate with our database we will use Mongoose, which is a MongoDB object modeling tool. this will make easier to work with the Database with it's abstracting functionalities.
so let's install all the dependencies we need to create the app.
- Mongoose- our database data mapping tool
- Express - to spin up our expressjs server
-
Body-parser - a
middlewareto parse the body of incomming requests -
Morgan - a
middlewareutility tool that logs the server events (this is not essential but useful for debugging)
npm I mongoose express body-parser morgan
Now we need to design the structure of our data.
in this simple example, I will demonstrate a simple user details collection scenario.
we will have one schema called User
and a user will have the following attributes.
- email (unique)
- first name
- last name
- address
- occupation
- income
we will create 5 routes to handle data from our Express server.
/adduser - POST
/updateuser - POST
/deletebyid - POST
/deletebyemail - POST
/viewusers - GET
okay now we have the project outline, let's start building our server.
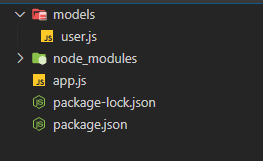
to start with we need to have our entry point that is app.js file . and then we need to have a separate file for our database schema. it will be our models folder. inside it, we will have a .js file for every document schema we have.
so in this, we only have user schema so we will create user.js inside our models folder . after creating it will look something like this.
now we can start with our user.js file inside the models folder.
const mongoose = require("mongoose"); //import mongoose

var Schema = mongoose.Schema; // declare a new schema

var userSchema = new Schema({
  email: {
                 // here we are adding attributes to our declared schema
   type:String,  // in the options we have to give the type. and will can
   unique: true  // also add additional options, since email is unique we
                 // will create it as unique.
  },
  firstName: {
    type: String
  },
  lastName: {
    type: String
  },
  address: {
    type: String
  },
  Occupation: {
    type: String
  },
  income: {
    type: Number
  }
});

const User = mongoose.model("User", userSchema); // now we have to create our model

module.exports = User;  // export our created model
after creating the User model let's create our server and connect it with our database in app.js.
since this tutorial is about database connectivity not going deep into ExpressJs stuff.
if you have any doubt refer my previous tutorial on hello world in ExpressJs

Build your first ExpressJs server from scratch.
Rajitha Gunathilake ・ Dec 1 '19 ・ 4 min read
const express = require("express");
const app = express();
const port = process.env.PORT || 3001;
const bodyParser = require("body-parser");
app.use(bodyParser.urlencoded({ extended: false }));
app.use(bodyParser.json());
app.use(require("morgan")("dev"))
const User = require("./models/user"); // import our declared schema from models folder
const mongoose = require("mongoose");  // import mongoose
mongoose.Promise = global.Promise;     // configure mongoose promises

const mongodbAPI = "mongodb://127.0.0.1:27017/mongoexpress"; // here we declare
//our database URL. we can use any name after instead of "mongoexpress"  and it
//will automatically create the database for us in that name
after setting up we need to write our first route. /adduser
app.post("/adduser", (req, res) => {
  var newUser = User({
    // create a new user object and pass the formdata to the newUser . then call //.save() method . it will return a promise .
    email: req.body.email,
    firstName: req.body.firstName,
    lastName: req.body.lastName,
    address: req.body.address,
    Occupation: req.body.Occupation,
    income: req.body.income
  });

  newUser // save the data via save method
    .save()
    .then(doc => {
      console.log(doc);
      res.json(doc); // send  the document back
    })
    .catch(err => {
      res.send(err);
    });
});


try { // here we connect with MongoDB with the URL we specified earlier
  mongoose.connect(mongodbAPI, { useNewUrlParser: true }, err => {
    if (!err) console.log("connected to mongodb sucsessfully" + "👍");
    console.log(err);
  });
} catch (error) {
  console.log(error);
}

app.listen(port, () => {
  console.log("listning on " + port);
});
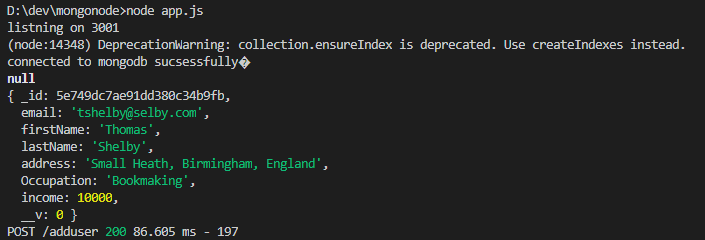
Now to test this. let's start our server with nodemon app.js . and keep in mind before you run make sure MongoDB server is running.
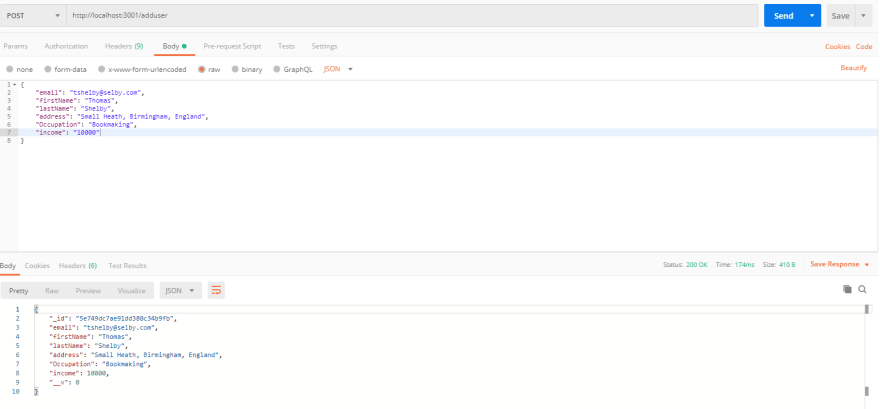
now fire up postman to test our newly created /adduser route.
send a post request with data of the user to http://localhost:3001/adduser.
here we can see our route us working properly and we are connected to the database successfully.
we also can view data with Robo 3t
if we now send an again the same email, it will generate an error because we add the unique option when creating the model.
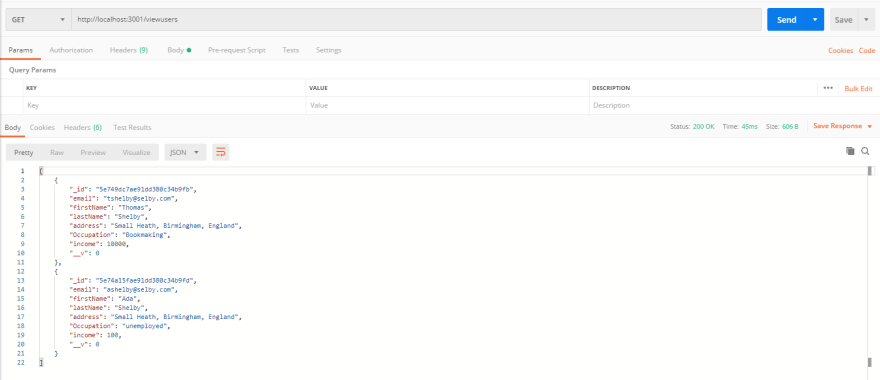
now let's create our '/viewusers' route. here I will use GET since we are not sending any data to the API.
this is fairly simple we only need to use find({}) without any filter data and it will return every document in the collection .
app.get("/viewusers", (req, res) => {
  User.find({}) // find without any conditions will return all the documents in
                //that collection
    .then(docs => {
      res.json(docs); // send documents
    })
    .catch(err => {
      res.send(err);
    });
});
and we can see all the data in the database will come (i added 1 more user to show multiple users )
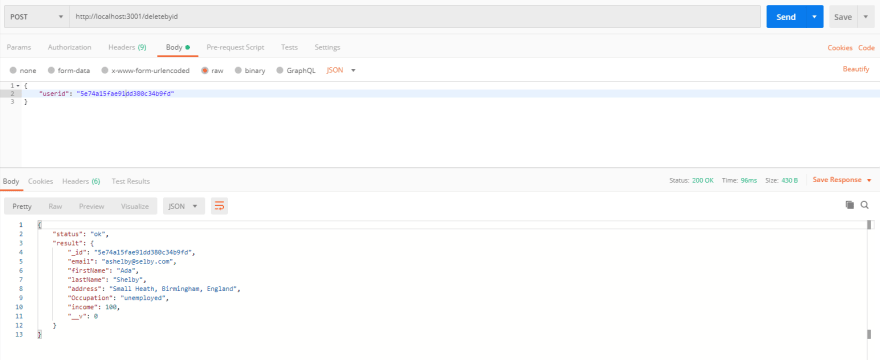
next we will implement /deletebyid route.
since we are going to delete a use we need to know which user to delete. so we will send the unique Id generated by mongoDB to uniquely identify the user. we can also use the users' email because we make it unique.
app.post("/deletebyid", (req, res) => {
  User.findByIdAndDelete(req.body.userid)
    .then(result => {
      res.json({ status: "ok", result: result });
    })
    .catch(err => {
      console.log(err);
      res.send(err);
    });
});
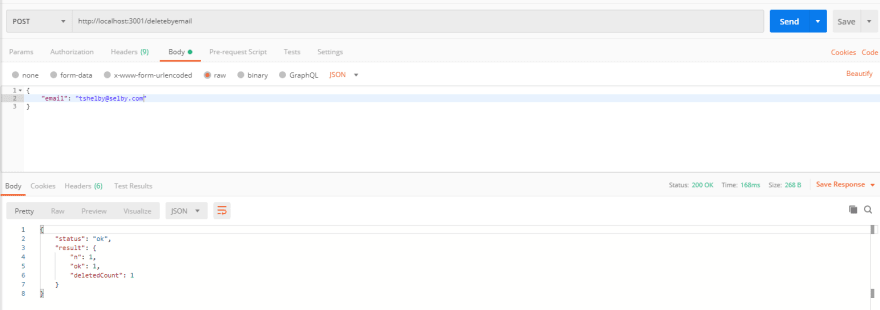
/deletebyemail route can be implemented by following
app.post("/deletebyemail", (req, res) => {
  User.deleteOne({ email: req.body.email })
    .then(result => {
      res.json({ status: "ok", result: result });
    })
    .catch(err => {
      console.log(err);
      res.send(err);
    });
});
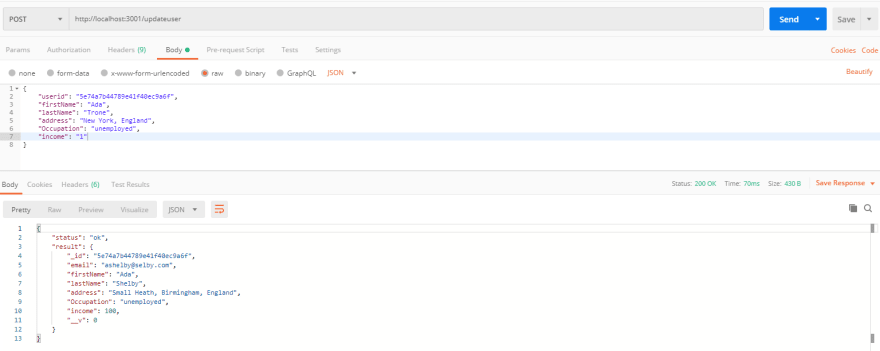
finally, we are left with /updateuser route.
here also we need to identify which user to update . to identify that user , we can use user id generated by MongoDB . and we also need to send all the details to update regardless it is updated or not. we can implement it differently but I choose this because it will remain simple to understand.
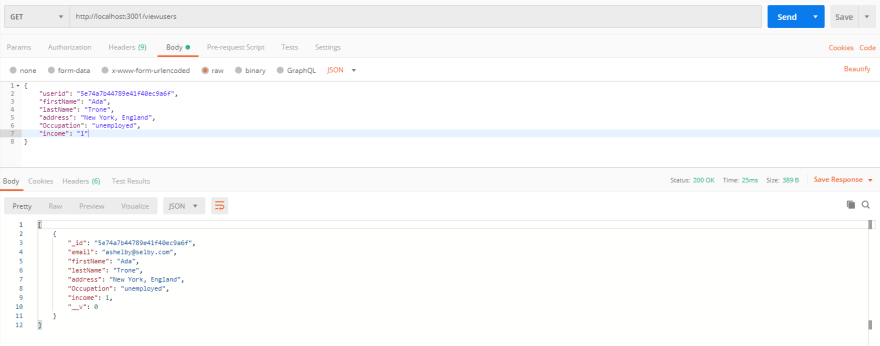
and we can see in data have changed from /viewusers route.
well, now we completed all the CRUD operations in MongoDB.
here the gist is to use the functions given by mongoose . and use them as we need
find
findById
updateOne
deleteOne
findOneAndDelete
these are few commonly used functions in mongoose.
you can use the mongoose documentation
and MongoDB documentation.
you can find complete code in github gist.





Top comments (0)