GraphQL is a query language for APIs and a runtime for fulfilling those queries with your existing data. GraphQL provides a complete and understandable description of the data in your API, gives clients the power to ask for exactly what they need and nothing more, makes it easier to evolve APIs over time, and enables powerful developer tools.
Let's integrate this with React Native App.
Step 1: Basic Setup:
Create a react native project
npx react-native init GraphqlDemo
Install apollo client and graphQL
npm install @apollo/client graphql
Step 2: Apollo Client Integration:
In this step, we will initialize Apollo client with Graphql
API Endpoint. After that, we have to wrap our App with ApolloProvider.
ApolloProvider wraps the app and places Apollo Client on the context, enabling us to access it from anywhere in our component tree.
import React from 'react';
import {SafeAreaView, StyleSheet, useColorScheme} from 'react-native';

import {Colors} from 'react-native/Libraries/NewAppScreen';
import {ApolloClient, ApolloProvider, InMemoryCache} from '@apollo/client';
import HomePage from './src/screenModules/HomePage';

const client = new ApolloClient({
  // create an apollo link instance, a network interface for apollo client
  uri: 'https://swapi-graphql.netlify.app/.netlify/functions/index',
  // create an in memory cache instance for caching graphql data
  cache: new InMemoryCache(),
});

function App(): JSX.Element {
  const isDarkMode = useColorScheme() === 'dark';

  const backgroundStyle = {
    backgroundColor: isDarkMode ? Colors.darker : Colors.lighter,
  };

  return (
    <SafeAreaView style={backgroundStyle}>
      <ApolloProvider client={client}>
        <HomePage />
      </ApolloProvider>
    </SafeAreaView>
  );
}

export default App;
In the above code, we are using a demo API endpoint which gives us data about Star Wars movies.
Step 4: GraphQl Request Query:
Now lets create our query to fetch data from the endPoint.
You can also play around in the explorer by opening the same end point in your browser: https://studio.apollographql.com/public/star-wars-swapi/variant/current/explorer
The gql template literal tag can be used to concisely write a GraphQL query that is parsed into a standard GraphQL AST. It is the recommended method for passing queries to Apollo Client. While it is primarily built for Apollo Client, it generates a generic GraphQL AST which can be used by any GraphQL client.
import {gql} from '@apollo/client';

export const AllFilms = gql`
  query Query {
    allFilms {
      films {
        title
        director
        releaseDate
      }
    }
  }
`;
Step 5: HomePage.tsx:
Now Apollo Client prove us with hook useQuery. This hook gives us 3 states:
⇒loading: When data is being fetch this will be true
⇒error: When there is error in fetching data
⇒data: Requested data in the format specified in query
Now we can use this to create our homepage as such:
import React from 'react';
import {FlatList, StyleSheet, Text, View} from 'react-native';
import {useQuery} from '@apollo/client';
import {AllFilms} from '../../GraphQL/Query';
const HomePage = () => {
const {data, loading} = useQuery(AllFilms);
const header = () => {
return (
<View style={styles.headerView}>
<Text style={styles.headerTitle}>Star Wars Films</Text>
</View>
);
};
const AllFilmsItem = ({item}) => {
const {title, director, releaseDate} = item;
return (
<View style={styles.cards}>
<View>
<Text style={styles.title}>Title: {title}</Text>
</View>
<View>
<Text style={styles.description}>Director: {director}</Text>
<Text style={styles.description}>Release Date: {releaseDate}</Text>
</View>
</View>
);
};
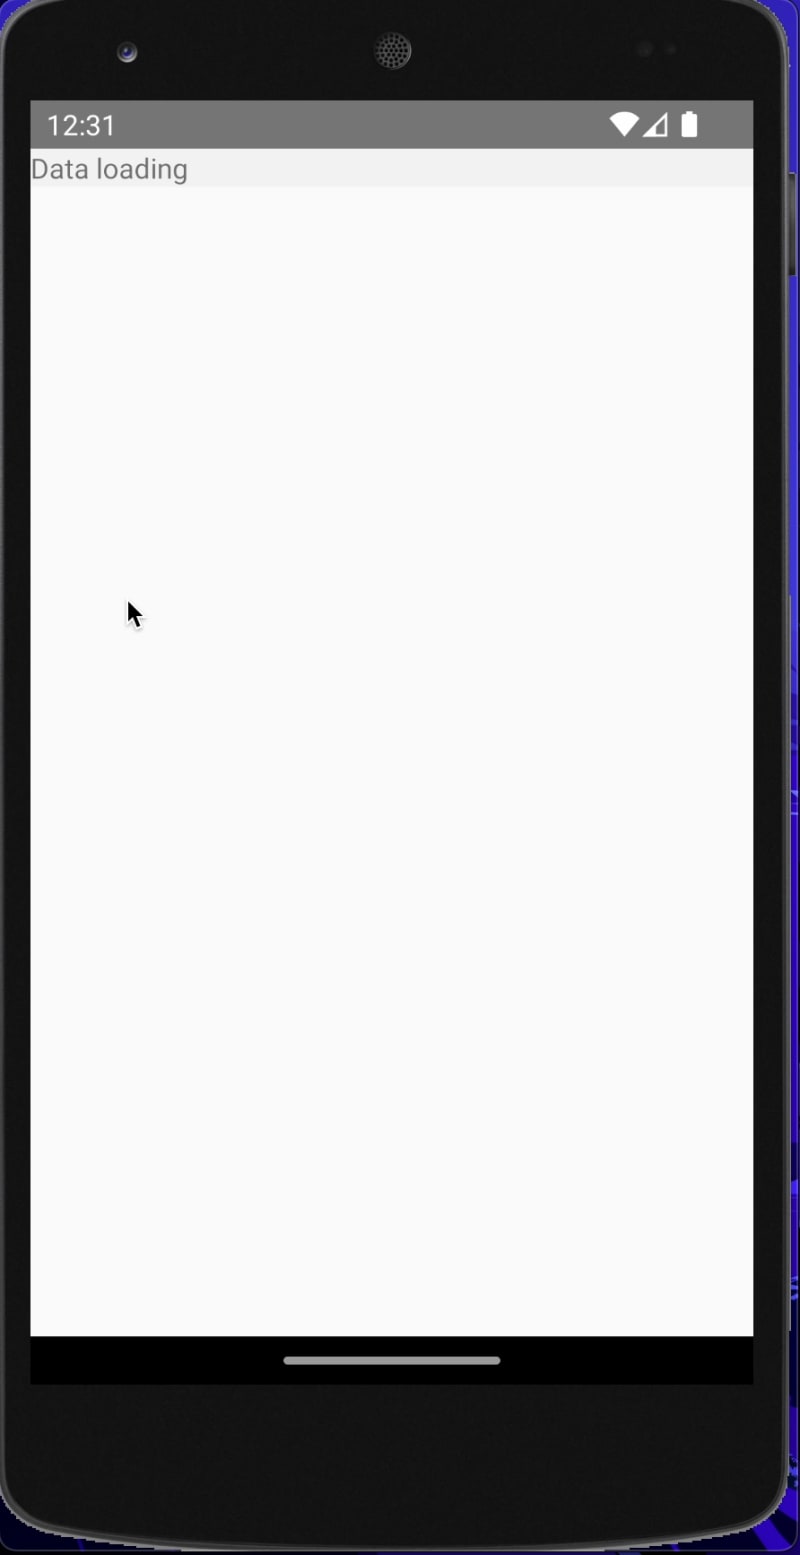
if (loading) {
return <Text>Data loading</Text>;
}
return (
<FlatList
style={styles.container}
data={data.allFilms.films}
contentContainerStyle={styles.contentContainer}
renderItem={({item}) => <AllFilmsItem item={item} />}
keyExtractor={(_, index) => index.toString()}
ListHeaderComponent={header}
/>
);
};
const styles = StyleSheet.create({
container: {
backgroundColor: 'white',
},
headerView: {
padding: 16,
},
headerTitle: {
fontSize: 18,
color: 'black',
fontWeight: '600',
textAlign: 'center',
},
cards: {
padding: 16,
backgroundColor: 'white',
elevation: 2,
shadowColor: 'black',
shadowOpacity: 0.2,
shadowRadius: 2,
marginBottom: 8,
borderRadius: 8,
},
contentContainer: {
padding: 16,
},
title: {
fontSize: 16,
color: 'black',
fontWeight: '600',
},
description: {
fontSize: 14,
color: 'black',
fontWeight: '600',
},
});
export default HomePage;
Final Product will look like this:
In Loading state:
When Data is fetched:


Top comments (0)