
Azure is a powerful cloud platform that allows you to create and manage virtual machines (VMs) and storage resources easily. In many scenarios, you may need to attach an additional data disk to a VM for increased storage capacity. This article walks you through the process of creating a VM data disk, initializing it, and making it usable in an Azure VM.
Certainly! Below is a step-by-step guide on how to create a VM, attach a data disk, initialize it, and make it usable using RDP (Remote Desktop Protocol) on Azure.
Step 1: Create a Virtual Machine (VM) on Azure
Before you can attach a data disk to a virtual machine, the virtual machine must first be created. Here's how you can do it:
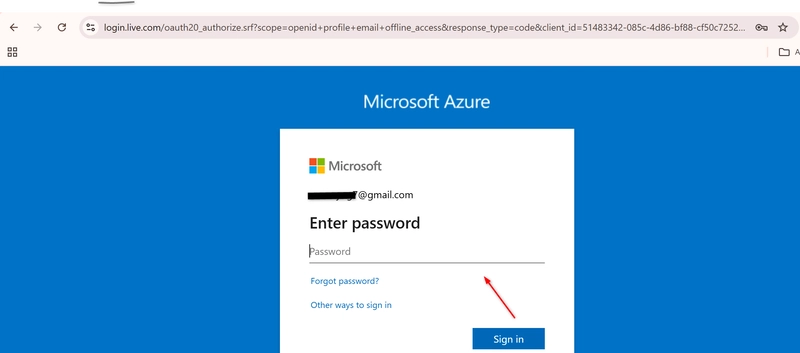
1.1 Sign In to Azure Portal
- Visit the Azure Portal.
- Sign in with your Azure credentials (Microsoft account or Azure Active Directory).
1.2 Start the VM Creation Process
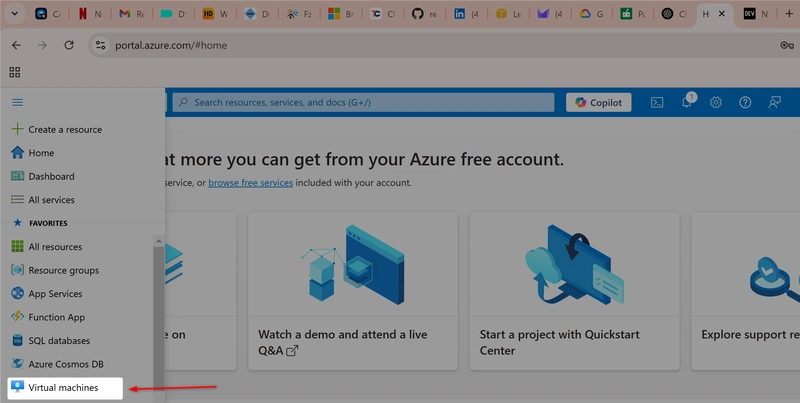
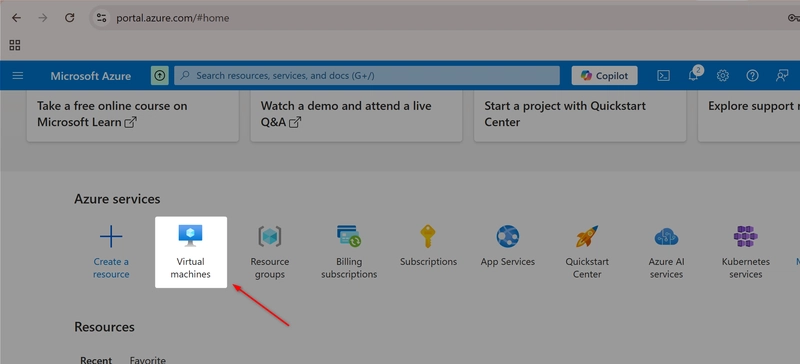
- In the left-hand navigation pane, click "Create a resource".
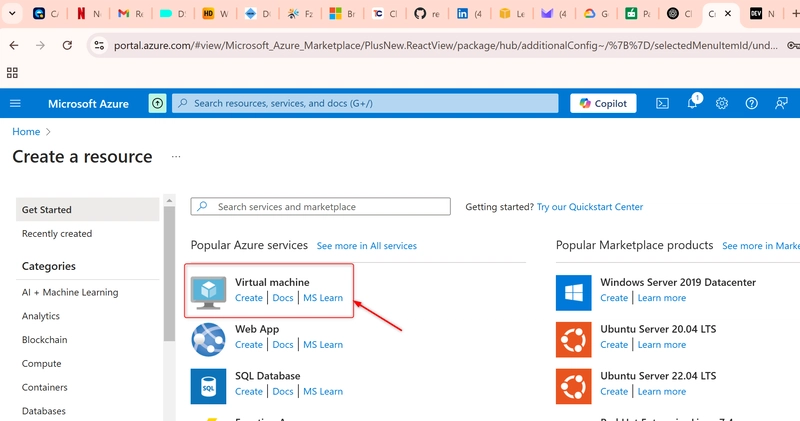
- In the Search the Marketplace box, type "Virtual Machine" and select Virtual Machine.
- Click on Create to begin the creation of your new virtual machine.
1.3 Configure Basic Settings
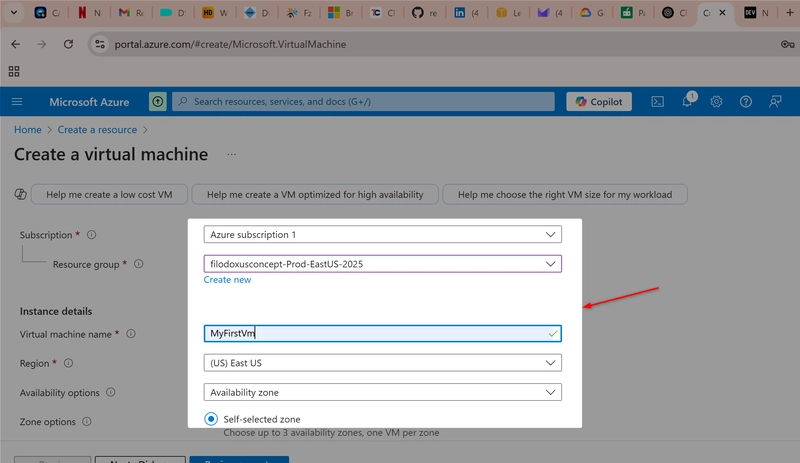
- Subscription: Choose the Azure subscription under which the VM will be created.
- Resource Group: Select an existing resource group or create a new one.
-
VM Name: Give your VM a unique name (e.g.,
MyAzureVM). - Region: Choose the region where you want your VM to be located.
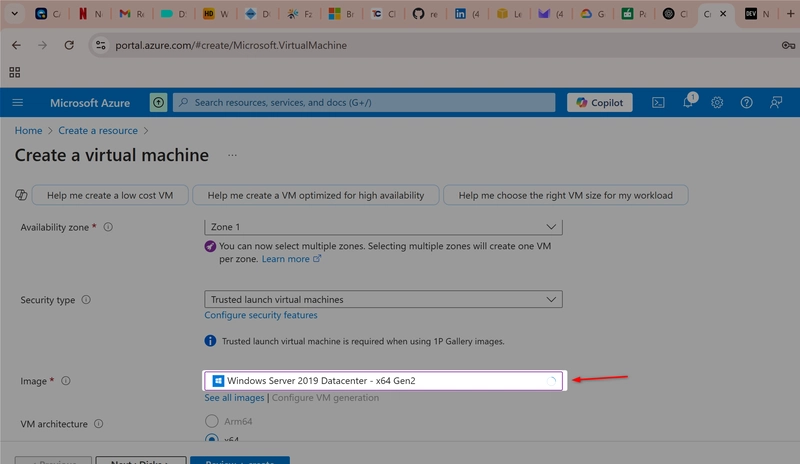
- Image: Choose the desired operating system. For example, choose Windows Server for a Windows-based VM.
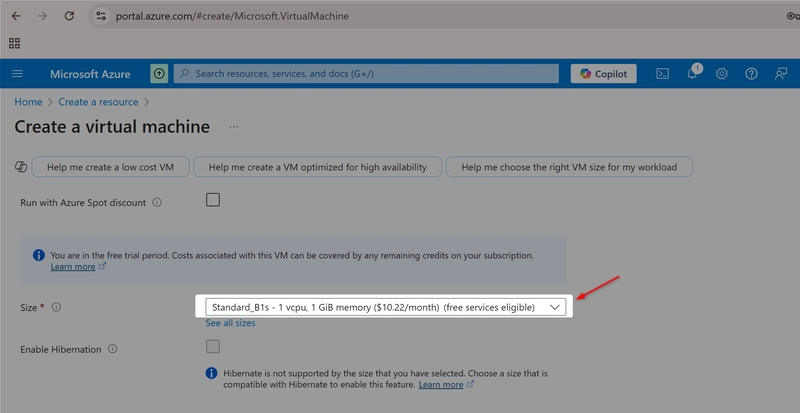
- Size: Choose the appropriate VM size based on your needs (CPU, RAM, etc.).
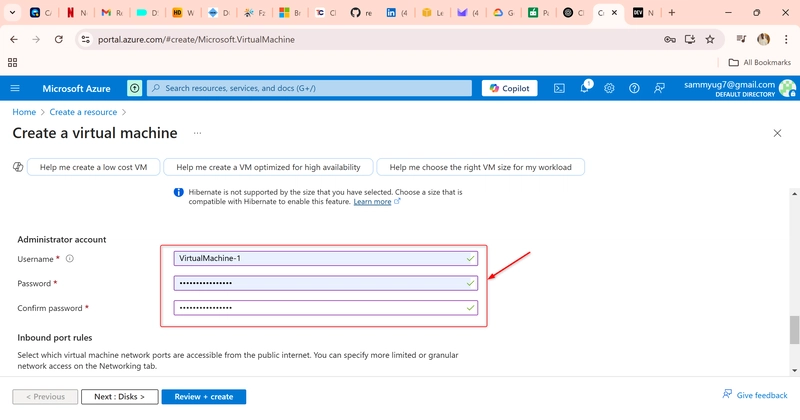
- Authentication Type: Choose Password for simpler access or SSH public key if you're familiar with SSH keys. Since we're using RDP, select Password and set an administrator username and password.
1.4 Configure Networking and Storage
- Virtual Network (VNet): Azure will create a default VNet or allow you to choose an existing one.
- Subnet: Choose a subnet or accept the default option.
- Public IP: Select "Yes" to assign a public IP if you need remote access.
- Network Security Group (NSG): Ensure RDP (TCP/3389) is enabled.
- OS Disk: Choose the disk type, such as Standard SSD.
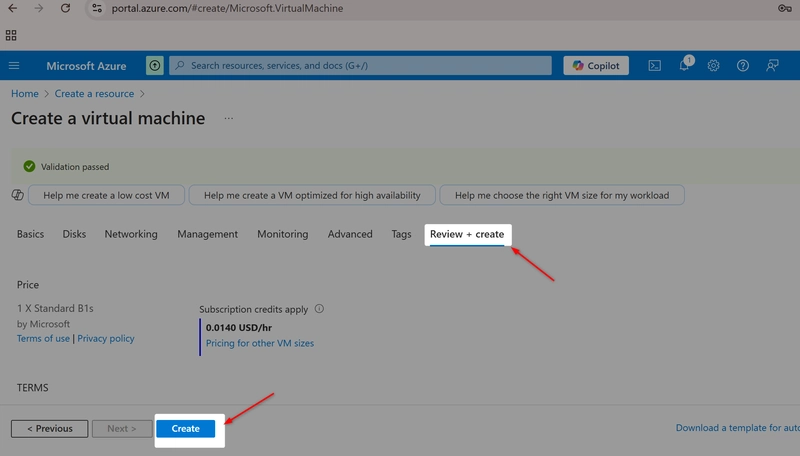
1.5 Review and Create
Review all the configurations.
Click "Create" to start the deployment. It will take a few minutes to deploy the VM.
Once the VM is deployed, it will be listed in the Virtual Machines section of the Azure Portal.
Step 2: Attach a Data Disk to the VM
After the VM is created, we can attach a data disk for additional storage.
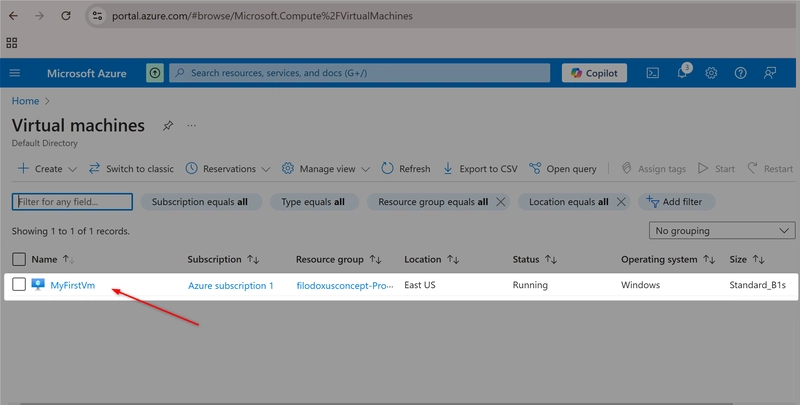
2.1 Navigate to Your Virtual Machine
- Go to Virtual Machines in the Azure portal.
- Click on the VM you just created.
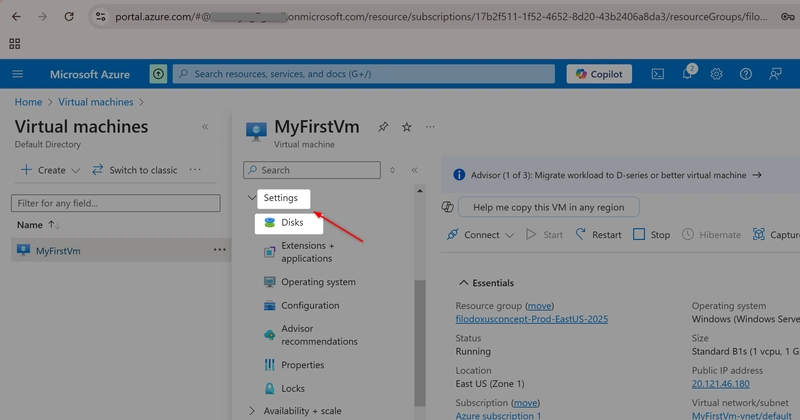
2.2 Attach a Data Disk
- In the VM's settings, find and click on Disks in the left-hand menu.
- Under Data Disks, click on Add data disk.

- To create a new data disk, select Create and attach a new disk.
- Choose a Disk Type (Standard HDD, Premium SSD, etc.).
- Set the Size based on your storage needs.
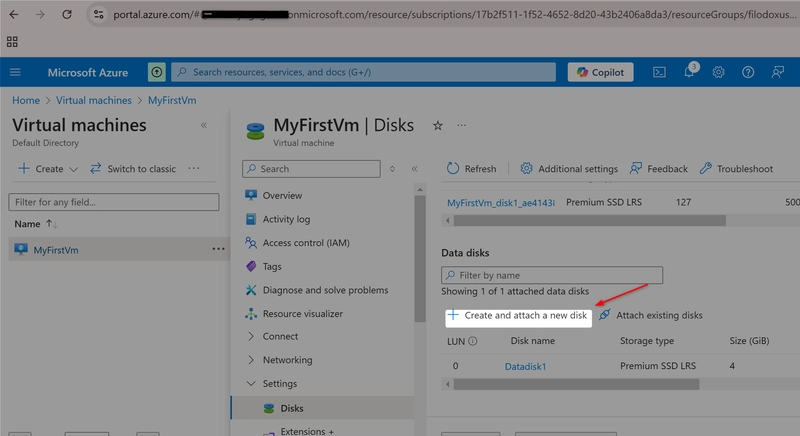
- Click Save to attach the new data disk to your VM.
Azure will now attach the data disk to your VM.
Step 3: Initialize the Data Disk Using RDP
Now that the data disk is attached, you need to initialize and format it before you can use it.
3.1 Connect to the VM via RDP
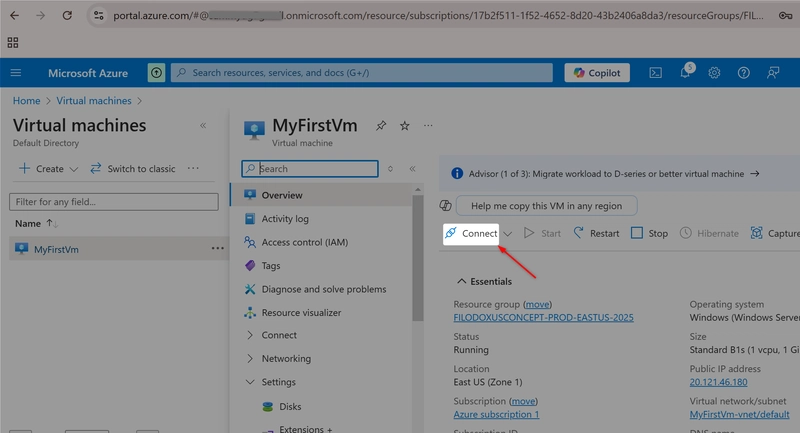
- In the Azure Portal, go to Virtual Machines and select your VM.
- On the VM's page, click on Connect at the top.
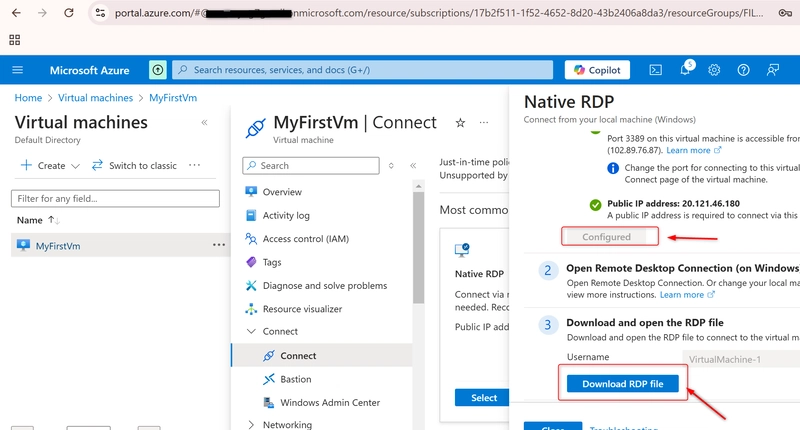
- Select RDP (Remote Desktop Protocol).

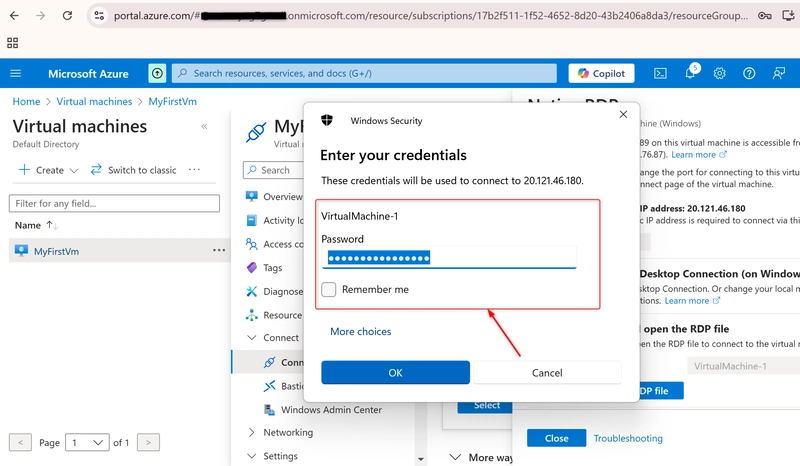
- Download the RDP file and enter the username and password you set when creating the VM.
3.2 Initialize and Format the Data Disk (Windows)
Once you are connected to the Windows VM via RDP, follow these steps to initialize the new data disk:
-
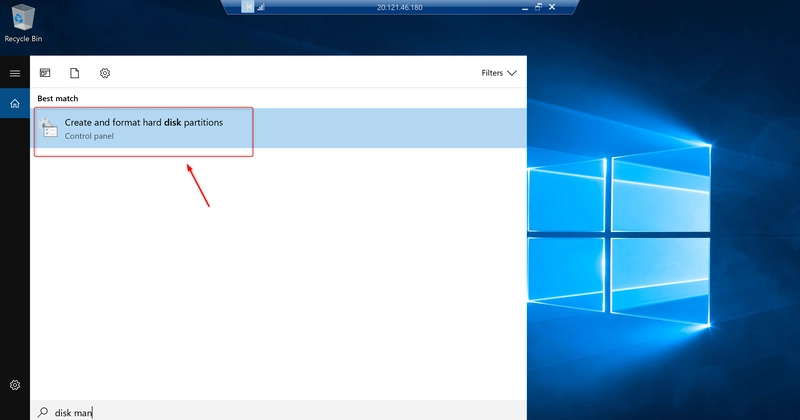
Open Disk Management:
- Press Win + X and select Disk Management (or type
diskmgmt.mscin the search box and press Enter).
- Press Win + X and select Disk Management (or type
-
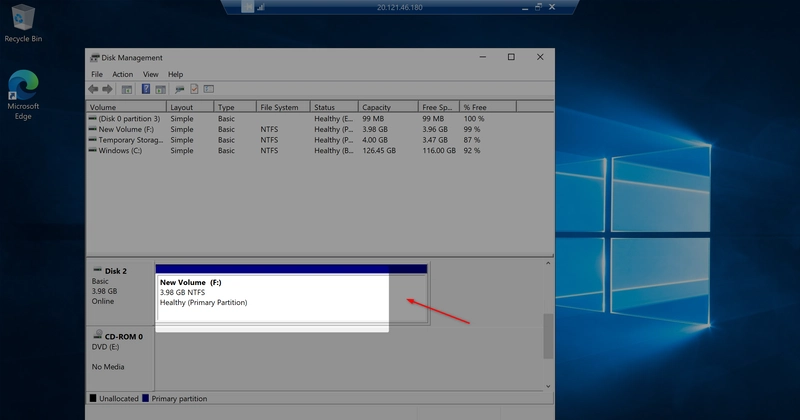
Initialize the New Disk:
- When Disk Management opens, you should see your new disk listed as "Disk 1" or "Disk 2" (depending on how many disks you already have attached). It will be marked as Unallocated.
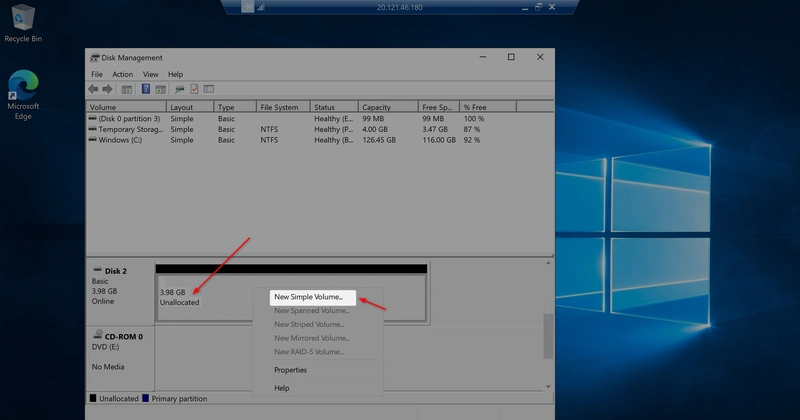
- Right-click on the unallocated space and select Initialize Disk.
- Choose GPT (GUID Partition Table) if your disk is large (greater than 2TB) or MBR (Master Boot Record) for smaller disks. Click OK.

-
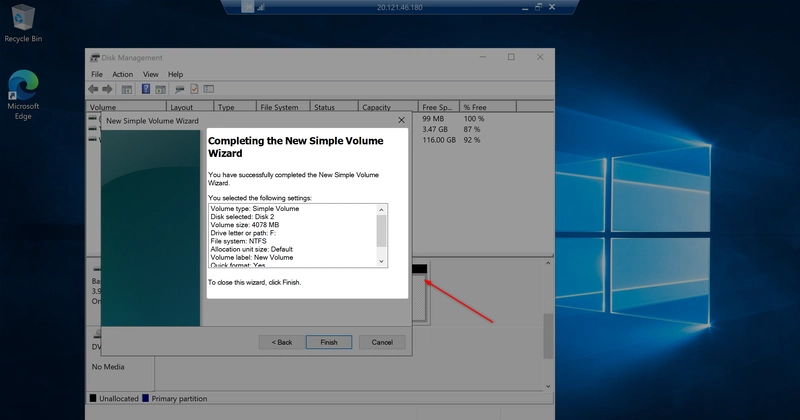
Create a New Volume:
- Right-click on the unallocated space and select New Simple Volume.

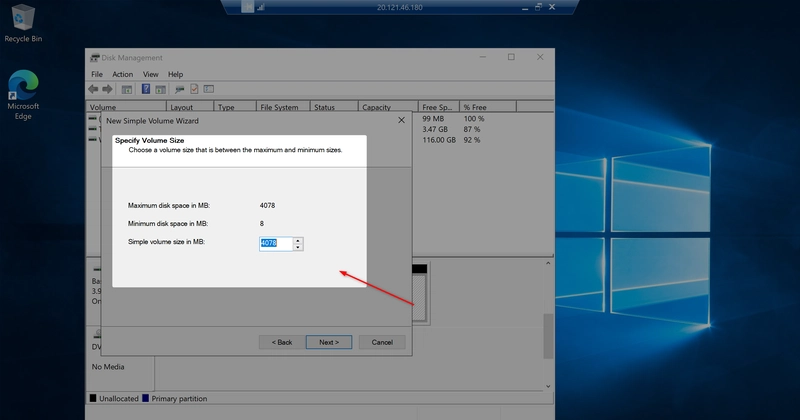
The New Simple Volume Wizard will appear. Follow the wizard to set up the volume:
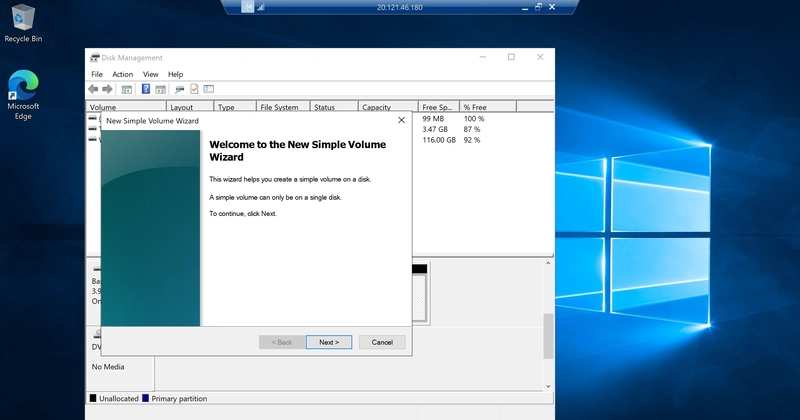
Select the size of the partition (the default is the entire disk).
Assign a drive letter (e.g., E:).
Choose the NTFS file system (recommended for Windows).

You can name the volume (e.g., "Data Disk").
-
Complete the Wizard:
- Click Next and then Finish. The disk will now be formatted and mounted as a new volume.
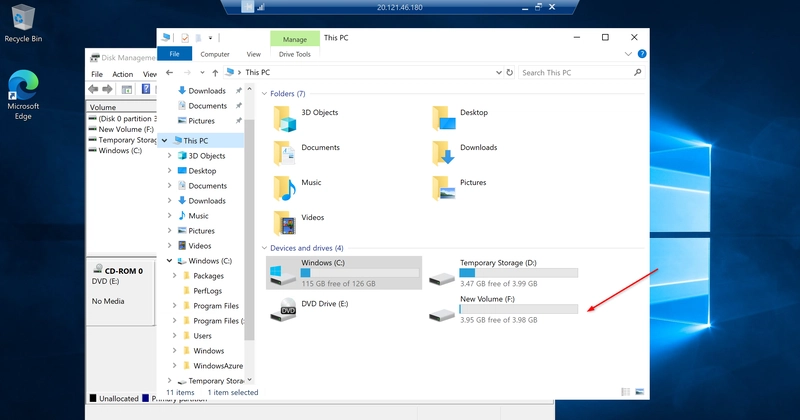
Once done, you can access the new disk from This PC as a new drive (e.g., E:).
Step 4: Make the Data Disk Usable
Now that the data disk is initialized and formatted, it is ready for use.
-
For Windows VMs: The new data disk should now be available as a new drive in This PC (e.g., E:).
- You can now start using the disk to store files, install applications, or perform other tasks.
Conclusion
Now you've successfully set up a virtual machine on Azure, connected a data disk, formatted and initialized the disk, and enabled it for use. Because it enables you to scale your storage capacity as needed, this is a crucial ability when working with cloud settings. With Azure, you can easily expand your VM’s capacity by adding more data disks or resizing existing ones to meet the demands of your workloads.

Top comments (0)