Hii Guys!
Let's build the additional features that completes the setup as per our task requirements in continution to 👉Backend Setup
Step by step implementation of additional steps.
1. CSV Import/Export for Stock Details
- Allowing admin to upload CSV File to add/update the products.
- Providing an endpoint to download the current stock data as csv
inorder to perform these steps, create a model and perform actions according to the get and post routes for csv file to store data into the database rather than storageMemory.
-
CSVFile.js
const mongoose = require("mongoose");

const csvFileSchema = new mongoose.Schema({
    filename: String,
    mimetype: String,
    data: Buffer, // Store the CSV file as binary
    uploadedAt: { type: Date, default: Date.now }
});

module.exports = mongoose.model("CSVFile", csvFileSchema);
- create a middleware for csv file in
authMiddleware.js
const multer = require("multer");

const storage = multer.memoryStorage(); // Store file in memory as Buffer
const upload = multer({ storage });

module.exports = {upload};
-
Define route in the
server.jsinorder to perform the creation of routes and controller actions.-
csvRoutes.js
-
const express = require("express");
const { importCSV, exportCSV } = require("../controllers/csvController");
const {upload} = require("../middleware/authMiddleware");

const router = express.Router();

router.post("/import-csv", upload.single("file"), importCSV);
router.get("/export-csv", exportCSV);

module.exports = router;
csvController.js
- Logic for importing the csv file and storing results in Products file.
const importCSV = async (req, res) => {
    try {
        if (!req.file) {
            return res.status(400).json({ error: "No file uploaded!" });
        }

        // Convert buffer data to stream
        const csvStream = Readable.from(req.file.buffer.toString());

        let products = [];
        csvStream
            .pipe(csv.parse({ headers: true }))
            .on("data", (row) => {
                products.push({
                    name: row["Product Name"], // Mapping CSV column to schema field
                    category: row["Category"],
                    price: parseFloat(row["Price"]), // Ensure numeric value
                    stockQuantity: parseInt(row["Stock Quantity"]), // Ensure integer
                    itemsSold: parseInt(row["Items Sold"]) // Ensure integer
                });
            })
            .on("end", async () => {
                try {
                    await Product.insertMany(products);
                    res.status(200).json({ message: "CSV imported successfully and stored in DB!" });
                } catch (err) {
                    console.error("Error inserting data:", err);
                    res.status(500).json({ error: "Error inserting data" });
                }
            });

    } catch (error) {
        console.error("CSV Import Error:", error);
        res.status(500).json({ error: "Error importing CSV" });
    }
};
- Logic for the exporting the products data in the form of csv file.
const exportCSV = async (req, res) => {
    try {
        // Find the most recent CSV file from the database
        const latestFile = await CSVFile.findOne().sort({ uploadedAt: -1 });

        if (!latestFile) {
            return res.status(404).json({ error: "No CSV file found" });
        }

        res.setHeader("Content-Type", latestFile.mimetype);
        res.setHeader("Content-Disposition", `attachment; filename=${latestFile.filename}`);
        res.send(latestFile.data);
    } catch (error) {
        res.status(500).json({ error: "Error exporting CSV" });
    }
};
and export the functions inorder to get referenced to the routes, to perform action with respect to the route.
2. Filters and Sorting on Stock Overview
- Implementing query parameters for filtering and sorting stock data.
- Define the routes for the analytics in
server.js
app.use("/api/analytics", analyticsRoutes);
-
analyticsRoutes.js
const express = require('express');
const { getStockData, getChartData } = require('../controllers/analyticsController');

const router = express.Router();
router.get('/stock', getStockData); //Fetching stock with filters.

router.get('/chart-data', getChartData);//fetching the data for presenting in chart.


module.exports = router;
- Then complete the controller functions to complete the actions to their respective routes.
by requiring the Products model, to the analyticsController.js
- functions,
1.Filters Products by Category
If a category query parameter is provided (e.g.,
/stock?category=Fruits), it filters products based on that category.
2.Sorts Products Based on Query Parameters
If sortBy is provided (e.g., /stock?sortBy=price), it sorts the results:
Ascending (asc or default) → order=1
Descending (desc) → order=-1
Example:
/stock?sortBy=price&order=desc → Sorts by price in descending order
3.Finds and Returns Sorted & Filtered Data
Applies filtering (filter) if category is provided.
Applies sorting (sortOptions) if sortBy and order are given.
const getStockData = async (req, res) => {
    try {
        let { category, sortBy, order } = req.query;
        let filter = {};
        let sortOptions = {};

        if (category) filter.category = category;
        if (sortBy) sortOptions[sortBy] = order === "desc" ? -1 : 1;

        const products = await Product.find(filter).sort(sortOptions);
        res.status(200).json(products);
    } catch (error) {
        res.status(500).json({ message: "Error fetching stock data", error });
    }
};
3. Display Charts for Stock Trends and Revenue
analyticsController.js
const getChartData = async (req, res) => {
    try {
        const products = await Product.find();

        const categories = {};
        products.forEach(product => {
            if (!categories[product.category]) {
                categories[product.category] = { totalRevenue: 0, totalSold: 0 };
            }
            categories[product.category].totalRevenue += product.totalRevenue;
            categories[product.category].totalSold += product.itemsSold;
        });

        const chartData = Object.keys(categories).map(category => ({
            category,
            totalRevenue: categories[category].totalRevenue,
            totalSold: categories[category].totalSold
        }));

        res.status(200).json(chartData);
    } catch (error) {
        res.status(500).json({ message: "Error fetching chart data", error });
    }
};
4. Test your backend api
I have tested everyting in here just visit the link for testing the api.
5. Deployment Of Backend API
Create a repository Stock-Management-Api.
Push the code to this repo.
verify my repo to get the code.GithubLink
create vercel.json file in root directory inorder to handle the deployment in vercel.
{
    "version": 2,
    "builds": [
      {
        "src": "server.js",
        "use": "@vercel/node"
      }
    ],
    "routes": [
      {
        "src": "/(.*)",
        "dest": "server.js"
      }
    ]
  }
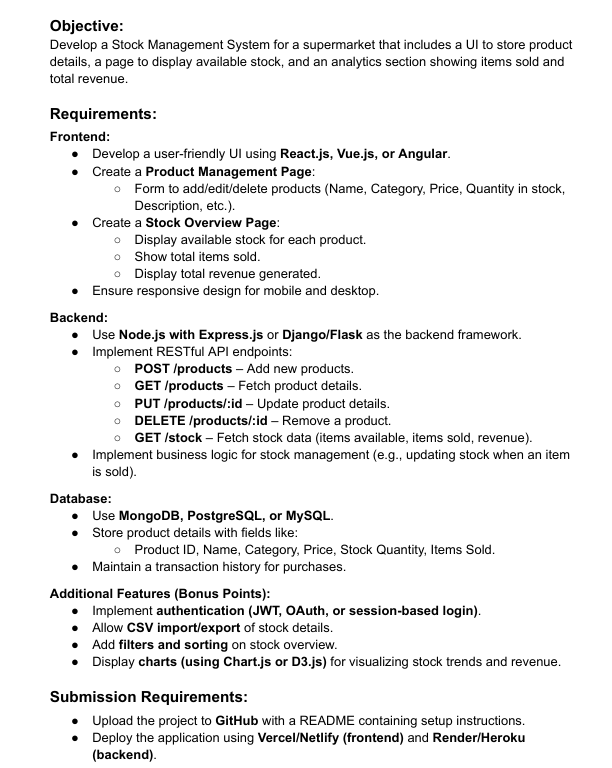
- go to vercel.com create an account and add a new project for deployment.
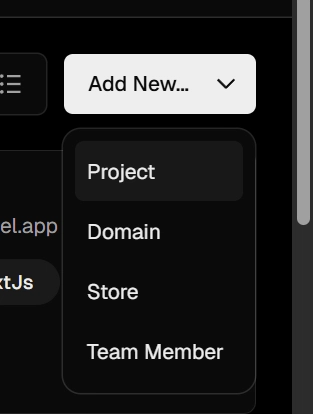
- Select your repo and import it.
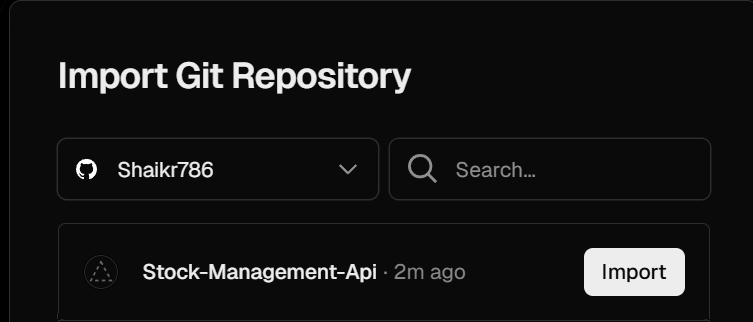
- Provide the environment variables and path to root directory.
- Then click on deploy.
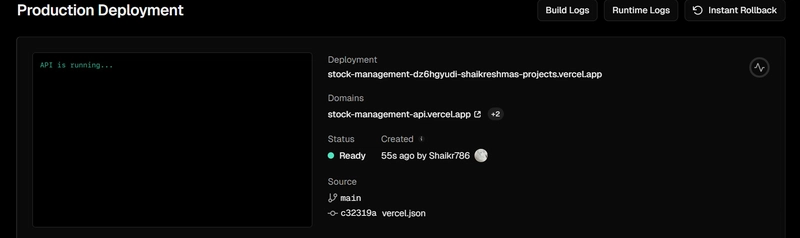
Congratulations! U just deployed your backend API.
Happy Developing.
Let's continue frontend part in upcoming blogs.For any queries reach out in comment section.
Thank You!
Let's grow together!


Top comments (0)