
Kubeadm is a real-time setup, using which we can set up a multi-node Kubernetes cluster.
It is very popular, and you can have multiple VMs on your machine and configure the Kubernetes master and its node components.
If you have limited resources but want to use Kubeadm, you can use some cloud-based virtual machines.
Launch three instance [Here I have used ubuntu server of t2.medium]

Prerequisites :
1: Check the machines of the cluster can ping each other via ip and hostname
You can change hostname as per this commands.. here I have changed the master and workers hostname


![]()
Now paste the ip hostname of three node inside vi /etc/hosts in both master and workers node
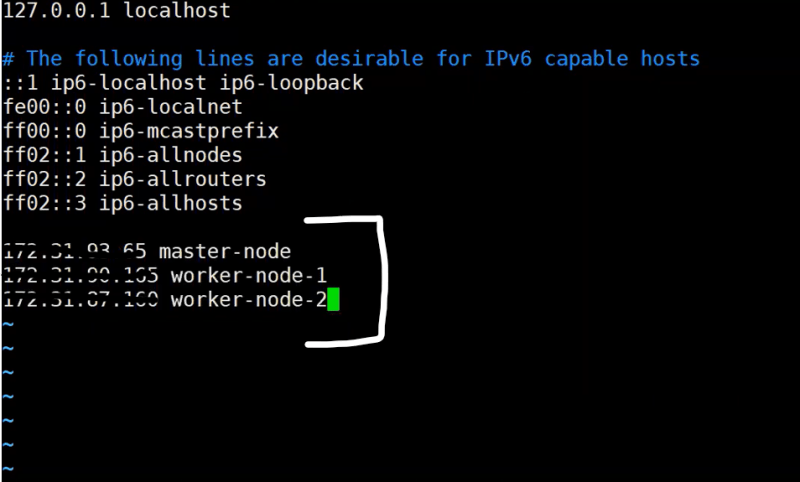
You will be able to ping eachother after this.
2: Swap should be off

3: Respective Ports in the firewall should be opened

4: Check for the minimum configuration of the machine from the official documentation
Commands to run on all the nodes [Master and Workers]
Get sudo working
sudo -l


update packages and their version
sudo apt-get update && sudo apt-get upgrade -y

![]()
![]()
install curl and apt-transport-https
sudo apt-get update && sudo apt-get install -y apt-transport-https curl
add key to verify releases
curl -s https://packages.cloud.google.com/apt/doc/apt-key.gpg | sudo apt-key add -
add kubernetes apt repo
cat <<EOF | sudo tee /etc/apt/sources.list.d/kubernetes.list
deb https://apt.kubernetes.io/ kubernetes-xenial main
EOF
install kubelet, kubeadm and kubectl
sudo apt-get update
sudo apt-get install -y kubelet kubeadm kubectl
install docker
sudo apt-get install docker.io
apt-mark hold is used so that these packages will not be updated/removed automatically
sudo apt-mark hold kubelet kubeadm kubectl
After the above commands are successfully run on all the worker nodes. Below steps can be followed to initialize the Kubernetes cluster.
On Leader/master Node
Run the below command on the node that you want to make the leader node. Please make sure you replace the correct IP of the node with IP-of-Node
kubeadm init --pod-network-cidr=10.244.0.0/16 -v=9

Now run these 3 commands
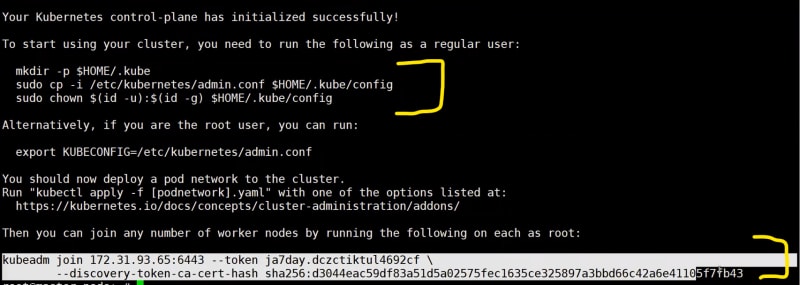
Join worker nodes to the Leader node
Once the command kubeadm init is completed on the leader node, below we would get a command like below in the output of kubeadm init that can be run on worker nodes to make them join the leader node.
kubeadm join 206.189.134.39:6443 --token dxxfoj.a2zzwbfrjejzir4h \
    --discovery-token-ca-cert-hash sha256:110e853989c2401b1e54aef6e8ff0393e05f18d531a75ed107cf6c05ca4170eb
Install CNI plugin
The below command can be run on the leader node to install the CNI plugin
kubectl apply -f
https://raw.githubusercontent.com/coreos/flannel/master/Documentation/kube-flannel.yml

kubectl get nodes

Now deploy a ngnix image and expose to port 80 as shown below
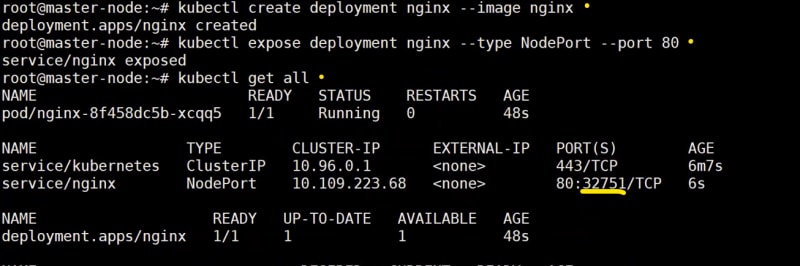
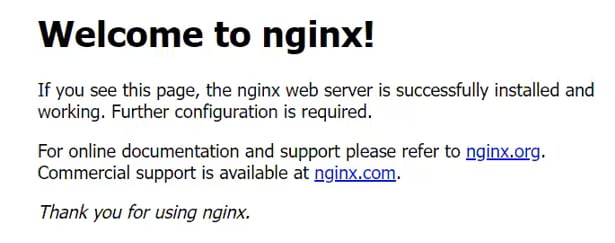
Paste the ip in the browser, It will shown your image
![]()
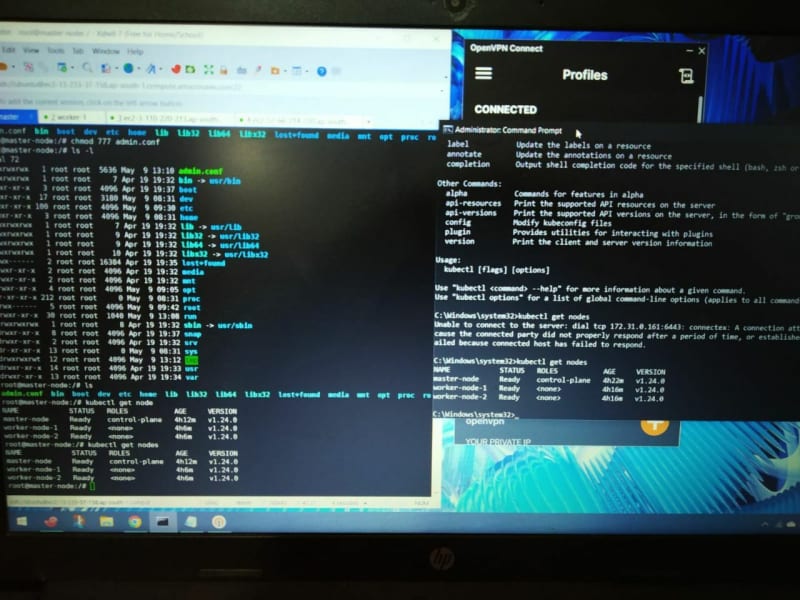
You can access this cluster in your personal laptop by setting up opnVpn setup

Top comments (0)