Now a days the term security becoming the must follow topic for all the organizations to have a good brand name.
To secure your credentials or secrets in your web application is a big challenge when we deploy our application to the public internet.
And also once your code is deployed and secrets are revealed then one need to redeploy the code with updated secrets to secure the application. As the application grows bigger and bigger this will be cumbersome to manage the application.
To solve this issue we can use Azure Key Vault resource.
Azure Key Vault is a Microsoft cloud service to store and access data and secrets securely. Which controls below tasks,
- Securely store the keys, secrets and certificates.
- Only authorized user can access the key vault.
- Frequently rotate the secrets, keys.
- Automatically renew the certificates.
- Centralized storage for all keys, secrets and certificates.
Azure Key Vault can be used in many services, here I will be showing how to use it in Azure app service.
Prerequisites:
We can create Azure Key Vault using Azure CLI or Azure Portal.
In this blog we will look at how to do in Azure Portal.
Create Azure Key Vault using Azure Portal
Create an Azure resource
- Login to Azure Portal.
Click on create a resource.
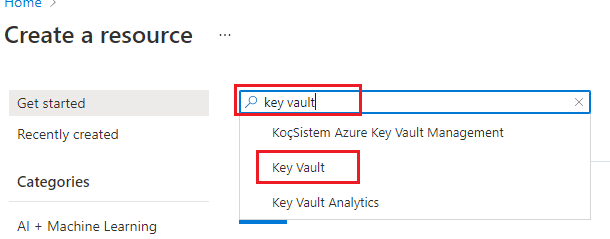
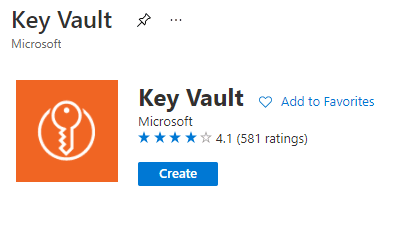
Search for Key Vault. Select and create it.
Fill details and create the resource.
Resource Group: Select existing resource group or create a new one
Key vault name: Enter globally Unique name for your key vault. This is access from the application.
Region: Select location the one near to you.
Pricing tier: Select Standard.
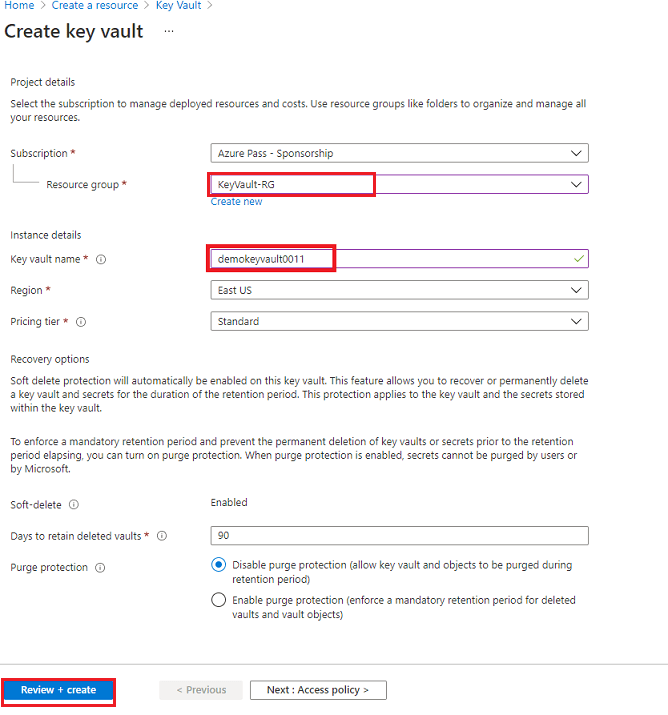
Review + create and then create.
Go to Key vault resource created.
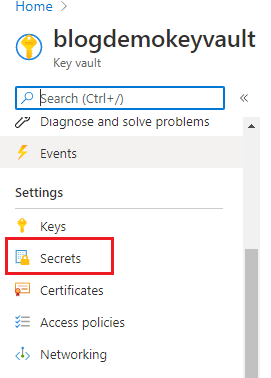
Let's create some secrets in the key vault which will be accessed from our application.
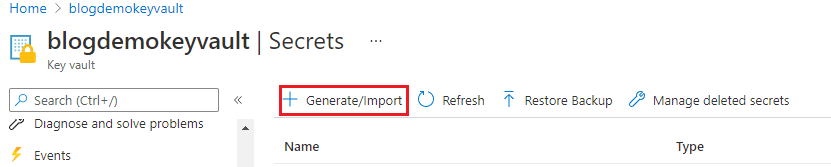
Click on Generate/Import to add new secret.
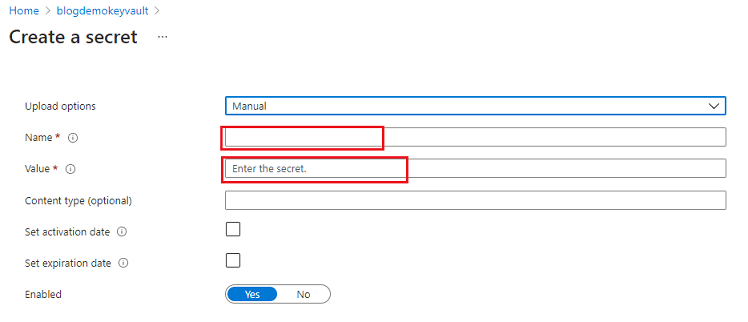
Fill the details and add it.
Name: name of the secret to be created.
value: Value to store in this secret.
We can set when this secret can be activated and deactivated.
As of now we can leave default, meaning immediate activate and never expires.
- After the secret is added go the secret which looks like this.
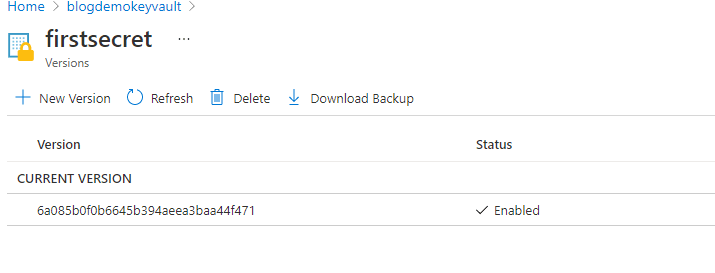
Our secret is successfully created in Azure Key Vault. Now we have to access it from our code.
To access the secrets, valid permissions (like who can access) must be added to the keyvault.
Let's learn how to add the authentication in next part of this series.

Top comments (0)