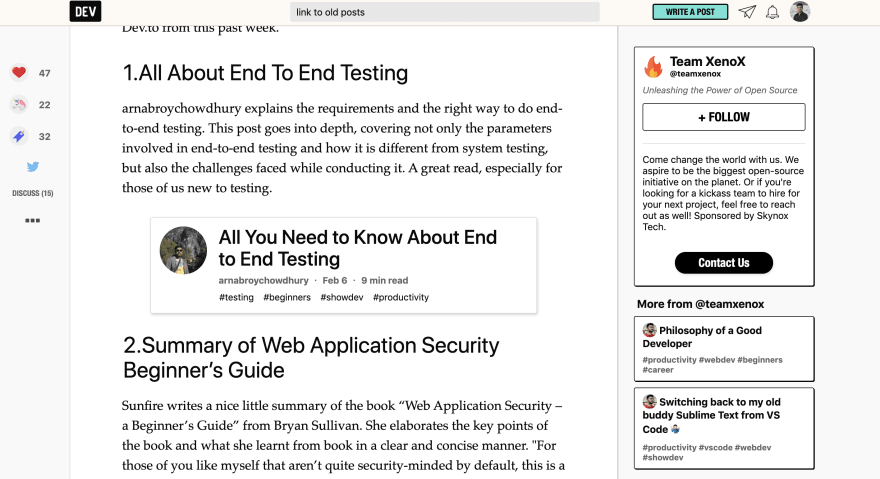
This post was originally shared on my blog. Please read it there for a better experience.
Linking to your old posts is very good for the SEO of your blog and help you not to write the same things again and again. It also helps you to interconnect to your old posts increasing the traffic to your website.
After writing a good number of posts on dev.to, I started liking the options they provide to share the old posts or other dev.to posts in a well-formated way.
I wanted to create the same experience on my personal blog as well.
As I use GitHub Pages ( Jekyll) to build my blogging website, I was sure that it won't be a huge task to do this.
I have a lot of separate widgets on my blog. When someone clicks on any of the posts, all those widgets come together and are shown to the user as a single unit.
Some examples of these widgets are:
Social sharing buttons
The social sharing buttons on my blog pages are included as a separate widget. This helps your readers to share your posts on social media.
BTW, please share this post on any of the social media and help us get more readers.
Read time widget
The read time for any post on my blog is again a separate widget. I use it to show the amount of time it will take to read the post.
Now that we know how widgets work in Jekyll blog, let's try to create something similar to what dev.to have.
Let me know if you want to know more about them in the comments on my blog. I will share the details.
Final result after creating
Let me a link to the social sharing post that I created some time back to show you how the final result will look like.
How we created amazing old post linking widget for our Jekyll blog
The first step was to create the include file so that we keep the structure of our code clean. The only requirement for this is that we need to pass some parameters so that we can find out which post is being linked to.
The only thing which is unique for my blog is the URL. Although I know the URLs can change but this is the only way I can accomplish this task.
Creating the include file
Add the following code to _includes/linked_post.html file.
We loop through all the posts on the site and check which post has the same URL as passed to the include statement which I will share very soon.
Finally, we have just shown the heading and along with the date of the post. We have also added the read time widget and post categories on my blog but for that, we will need to include two more widgets so, for simplicity, I have omitted it in the above code.
The code above would be sufficient to help you create something of your own. Still, if you are stuck somewhere, do let me know in the comments below.
CSS for the widget
I have added the CSS separately in the style.scss file. Here is the CSS code for this. You can add it anywhere.
// old code.
.linked_post_div {
  border: 1px solid #ccc;
  border-radius: 5px;
  padding: 15px;
}

.linked_post_div h1 {
  margin-top: 0px;
}
How to use this widget.
All you have to do is something like this.
Nice right, I hope it helps you to create links to your old posts. Please share this post on social media and let me know in the comments below.
Also, if you found something wrong do let me know. Thanks for reading.


Top comments (0)