
In this tutorial we'll be looking at everything you need to build your first app in vue. We'll be covering what you need to get started in making your first vue application. We'll also be looking at how to run your vue app so you can test it locally, and what you need to do to build your vue applications for a live website.
Creating your first Vue App
To get started with Vue, you're first going to need to install the vue cli tools. Make sure you have npm installed on your computer (or you can do this in yarn if you prefer), and run the following command:
npm i -g @vue/cli
This is going to give us access to a bunch of tools we'll need to work with Vue. Now that we've done that, open a terminal window and use cd to move into the directory you want to create your Vue app in. For me, that was in my documents, in a folder called 'vue-app', so I did this:
cd ~/Documents/vue-app
Then run the following command to create a new vue application:
vue create my-new-vue-app
The above line creates a new app called my-new-vue-app. When you run it, you'll be guided through a set of instructions. Use the arrow keys and enter to select your preferences. For this tutorial I'll be using Vue 3 to create our first vue application, which is the latest version of Vue.
Our first Vue App
Now that we've made our first app, we'll have a folder structure which looks a bit like this:
| .git              <-- our git folder
| .gitignore        <-- files we want git to ignore
| babel.config.js   <-- config for babel, which gives us extra JS functionality
| node_modules      <-- all our Javascript dependencies
| package.json      <-- a list of our Javascript dependencies
| package.lock.json <-- a list of our dependencies, and their dependencies
| public            <-- the location of all our public files and images, and our index file
| src               <-- all of our Vue components
| -> App.vue        <-- our main Vue app file
| -> assets         <-- a place to store all of our images and other assets used in our app
| -> main.js        <-- the file which starts up our Vue app and creates it
| -> components     <-- where we will store different components we'll use in our app
Great, so now we have a fully functioning Vue app. Only it just has one page. Most apps require more than one page, so next up we need to install vue-router. Make sure you are in your my-new-vue-app folder, and run the following:
vue add router
Vue will make a bunch of new files, which lets us configure new pages. If it asks you if you want to use history mode, you can select Y, and this will mean no page load times when the user clicks a link. Vue will now have created a few new files:
| src
| -> router
| --> router.js     <-- the configuration of our different pages
| -> views          <-- a folder to store all our different pages in
| --> About.vue     <-- an example page
| --> Home.vue      <-- an example page
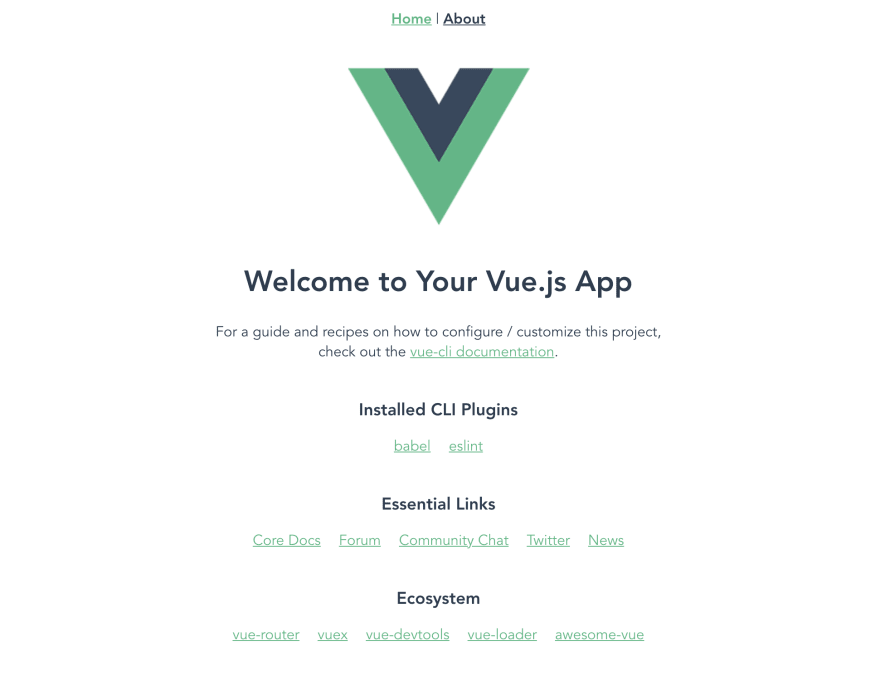
Now we have a basic vue file structure which we can mess around with to make our first Vue App. If you want to see how your app looks so far, run the following command in your my-new-vue-app folder:
npm run serve
Now if you go to http://localhost:8080/ you should see your Vue app ready to go:
Creating new pages for your vue app
If you want to add a new page to your Vue app, create a new file in your views folder. For example, if I wanted to make a contact page, I would make a file called Contact.vue. Every vue file consists of three parts typically:
-
<template>area - this contains the HTML content of that file. -
<script>tag - this contains all the Javascript relating to this file. -
<style>tag - this contains all of our CSS. For example, my Contact.vue file may look like this:
<template>
    <div class="contact">
        <img alt="Our Logo" src="../assets/logo.png">
        <div id="contact">
            <h2>Contact us</h2>
            <p>Contact us by phone on {{ phoneNumber }}, or via our address at 123 Fake Street, New York City.</p>
        </div>
        <footer>
    </footer></div>
</template>

<script>
export default {
    name: 'Contact',
    data() {
        return {
            phoneNumber: '123-123-123'
        }
    }
}
</script>
<style scoped="">
#contact {
    font-family: -apple-system, BlinkMacSystemFont, 'Segoe UI', Roboto, Oxygen, Ubuntu, Cantarell, 'Open Sans', 'Helvetica Neue', sans-serif;
    padding: 2rem;
    margin: 2rem;
    border: 1px solid #ddd;
    border-radius: 10px;
}
h2 {
    margin: 0 0 1.5rem 0;
}
</style>
All Javascript in Vue typically follows the same format - export default contains all of our code. In our example, we also use the data() function to store some information. We have defined a phoneNumber here which we use in our template.
In our template, we can reference data and props using double curly brackets, so we have used {{ phoneNumber }} to reference our phone number. If we change this data attribute programatically, it will automatically update in our template, no need to refresh!
The rest of the file is simply HTML and CSS, which is why Vue is so easy to pick up.
Add the new file to our router.js
To make sure we can access our file, we need to add it to the router.js file found in src/router/router.js. Simply add our Contact.vue file to the router variable, like so:
const routes = [
    {
      path: '/',
      name: 'Home',
      component: Home
    },
    {
      path: '/about',
      name: 'About',
      component: () => import('../views/About.vue')
    },
    {
      path: '/contact',
      name: 'Contact',
      component: () => import('../views/Contact.vue')
    }
]
Now we have a brand new page, which we can view in the browser via http://localhost:8080/contact (assuming you are still running npm run serve):
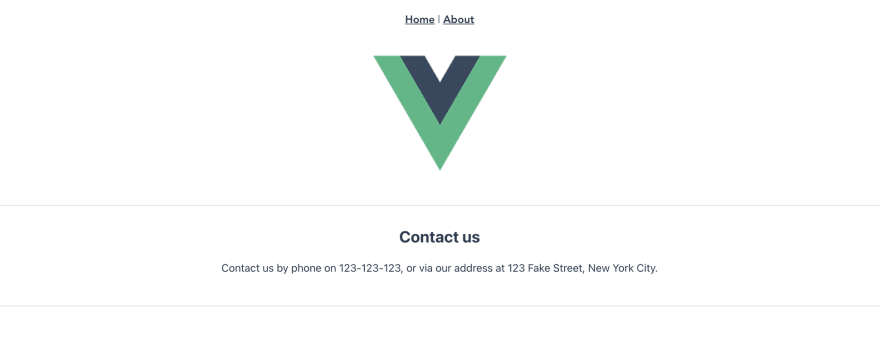
Changing the Navigation Bar in Your Vue App
You might notice that on the page above, we have a navigation bar which we never added to our Contact.vue page. That's because it's in our App.vue file. All of our view files, i.e. Home, or About, are displayed via App.vue.
If you open your App.vue file, you can edit the navigation bar in the template section at the top:
<template>
    <div id="nav">
        <router-link to="/">Home</router-link> |
        <router-link to="/about">About</router-link>
    </div>
    <router-view>
</router-view></template>
Building your First Vue App
When we use npm run serve it is running a very unoptimized version of our site. If we want to get our site ready for production, we need to run npm run build. This will create a new folder called dist which contains standard Javascript, HTML and CSS files. This optimized version of the site will need a web server to open, but it should look exactly the same as what you saw when you ran npm run serve.
If you don't have a web server to run this dist folder in, you can use http-server, which you can install via this line:
npm install --global http-server
And then run the dist folder using the following line from your my-new-vue-app folder:
npx http-server dist
Conclusion
Now that we've covered the basics, let's take a quick look at what we've learned so far:
- How to install vue, and create your first app
- How to create a router, and add pages to your vue app
- The basic structure of vue applications, so you can start experimenting
- How to build your first vue distribution in the dist folder How to test your distribution using http-server
I hope you've enjoyed, and stay tuned/subscribe for more Vue content.

Top comments (1)
this is wonderful job u did congrats dear