Project Debriefing
A picture is worth a thousand words. Here's what we're going to build today.
In Part 1, we learned how to set up our development environment, and in Part 2, we learned how to customize the template for the Nasa Demo application. In this article, we will be going over the steps on how to deploy the application to the internet so your friends can see it too!
Bonus: Render hosting for the static site is free with less than 400 build hours per month. 😄
Table of Contents
Register with Render Hosting Services
1. Sign up with Render
Go to onrender to register a new account with Render.
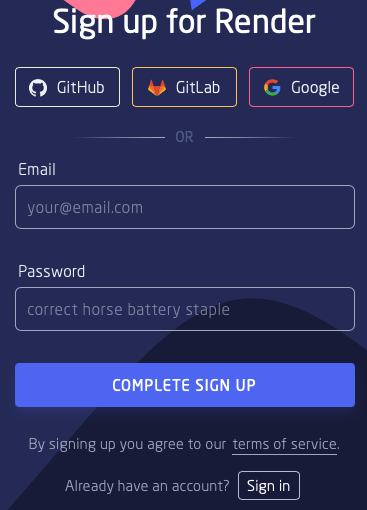
For this tutorial, I simply used my Github account to register with Render.
Deploy Application to Render
1. Sign in to Render
Come back to Render with your account, and you should see the dashboard.
2. Provide Github Repo
Click on the "New +" button on the top navigation bar and click on "Static Site" to create a new site.
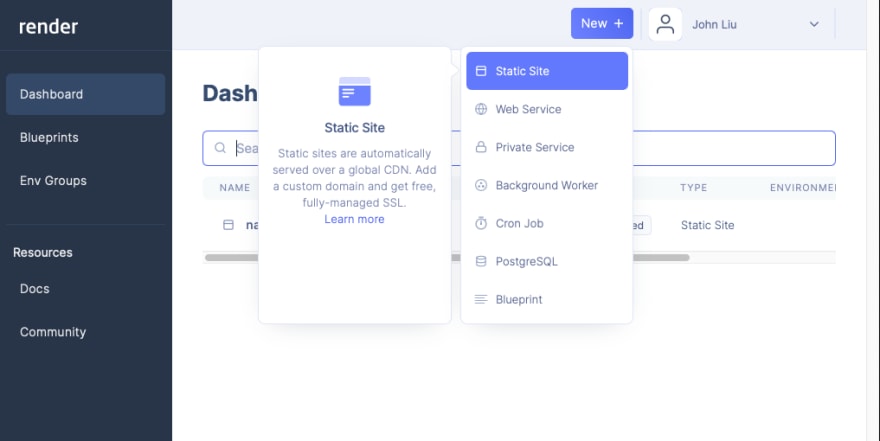
You should see a field for your GitHub repository that contains the latest version of the Application. Copy the URL for the Github repository and paste it into this field in onrender.

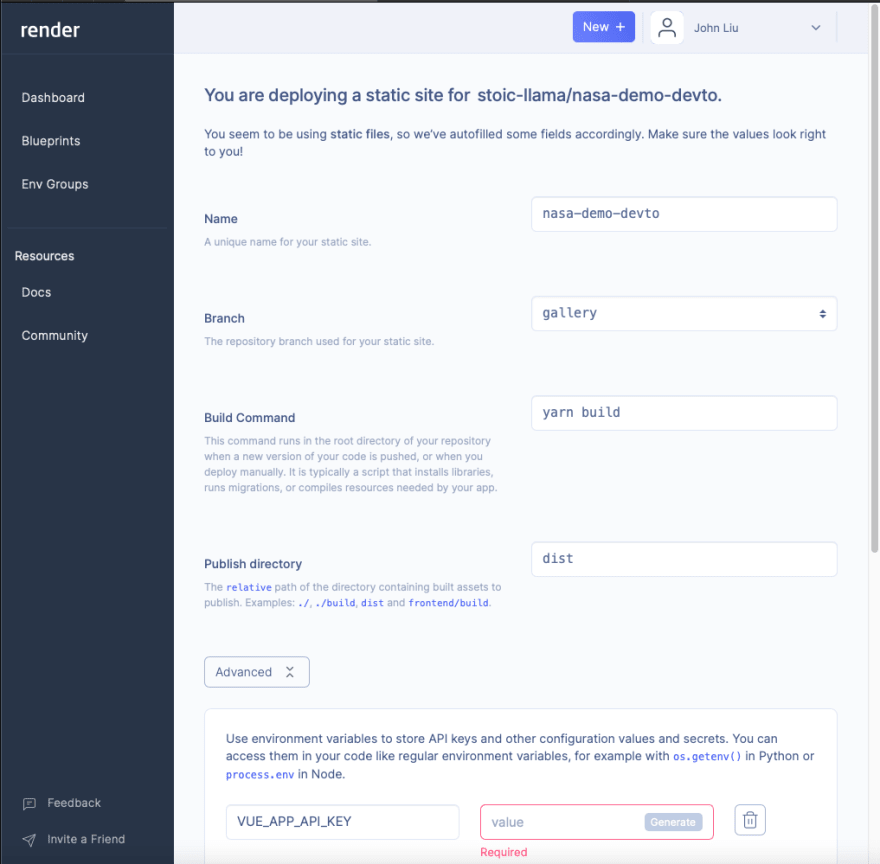
3. Set Up Render Workflow
Enter the following:
- Name:
nasa-demo-devto - Branch:
gallery - Build Command:
yarn build - Publish directory:
dist
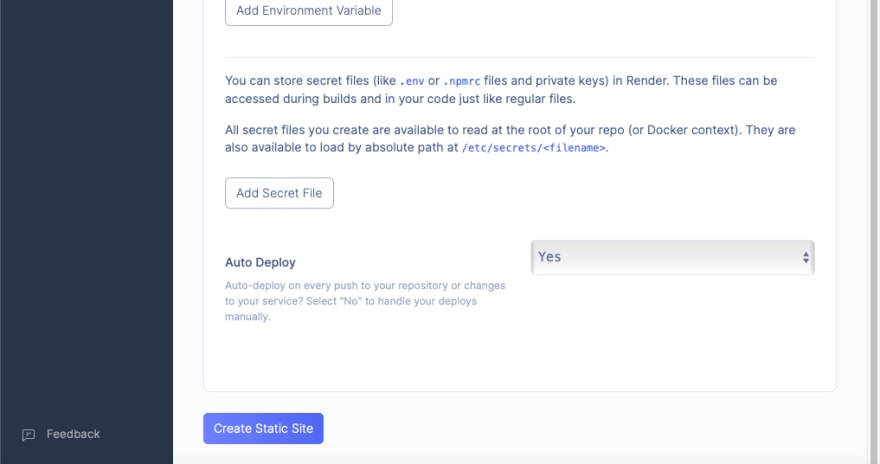
Open up the Advanced toggle to add environment variable.
- Name:
VUE_APP_API_KEY - Value:
<insert_NASA_API_key_here>
See Part 1 to find out how to get the NASA API key.
Finally click on "Create Static Site" button at the end of the form!
4. Go to Your Live Site!
The build should be successful.
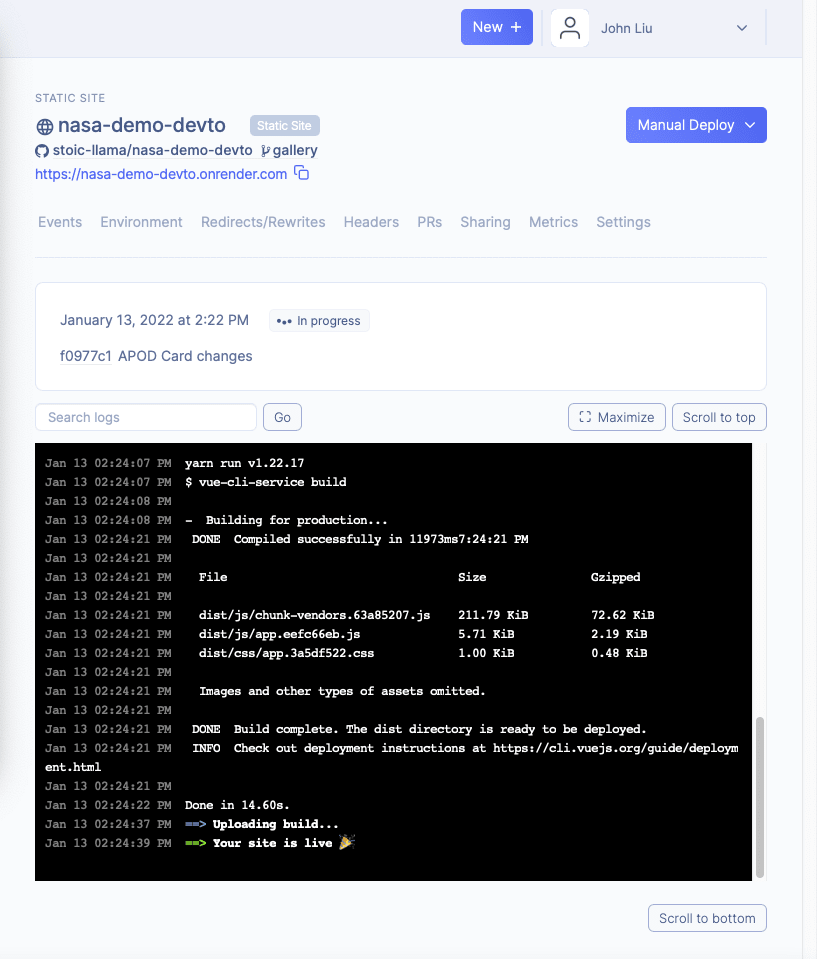
Your live site should look something like this one here. 😄
Article Series
Build A Simple Vue 3 App and Enjoy Astronomy! (Part 1 of 3)
Build A Simple Vue 3 App and Enjoy Astronomy! (Part 2 of 3)
Build A Simple Vue 3 App and Enjoy Astronomy! (Part 3 of 3)


Top comments (1)
I've been meaning to experiment with Render, thanks for sharing!