The drag and drop tool is quite useful in a variety of situations, like transferring data from one disc to another, deleting items by placing them in the trash folder, and so on. We can drag a file to a website and upload it to a cloud service, convert the file to a different format, and so on.
As a result, the drag and drop feature is a really interesting tool that every web developer should be aware of.
Drag and Drop API
We can use the built-in API in vanilla JS to implement them without having to use a library or a CDN. This API may also be used in other JS frameworks and libraries. There may be a separate library to implement this functionality in certain libraries. For example, in React, there is a library called react-dnd that needs the implementation of state and hooks features. This is something I may write on in the future.
Types of attributes
To make an image, div or any component as draggable, we need to set the attribute draggable as true.
For example,
- For image,:
<img alt="#" src="#" draggable="true">
- For div:
<div alt="#" src="#" draggable="true"></div>
- For texts such as
<p>,<h1>-<h6>, etc:
<p draggable="true">Lorem Ipsum</p>
Now comes the interesting part. For events like starting dragging the component, dropping the component, and the event in between drag and drop, we'll need to code the logic in JavaScript. For that, attributes like ondrag, ondrop, ondragstart, ondragover, etc. needs to be included.
Implementation
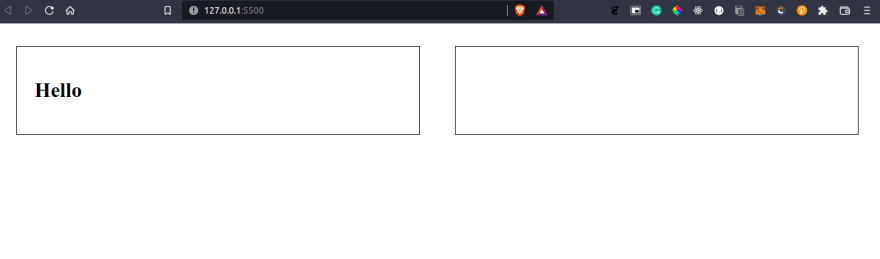
Let's make two columns where objects can be dragged and dropped anytime.
<div class="container">
        <div class="A">
            <h1 draggable="true">Hello</h1>
        </div>
        <div class="B"></div>
</div>
I will add CSS now.
.A, .B {
    padding: 2%;
    border: 1px solid #000;
    width: 50%;
    margin: 2%;
}

.container {
    display: flex;
    flex-direction: row;
}
<h1> containing hello will be draggable.
The webpage will look like
Now, it's time to write the JS logic for both drag and drop event.
As both the columns A and B will act as a container for drag and drop, we will implement the attribute ondrop (JS logic for dropping the component) and ondragover (when you are still dragging and you didn't drop the component yet).
So, I am rewriting the HTML code as below:
<div class="container">
        <div class="A" ondrop="onDrop(event)" ondragover="onDragOver(event)">
            <h1 draggable="true" ondragstart="onDragStart(event)" id="heading">Hello</h1>
        </div>
        <div class="B" ondrop="onDrop(event)" ondragover="onDragOver(event)"></div>
 </div>
Let's write the function onDrop(event), onDragOver(event) and onDragStart(event).
When we use the standard drag and drop capability, when we transfer an object, it disappears from its original location and is added to the new location. That is exactly what we shall do. We will write the function onDragStart(event) to vanish the object and onDragOver(event) to add the object in the new place.
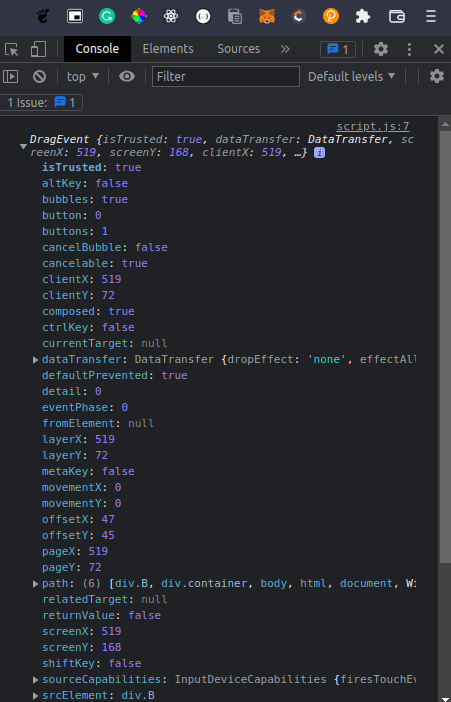
Note: To check how an event looks like, just print the event in console using console.log() function.
function onDragStart(event) {
    event.dataTransfer.setData("text", e.target.id);
}
Here, setData(format, target) function sets the drag data in text, image or any other form to a particular target.
function onDragOver(event) {
    event.preventDefault();
    let select = e.dataTransfer.getData("text");
    let getComp = document.getElementById(select);
    e.target.appendChild(getComp);
}
In the above snippet, we are getting the same data in the same form using getData(format) function and appending that object in the second column.
Note: It's important to know from where event.target.id comes. It's from the same drag and drop event I was printing in the console. On scrolling down the event discription, target key will be visible.
![]()
The notation is .class#id (here, div.B).
For ondragover attribute,
function onDragOver(event) {
    event.preventDefault();
    document.getElementById("heading").style = "red";`
}
So, when you will drag the object, the text colour will change to red.
To revert back to same colour after dropping the component, ondragend attribute can be used.
Let's modify <h1> and write the function.
<h1 draggable="true" ondragstart="drag(event)" ondragend="onDragEnd(event)" id="heading">Hello</h1>
function onDragEnd(event) {
    event.preventDefault();
    document.getElementById("heading").style.color = "black";
}
That's it! We have implemented drag and drop API in our webpage.

Oops....
We need some modification when there are multiple components to be dragged and dropped. Instead of using HTML id's, we need to use HTML class because HTML id can be used only once. So, we need to set a class name in each component to be dragged and in JavaScript we need to access using e.target.className, then you are good to go.

Conclusion
We used vanilla JS to develop drag and drop API on a web page and emphasised the value and use cases of various attributes.
I hope you found this post helpful in creating drag and drop functionality in your web applications. I would strongly advise you to experiment with these capabilities in various scenarios, since they were originally perplexing to me. As a result, understanding and implementation took a lengthy time.
Make sure you follow me on 👇🏻

Top comments (0)