
Hello there! Happy New year 2022 as this is my first post this year.
We are creating a virtual machine but with SQL. So make sure you have downloaded SQL Server management studio(SSMS) on your local computer before we get started.
We will make use of Microsoft Azure( as our Cloud Provider)
In the Azure Portal navigate to SQL virtual machines.
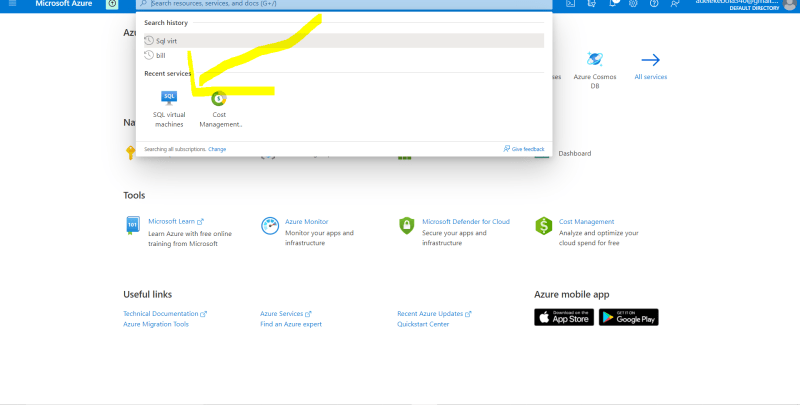
Click Create SQL virtual machines.
Now go to the Image select, SQL Server 2019 on Windows Server
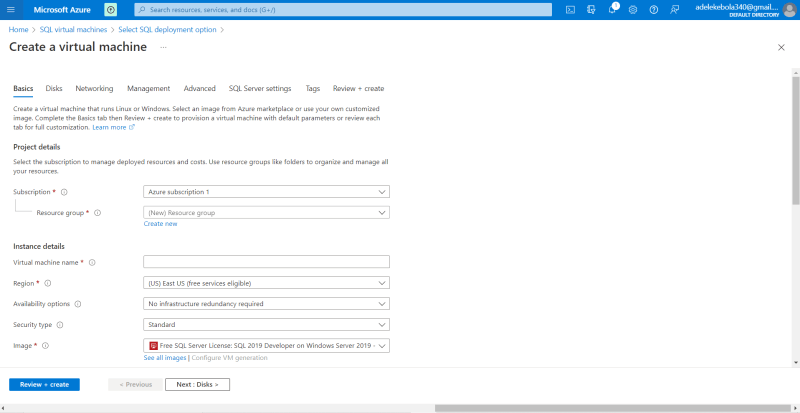
Click Create and enter the following information:
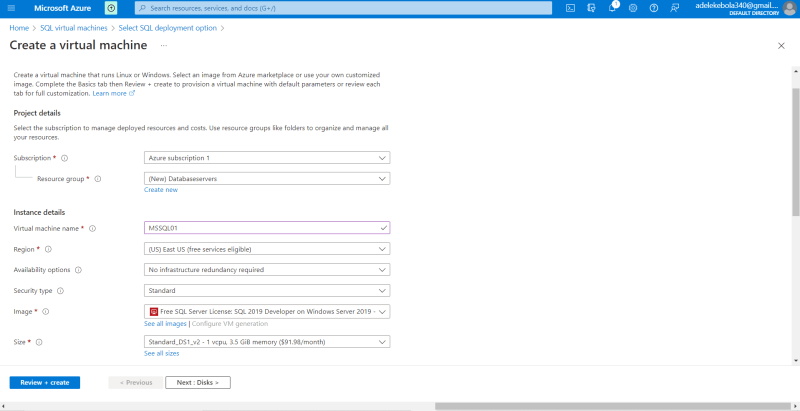
Resource Group: Create a new resource group and call it Database Servers with the following settings:
Now create a new server with this: mssql01(yourlastname)
Virtual machine name: MSSQL01
Availability options: No infrastructure redundancy required
Image: (default)
Size: Standard_DS1_V2(1 vcpu, 3.5 GB of memory)
It should look exactly like this
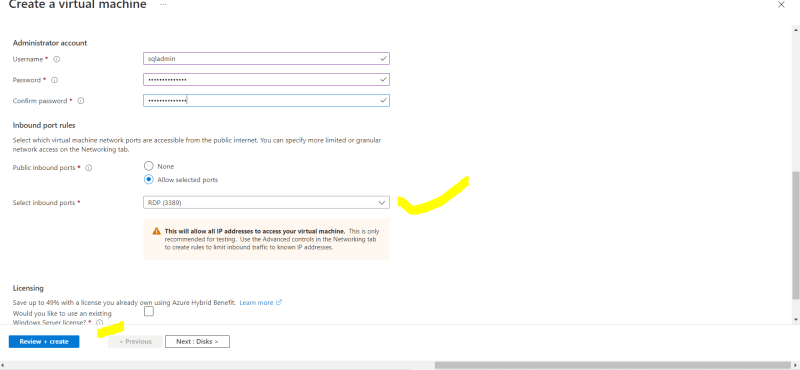
  **Username**: sqladmin
  **Password**: (meets the requirements)
   **Public inbound ports**: Allow selected ports
  ** Select inbound ports**: RDP (3389)
STOP... Do not click check box for use existing license
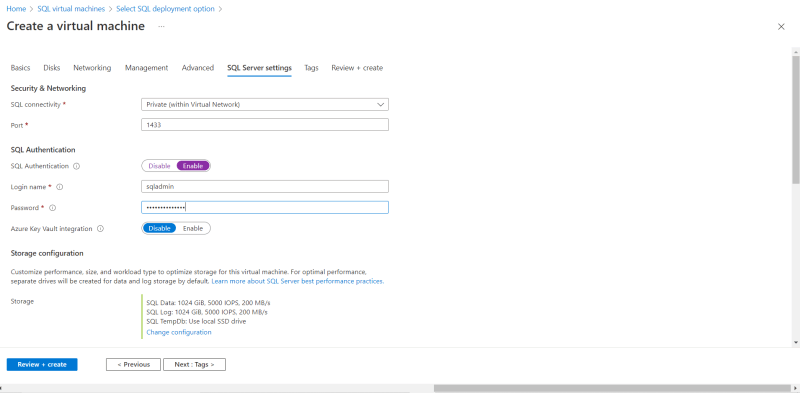
Navigate to the SQL Server settings tab at the top and enter the following information:
SQL Authentication: Enable
Login name: dbadmin
Password: (Make sure this meet the requirements)
SQL Server License: No
Automated backup: Disable
It will appear like this;
After Validation, Click create
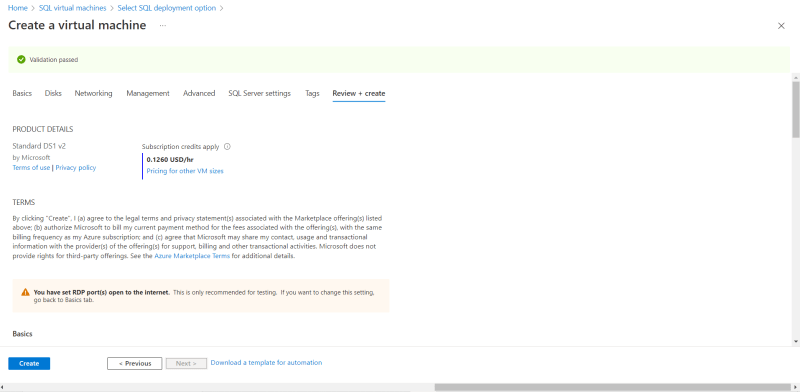
Create and wait for deployment
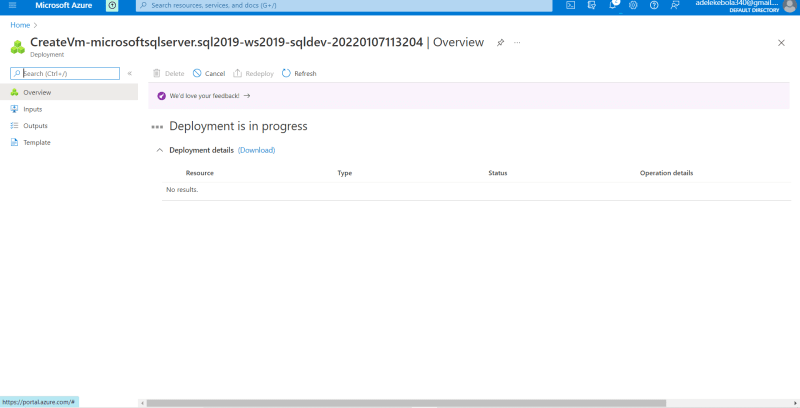
Deployment is complete...Yaayyy
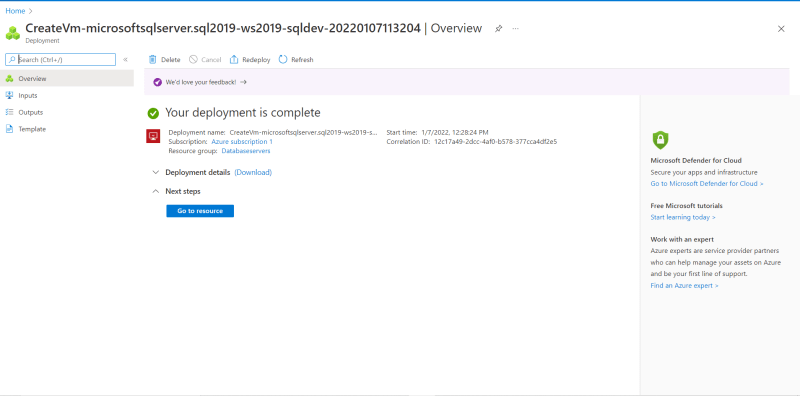
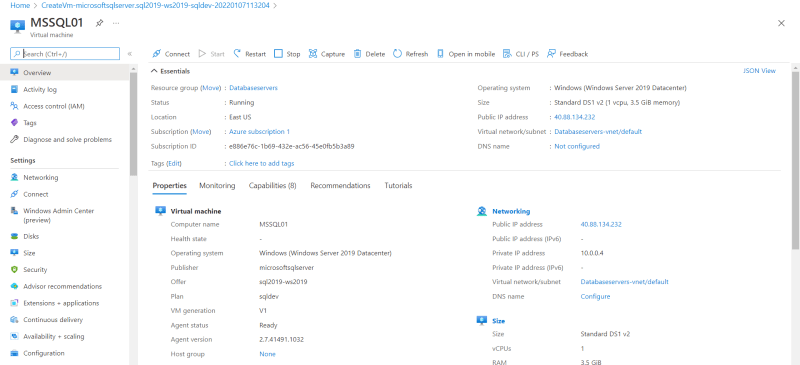
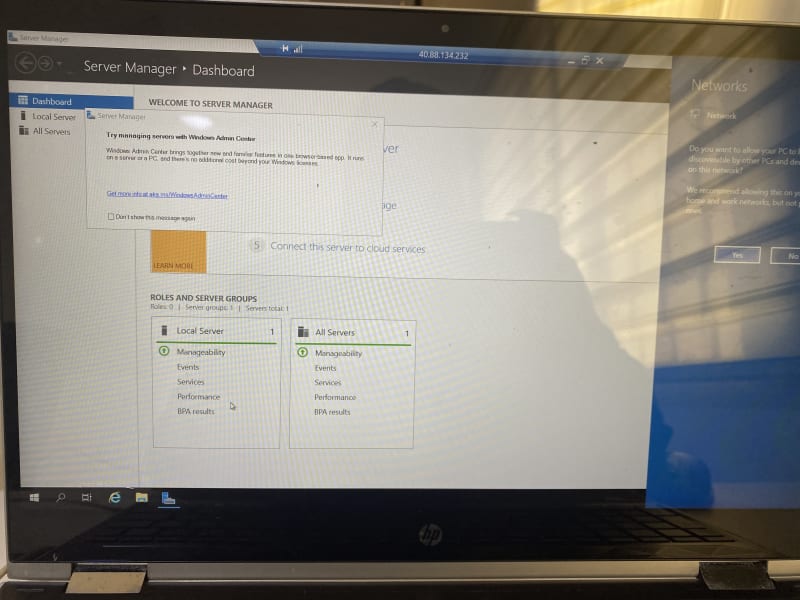
Click on 'Go to resource'... You will see a page that looks just like this
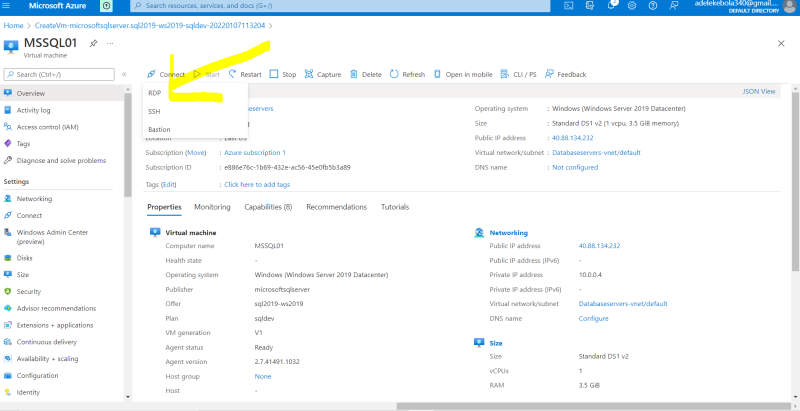
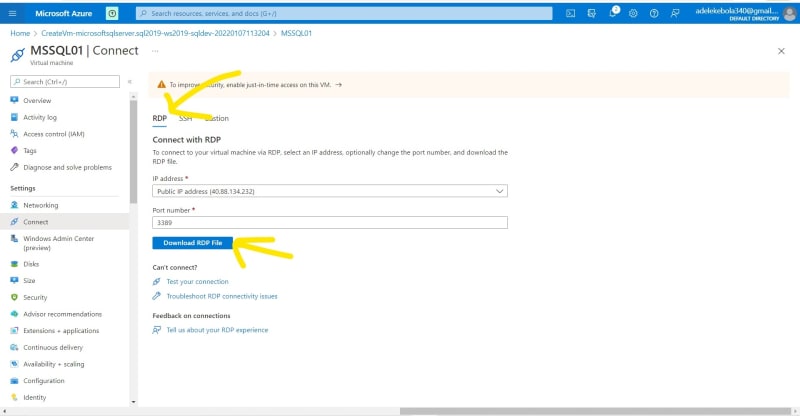
Click on Connect>RDP and click Download RDP File.
Copy the AdventureWorksLT2019.bak file into the Temporary Storage drive.
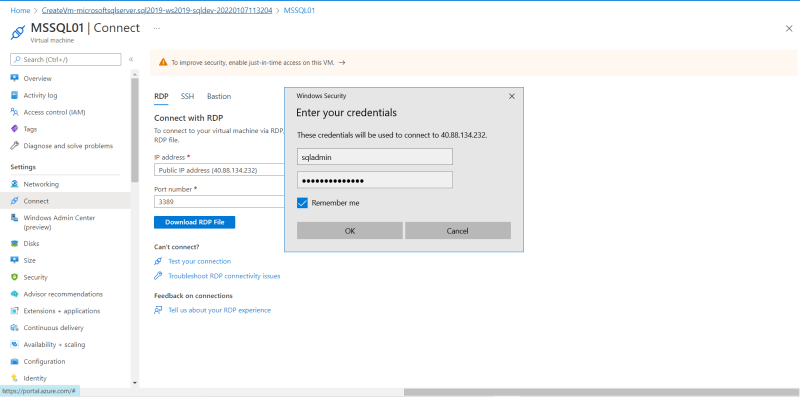
Connect to the VM and login with the username and password you created in Step 3.

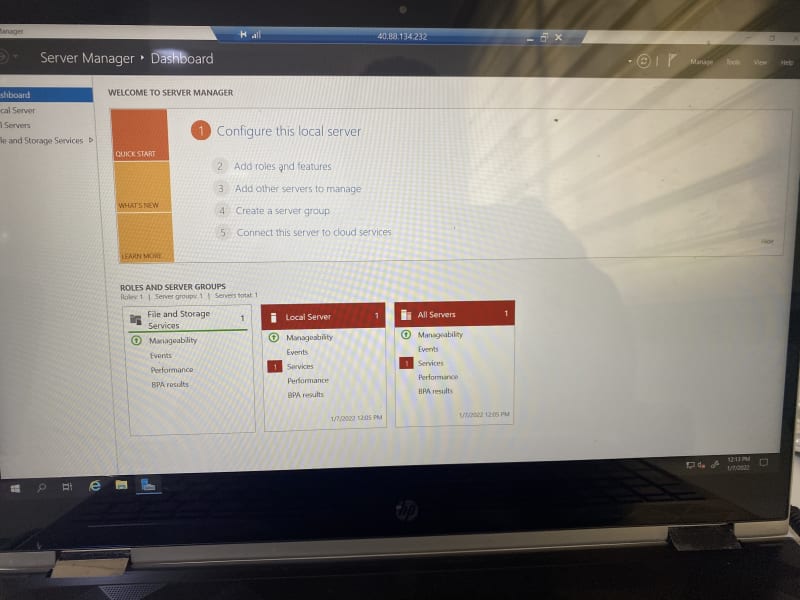
After connection, you will be navigated to a page that looks like this;
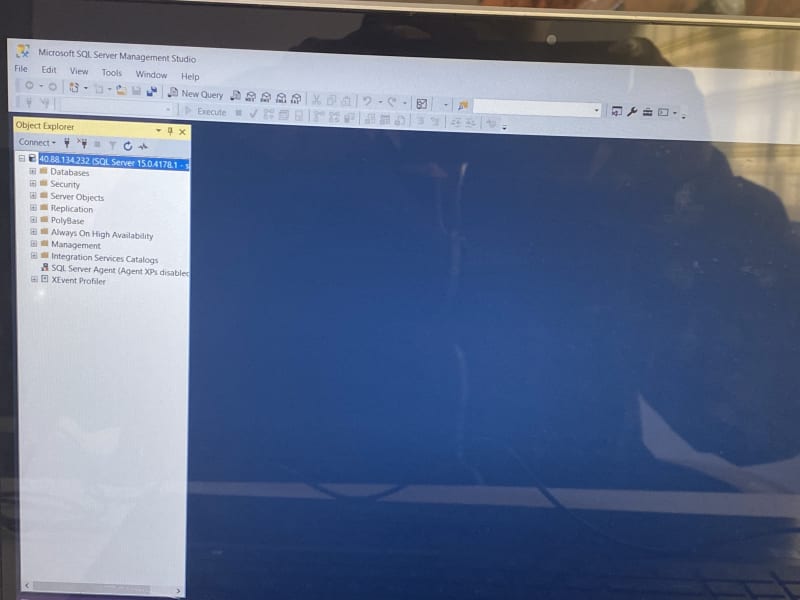
On your local machine search and navigate to_ Microsoft SQL Server Management Studio_ and click Connect
In the window, enter the following settings:
     **Server type**: Database Engine
     **Server name**: (you created in Step 3)
     **Authentication**: SQL Server Authentication
     Login and Password: (you created in Step 4)
Click Connect
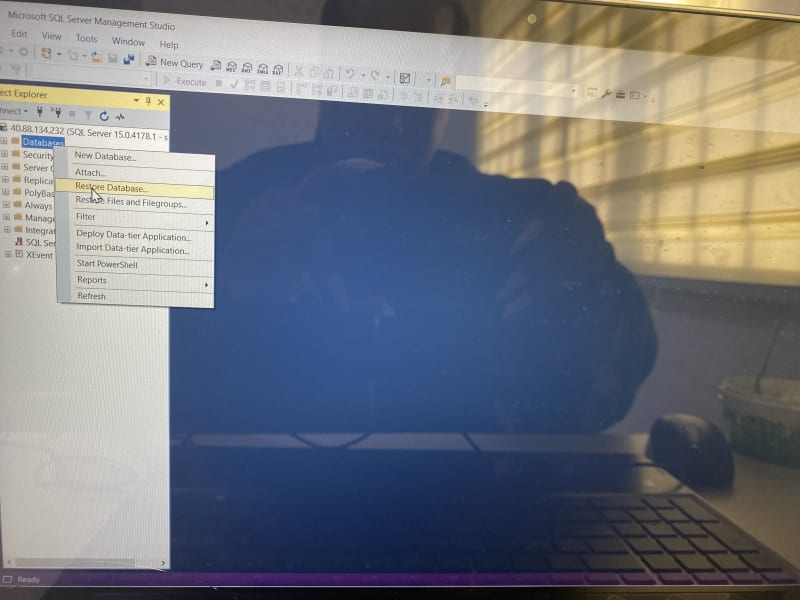
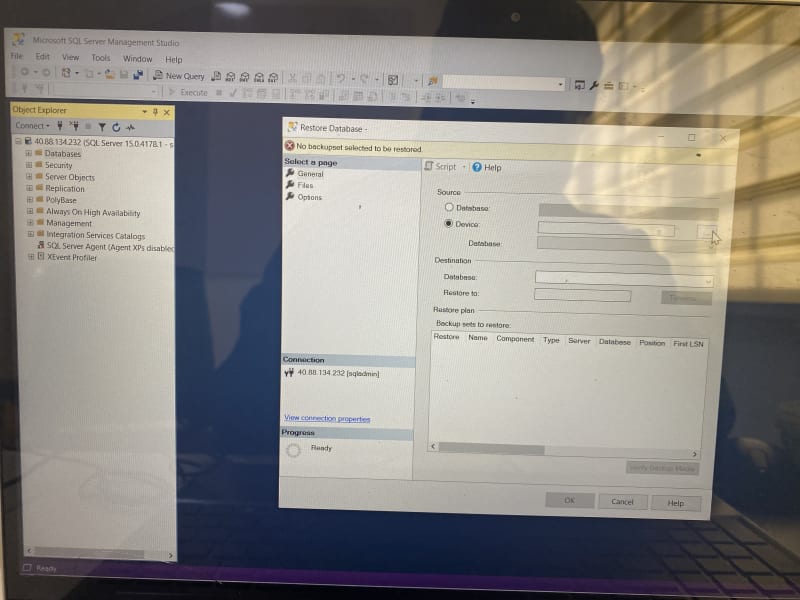
Now, make sure to right click on Databases and select Restore database
Click on the circle/radio button to the left of device then proceed to Click on the 3 dots to the right of Device and the field.
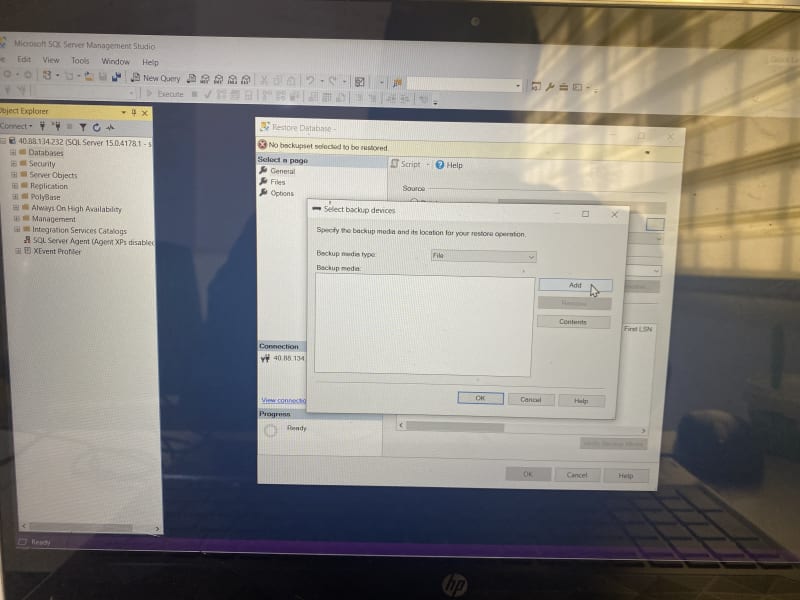
In the new window, click add and navigate then select the AdventureWorksLT2019.bak.
Make sure to follow the setup leaving everything as default until you get the following message:
Database 'AdventureWorksLT2019' restored successfully.
Great work so far ! As a beginner, this is an essential part of your learning Journey that you just achieved, kudos.


Top comments (0)