Part 2: Run a NodeJS application on an EC2 instance
In the previous part of this blog, we have learnt to create and SSH to an EC2 instance. In this part, we will setup and run a NodeJS server on it 😎
Let's split the work into 3 smaller tasks. First of all, we need to configure our instance to accept traffics coming to Node server's port. Next, after installing nvm and node, we will clone the source code and get the server running.
Edit Inbound Rules to accept traffic from server port
Let's add another security group for this purpose. This is pretending that our Node server will run on port 3000.
MyInstance:
  ...
  SecurityGroups:
    ...
    - !Ref NodeServerGroup
  ...
NodeServerGroup:
  Type: AWS::EC2::SecurityGroup
  Properties:
    GroupName: NodeServer
    GroupDescription: Allow traffics to instance in port 3000
    SecurityGroupIngress:
    - CidrIp: 0.0.0.0/0
      FromPort: 80
      IpProtocol: tcp
      ToPort: 3000
Install nvm and node to the instance
First, we need to SSH to the instance:
ssh -i <pem-key-name.pem> ec2-user@<public_ip_v4>
If the instance asks you to run any updates, go ahead and do so:
sudo su
sudo yum update
Next, we need to install nvm in our instance:
curl -o- https://raw.githubusercontent.com/nvm-sh/nvm/v0.34.0/install.sh | bash
. ~/.nvm/nvm.sh
Let's verify if nvm has been successfully installed:
nvm --version
We could then install node:
nvm install node
...
node -v
Clone Git repository
Let's make a Node Express app and push it to GitHub so that we could clone the source code to our instance. I have made a dead simple one that you might use as a reference: vinhlee95/express-ec2. Keep in mind that you will have to create your own repository to add SSH key generated in EC2 instance to your settings.
Generate a SSH key in EC2 instance
We could do that by this command:
ssh-keygen
After following the instructions (remember to note down the passphrase), you should have a SSH key in place. Let's get it and add to GitHub settings:
cat ~/.ssh/id_rsa
Your newly generated SSH key will be shown in the Terminal. Copy it and and it in your GitHub SSH settings (Settings -> SSH and GPG keys -> New SSH key).
Clone the source code
After having the SSH key saved, you should be able to clone your application's source code to EC2 instance:
git clone git@github.com:your-repo.git
After it is done, you should see application's code under your current directory:
Install dependencies and run the Node server
Let's first install all of dependencies:
npm install
We will use pm2 - a Node process manager to start our server. Let's install it:
npm install -g pm2
...
pm2 -v
pm2 start app.js
Our server should be running now 🥂 Let's show server's logs in the terminal:
pm2 log
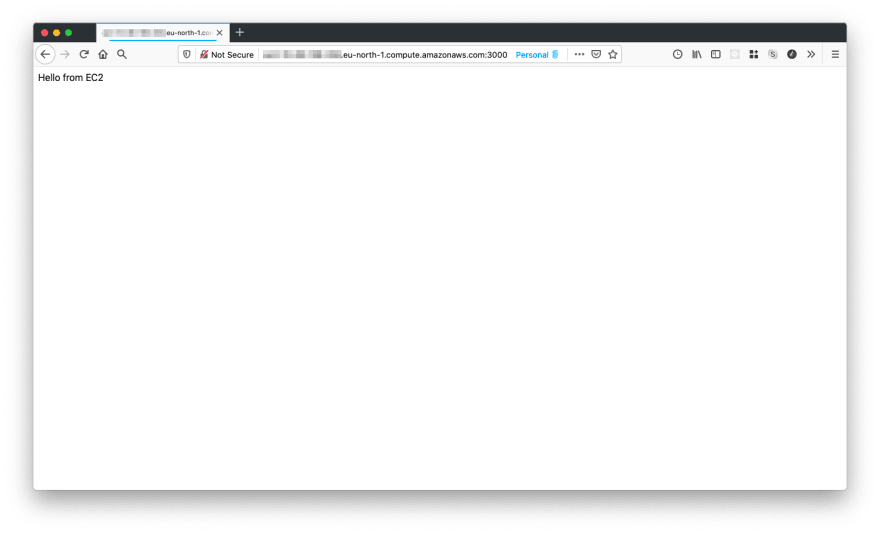
Cheers! Things are working now. Let's test it by open the instance's public DNS in the browser! You could get the URL in Description section in the bottom of AWS EC2's console. Remember that we need to specify our server's running port in the URL as well.
Congrats! Your instance is running a Node.js server now 😎
Note that you might want to delete CloudFormation stack after done playing around to avoid any extra charge from AWS 😉
Let's sum up what we have done to make it happen:
- Configure EC2's instance Inbound rules to accept traffic from server port.
- Install
nvmandnodein the instance - Use Git to clone source code to the instance. In order to do that in the Linux instance, we need to:
- Generate SSH key in the instance and add it to GitHub settings
- Install Git and clone the repo
- Install app's dependencies along with PM2
- Run the Node.js server


Top comments (2)
Hi! Great Post. Can you give a tutorial on How to host my Express Application on AWS with custom-domain?
Hi! Thanks for reading and I am glad that you like it 😄
I think you could consider AWS Route53 for hosting your Express app in a custom domain.