
Fair enough, documentation in Android is not so painful with the help of tools like Jet-brain's Dokka which helps auto-generate documentation for Kotlin and Java source code or Android studio embedded JavaDoc generator.
Although these tools work pretty well, if you are someone like me who is clearly minimal about designs then you might want to consider Orchid.
What is Orchid?
Orchid is a framework for generating project documentation websites with all the bells-and-thistles. Orchid lets you publish all your wikis, changelogs, blogs, code comments, and even deploy. It works seamlessly with Kotlin and Java code.
In this tutorial, we will be creating a basic documentation site for our Android project with Orchid, including Dokka code docs, a wiki, and get it deployed Github Pages.
For a sneak peek here are examples of documentation site created with Orchid.
Preconditions
Orchid, just like other tools picks up your KDoc or JavaDoc comments to generate your documentation. So that means you must properly comment your code. Orchid will pick up comments from classes, methods, and properties as well as highlighting param, return, and other tag comments.
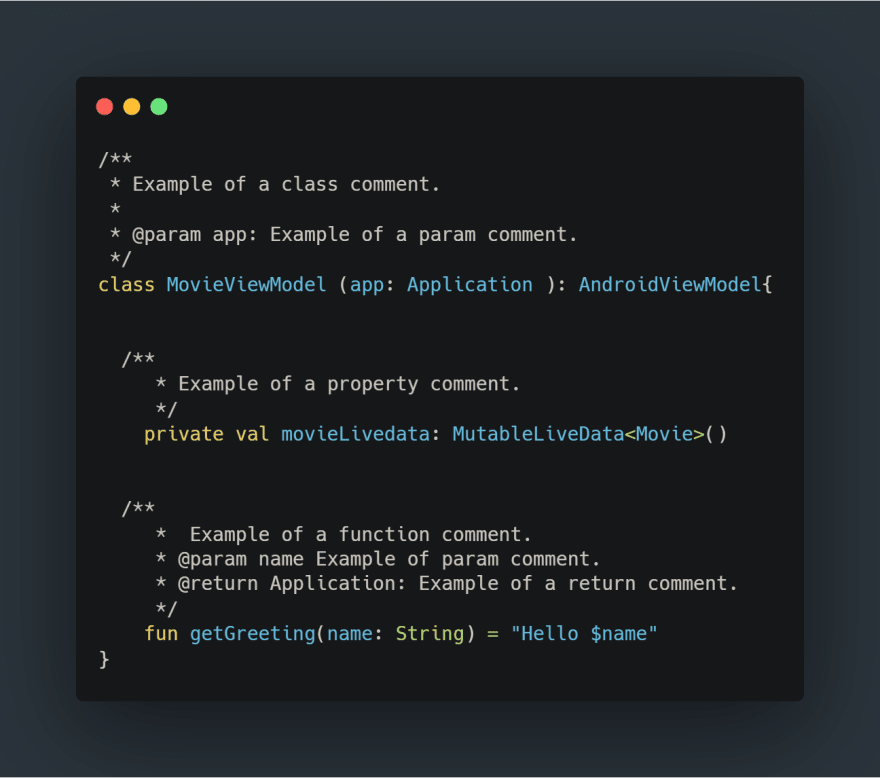
Writing comments like this is pretty easy, just type \** and hit enter, Android studio will automatically generate the rest for you.
TIP : If you are using Kotlin, it's a little different. To actually leverage the help of Android studio, you need to install a plugin called Kdoc-generator.
Easy-peasy, that's all we need to set up to use Orchid. All we need to do more is just to wire up Orchid to generate our beautiful looking documentation site.
Module and Orchid setup
Firstly, we will need to create a new module, make sure to pick Java or Kotlin library. This is where our Orchid files, setup, and configuration will reside. Name it docs:
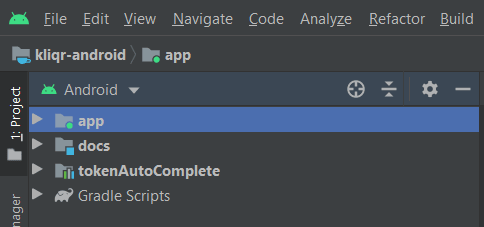
You can observe how we now have our new docs module.
Next thing is to open up docs build.gradle file, and add the following:
plugins {
    id "com.eden.orchidPlugin" version "0.21.0"

}

dependencies {
    orchidRuntime "io.github.javaeden.orchid:OrchidDocs:0.21.0"
    orchidRuntime "io.github.javaeden.orchid:OrchidKotlindoc:0.21.0"
    orchidRuntime "io.github.javaeden.orchid:OrchidPluginDocs:0.21.0"
}

repositories {
    jcenter()
    maven { url = "https://kotlin.bintray.com/kotlinx/" }
}


orchid {
    theme = "Editorial"
    version = "1.0.0"
    srcDir  = "src/orchid/resources"
    destDir = "build/docs/orchid"
}
This adds the plugin, downloads all necessary Orchid dependency, and some configuration of our documentation site. If you look at the orchid block, you can see that we set up some basic configuration.
theme: We will be using Editorial theme. You can see all available theme here.
version: This is your documentation version.
srcDir: This is where all your documentation resources will reside.
destDir: This is where all Orchid generated files will reside.
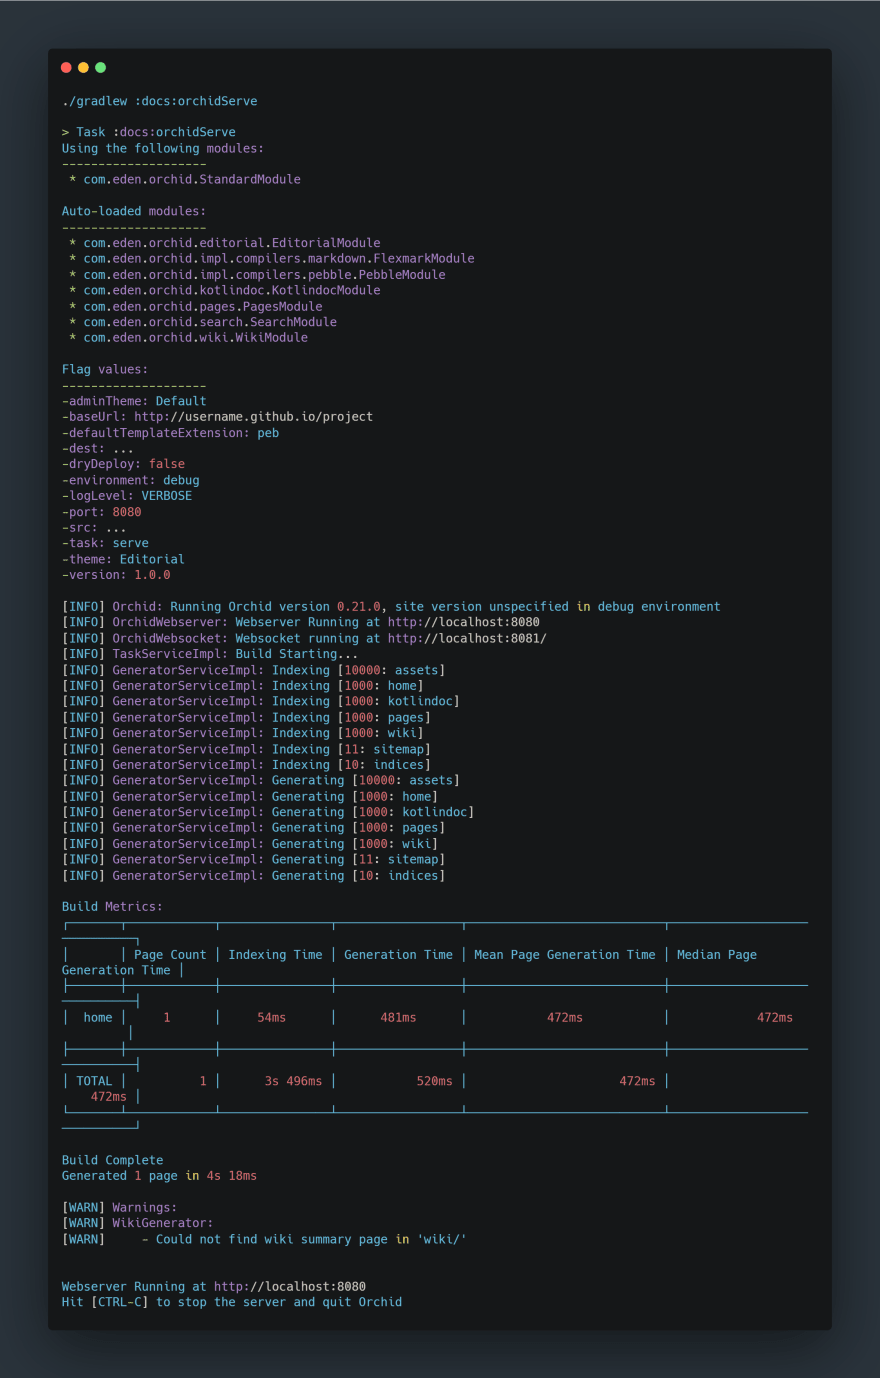
There are still a few things we need to do to set up the wiki and tell it where to find our Kotlin code, but you can run Orchid right now with
./gradlew :docs:orchidServe (omit ./ for windows)
and view the site on http://localhost:8080. It should give you an output like the following:
Adding content
Now let's start adding some content to our homepage, Orchid contents are writing in markdown format. So let's create a file called homepage.md in docs/src/orchid/resources/homepage.md directory of our docs module and add this:
// docs/src/orchid/resources/homepage.md
# KotlinProject

This is a short description of this project.
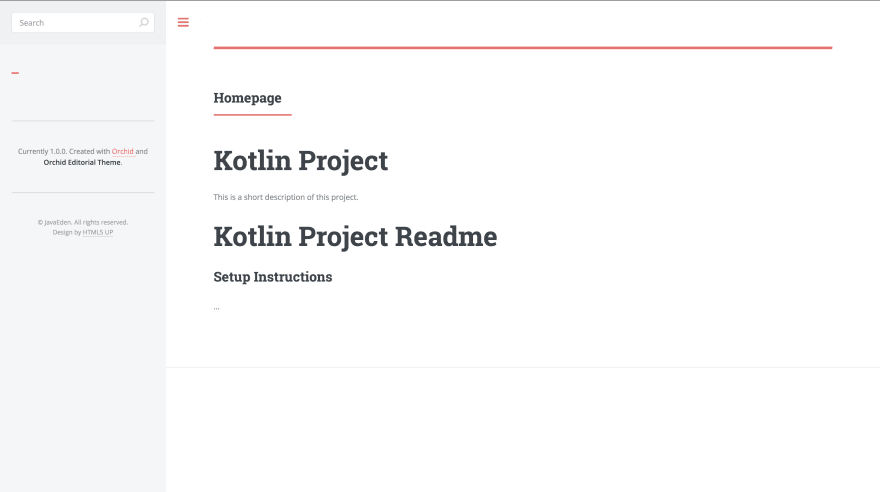
We should now see something like this:

Here we added our first file homepage.md which has title and description of our site.
Theme configuration and Site Info
Orchid handles this with a config.yml file. So we will be creating one in our root directory here docs/src/orchid/resources/config.yml and add this:
# docs/src/orchid/resources/config.yml
site:
  about:
    siteName: Kotlin Project
    siteDescription: This is a short description of this project.
Editorial:
  primaryColor: '#DE9149'
  social:
    github: 'username/project'
Basically, this file is where our site configuration setting will reside. It will contain code that can be used to change the overall look and feel of our site. You can see we added the About which has the site name and site description. Also, properties to change our Editorial theme settings and social link. This is quite straight forward. We can play with these values and see how the changes are effected.
Another thing we will like to do is to link up our readme file. Orchid can embed that on your homepage. To do this, we will add a Front Matter section to the top of the homepage file, and add the "Readme" Component to the homepage in that Front Matter. If you've previously used Jekyll or another static site generator, Orchid handles Front Matter in the exact same way: YAML between a pair of triple-dashes lines. Also, keep in mind that your readme file must be somewhere in your project directory (app module):
// docs/src/orchid/resources/homepage.md
---
components:
  - type: 'pageContent'
  - type: 'readme'
---
# Kotlin Project

This is a short description of this project.
Automatically Orchid will pickup your readme file and display it on the homepage.
The next thing we are going to do is to add some wiki files. To do this, we need to create a file called summary.md in docs/src/orchid/resources/wiki/summary.md directory of our docs module and add this:
// docs/src/orchid/resources/wiki/summary.md
- [Installation](installation.md)
- [Basic Configuration](configuration.md)
- [Features](features.md)
  - [Feature One](features/one.md)
  - [Feature Two](features/two.md)
- [Extending](extending.md)
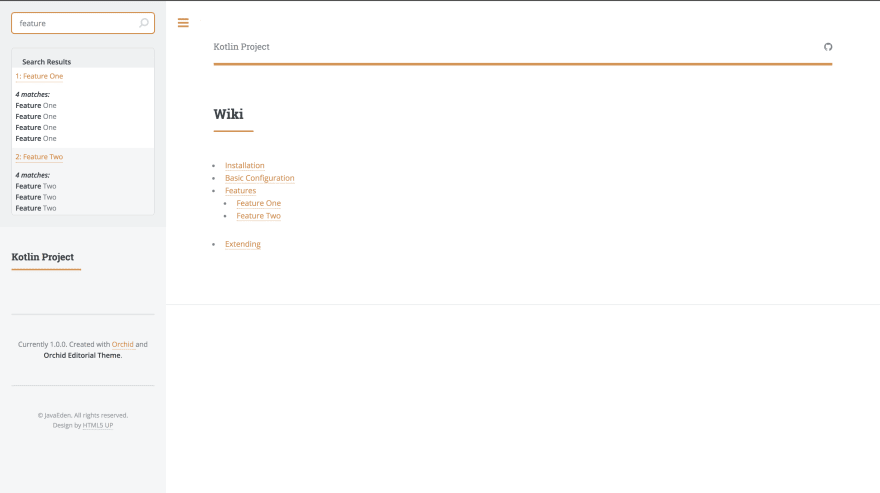
Basically, we are registering directory for our wiki pages which we don't have. I will leave you to create these files in your wiki directory. They each work in exactly the same way as the Homepage file and can contain Markdown content.
Now, if you visit http://localhost:8080/wiki you'll be able to start navigating your wiki. One of the really nice features of Orchid is the built-in static search. So add another component called orchidSearch to our config.yml file:
# docs/src/orchid/resources/config.yml
site:
  about:
    siteName: Kotlin Project
    siteDescription: This is a short description of this project.
Editorial:
  primaryColor: '#DE9149'
  legacySearch: false
  social:
    github: 'username/project'
  metaComponents:
    - type: 'orchidSearch'
The last thing we need to do is start setting up our site menus, and include a link to this wiki. You can do this in config.yml. Change it to look like the following:
# docs/src/orchid/resources/config.yml
site:
  about:
    siteName: Kotlin Project
    siteDescription: This is a short description of this project.

Editorial:
  primaryColor: '#DE9149'
  legacySearch: false
  social:
    github: 'username/project'
  metaComponents:
    - type: 'orchidSearch'
  menu:
    - type: 'separator'
      title: 'Wiki'
    - type: 'wiki'

Generate Kotlin code
Now is the time we generate our API doc. All we need to do now is just to update our config.yml file to point to our source code. Add this to do that:
# docs/src/orchid/resources/config.yml
kotlindoc:
  sourceDirs:
    - './../../../../app/src/main/java'
Here we are telling Orchid to locate our source file where it's going to generate our API doc. This should, of course, point to your app module. Just like others we also need to create menu for our API doc, now just update config.yml file to this:
# docs/src/orchid/resources/config.yml
site:
  about:
    siteName: Kotlin Project
    siteDescription: This is a short description of this project.

Editorial:
  primaryColor: '#DE9149'
  legacySearch: false
  social:
    github: 'username/project'
  metaComponents:
    - type: 'orchidSearch'
  menu:
    - type: 'separator'
      title: 'Wiki'
    - type: 'wiki'
    - type: 'page'
      itemId: 'Changelog'
    - type: 'separator'
      title: 'API Docs'
    - type: 'sourcedocPages'
      moduleType: 'kotlindoc'
      node: 'classes'
      asSubmenu: true
      submenuTitle: 'Classes'
    - type: 'sourcedocPages'
      moduleType: 'kotlindoc'
      node: 'packages'
      asSubmenu: true
      submenuTitle: 'Packages'
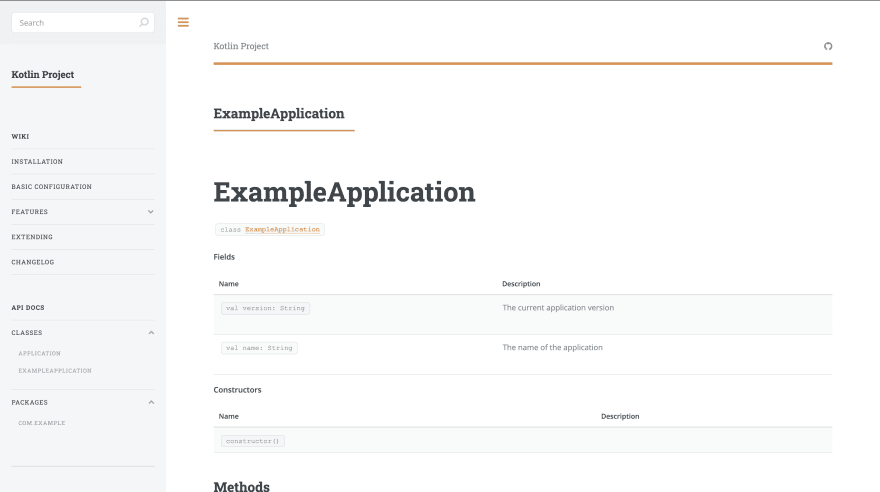
So we already have our API documentation linked up. We can now easily navigate with the menu we created.
Deploy On Github Pages
As we have our documentation site ready, it's time to deploy it. Orchid provides a very easy way to do that, all you have to do is just add some configuration setup into your config.yml file and we are good, here:
# docs/src/orchid/resources/config.yml
services:
  publications:
    stages:
      ghPages:
        branch: gh-pages
        repo: 'project'
        username: 'username'
You will have to fill in the details as necessary. In addition, we will need to authenticate with Github in order to actually succeed in pushing to that branch. To do that, you need to create a Github Personal Access Token and set it to the githubToken environment variable. In your terminal...
export githubToken=...
Conclusion
And with all that, our Android project's doc site is ready! Although there is a lot more customization that can be done with Orchid, here is a link to dive deeper.
Thanks for reading, please let me know if I’ve missed anything or if you have any tips for using Orchid!

Top comments (3)
Nice article
I should try this on all my projects. I really thought documentation would be a big deal
Awesome