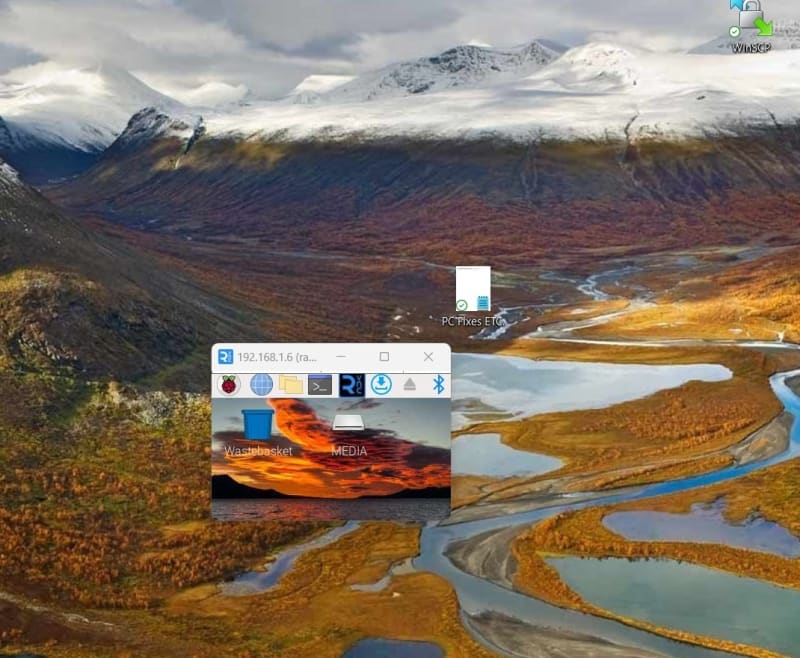
When we want to work on a Raspberry Pi, it is usually complicated to connect it with a monitor itself and prepare a set of mouse and keyboard. Then, using SSH(Secure Shell) or using VNC(Virtual Network Computing) are good alternatives. However, when we first connect with a Raspberry Pi using VNC, it is likely that the resolution of the screen is too low, and only the top left corner of the screen is displayed. In this case, due to the limited space for operation, it is hard to directly change the resolution through the VNC connection, but there is one way to solve this through SSH connection.
First, we connect our Raspberry Pi through SSH connection, and run the following command:
sudo nano /boot/config.txt
After that, a file should be opened using nano editor.
First, we need to find the following five lines and if any of them are commented, UNCOMMENT these lines.
Note: set the framebuffer_width and framebuffer_height to your designed resolution and set hdmi_group and hdmi_mode the same as the value in the picture below.
Then, we scroll down and find the following two lines, and if any of them are uncommented, COMMENT these two lines.
After we complete all the changes, press Ctrl + O to write the changes, and then press Ctrl + X to exit.
Finally, we need to reboot the Raspberry Pi to make the changes take effects, run
sudo reboot
At this time, if you reconnect the Raspberry Pi via VNC, the resolution should be normal.
PROBLEM SOLVED!!


Top comments (2)
Hello, I did the uncommenting but I am still getting a very tiny screen?

Anything I should try before I nuke my setup and start from scratch all over again!
That was really helpful. Thanks for making this post!