New to this series? Start here!
Introduction
Thanks for taking the time to join me on my journey to create a new link-sharing site. In the last post I talked about how I initialised Firebase. Today I get to talk about how I hooked the web app up to work with Firebase's offerings. In particular I will cover how I connected Firestore and gave users a way to submit and view links stored on it.
Handling Authentication
In the previous post, I also described how I used the Firebase SDK function createUserWithEmailAndPassword() to connect a sign-up form to Firebase Authentication.
Even after signing up, I presumed that I would first have to create the account and then call a sign in function separately. However the Firebase SDK makes it easier than that! If an account is successfully created then the user is automatically signed in.
Web Component Redirects
So, a user has created an account and been signed in. At this point, most sites I know redirect the user back to their previous page or another specific page. To simplify things, I opted to redirect the user to the 'browse' page whenever
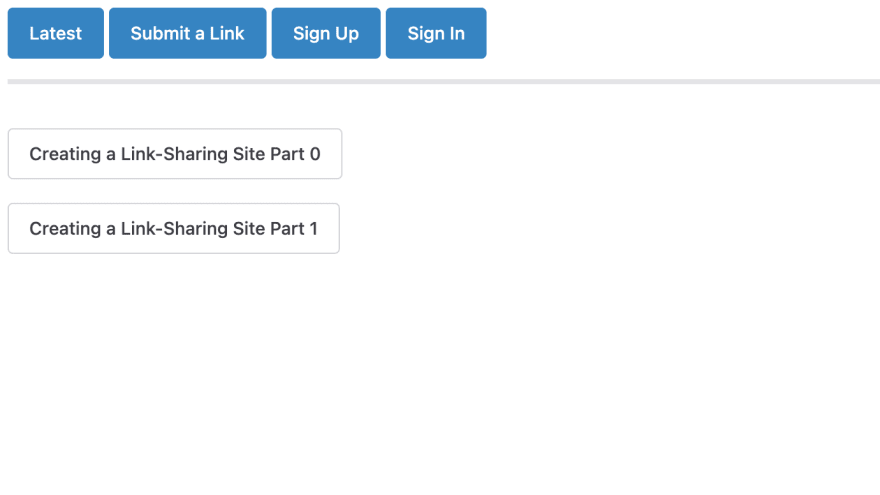
they have signed in. This page is the page where users can 'browse' all of the recently added links, it also acts as the home page (see below).
Initially, createAccount() looked like this:
createAccount(email, password) {
  const auth = getAuth();
  createUserWithEmailAndPassword(auth, email, password)
  .then((userCredential) => {
      const user = userCredential.user;
  })
}
At first, I called createAccount() and then immediately redirected the user to a new page. Without waiting for the response to createUserWithEmailAndPassword(). I quickly realised this was an issue, whether the account creation was successful or not was not important. If a user clicked the 'submit' button in the sign-up form, they were getting redirected, authenticated or not.
However, if an account is not created due to an error such as an invalid email or password being used, then the user interface should give the user an opportunity to amend their form entries. To get around this, I wrapped my createAccount() logic in a Promise:
createAccount(email, password) {
  return new Promise ((resolve, reject) => {
    const auth = getAuth()
    createUserWithEmailAndPassword(auth, email, password)
    .then((userCredential) => {
        this.user = userCredential.user;
        resolve()
    })
  })
}
As a relative-newcomer to JavaScript, I am still trying to get to grips with everything related to async, await, Promise etc. So for fellow newcomers, I recently published a guide on getting started with JavaScript Promises.
Signing In
Users could create accounts, hurrah! But they couldn't yet sign in without making a new account every time. Doesn't sound too user friendly to me...
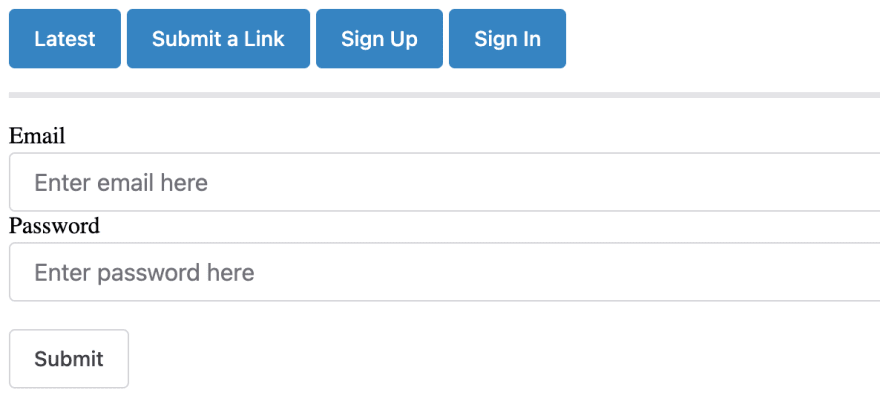
Keeping it as simple as possible, I put together a sign in page which looked exactly the same as the sign up page. The only difference being what went on when the user hit 'submit'. My signIn() method is almost identical to createAccount(). The difference being that signIn() uses
signInWithEmailAndPassword() rather than the aforementioned createUserWithEmailAndPassword().
Now it's time to celebrate! Working authentication hooked up to Firestore. Users can now create accounts on the site and sign-in later.
Firestore
Adding Links
Onto the content of the site. We have already seen how users will view links on the browse page in the web component redirects section and in part 1 of the series, I showed how I created a page for submitting links but mentioned that the submit button did nothing at all. Time for that to change!
I started by creating an event handler submitLink to handle when the submit button in the form is pressed:
get _form () {
  return this.renderRoot.querySelector('#submit-form')
}

async submitLink (e) {
  let userTitle = this._form.querySelector('#title-input').value
  let userLink = this._form.querySelector('#link-input').value
  const db = getFirestore(this.app);
  let col = collection(db, 'links')
  await addDoc(col, {
    link: userLink,
    title: userTitle
  })

  const event = new CustomEvent('submitted-link')
  this.dispatchEvent(event)
}
I also amended the submit button in the template to use the new submitLink handler:
<sl-button @click=${this.submitLink}>Submit</sl-button>
On the Firebase side of things, I start by using
getFirestore(). I pass this.app to getFirestore() where this.app is a property passed to the web component equal to the output of initializeApp(). The aim of this first line is to initialise a variable with access to the database.
Then I define col, a variable with access to the specific collection within the database:
let col = collection(db, 'links')
The final step is to add the document containing the link to the collection:
await addDoc(col, {
  link: userLink,
  title: userTitle
})
If this operation is successful then we have added the link to the database! Following this, I use the same strategy as described earlier to redirect the user to a new page by dispatching a custom event.
Reading Links
Luckily reading from Firestore is very similar to writing to it. Here are the lines I use to get all of the available links from the links collection:
const db = getFirestore(this.app)
let col = collection(db, 'links')
const querySnapshot = await getDocs(col)
querySnapshot.forEach((doc) => {
  this.linkBoxes.push(doc.data())
})
The first two lines are exactly the same as writing and follow exactly what I described in the previous part. Things change a little in the third line.
A querySnapshot contains the results of a query. By using getDocs() on the whole collection col, I am asking to return all of the documents in the collection into the variable querySnapshot.
Once the query is resolved, I loop through each document and add them to the list of links shown on the browse page.
Note: to access the contents of each document you have to iterate through each and call its
.data()method.
That's all there is to it! Link submission works and now the home page is populated using links properly submitted by the user(s).
Conclusion
In this update I have discussed:
- How I used JavaScript promises to perform redirects
- How the sign-in page came to existence
- How users gained the ability to submit links
- How the home page dynamically loads links from Firestore
I sincerely hope you have enjoyed this update. If you would like to hear when I publish more updates, follow me here on Dev.to or follow me on Twitter.


Top comments (0)