
Hello everyone, this article will focus on step-by-step process on how to create a web app in Azure
NB: Azure App Service is a fully managed web application hosting platform. This platform as a service (PaaS) offered by Azure allows you to focus on designing and building your app while Azure takes care of the infrastructure to run and scale your applications.
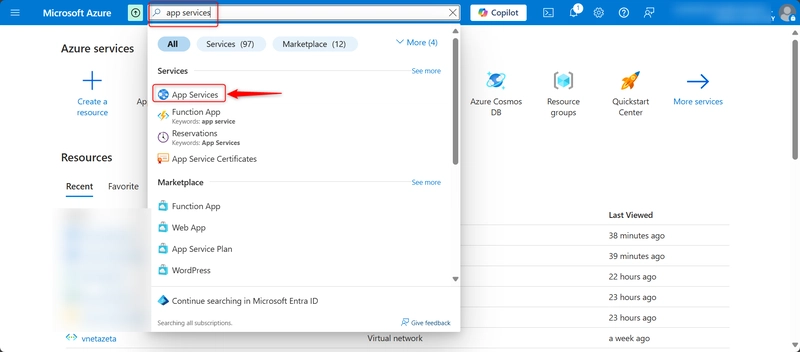
In the Search resources, services and docs field, type App services.
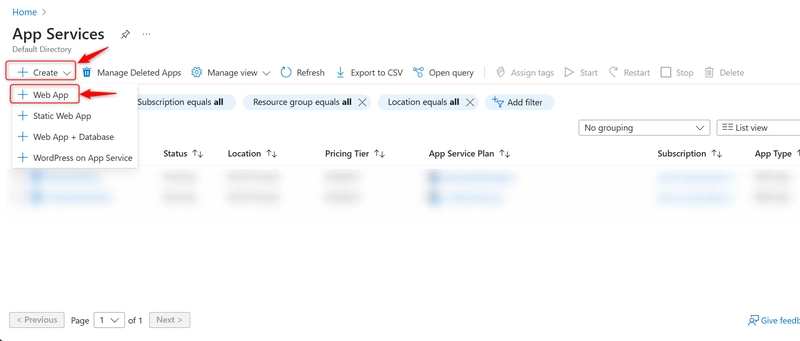
Click the + Create button to start the web app creation process.
-
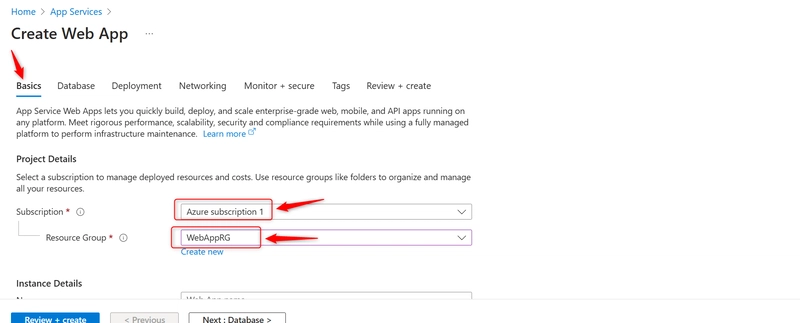
On the Basics tab, enter the following values for each setting.
Project details
Select the Azure subscription to which the resource group you are using belongs (or is going to belong, if you're creating a new resource group within the wizard).
Create a resource group or use the one associated with your web app. All Azure resources must belong to a resource group.
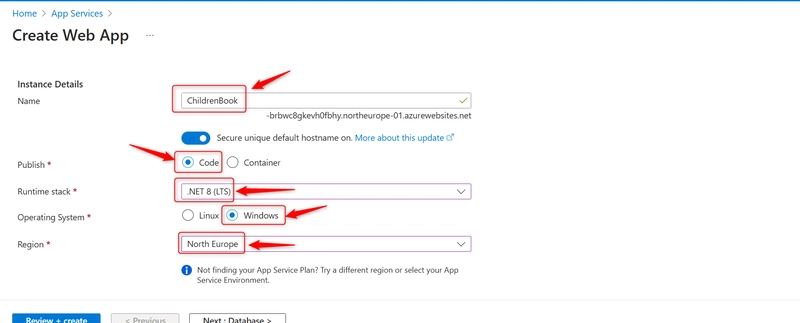
Instance details
Enter a unique name(ChildrenBookSite)
The name of your web app. This name becomes part of the app's URL: ChildrenBookSite.azurewebsites.net. The name you choose must be unique among all Azure web apps.The method you want to use to publish your application. When publishing an application as code, you must also configure Runtime stack to prepare App Service resources to run your app.
Runtime Stack (.NET 8(LTS)) is the platform on which your application is going to run. Your choice might affect whether you have a choice of operating system - for some runtime stacks, App Service supports only one operating system.
Your operating system is automatically selected after the runtime stack.
Select the geographical region from which your app is hosted. I used North Europe.
Pricing Plans
Create a new Window plan - ChildrenLibrary
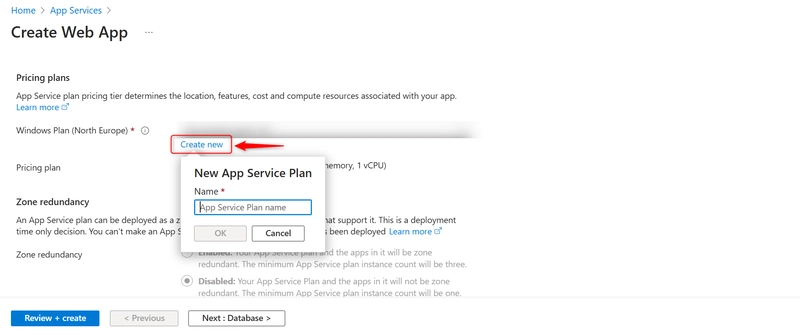
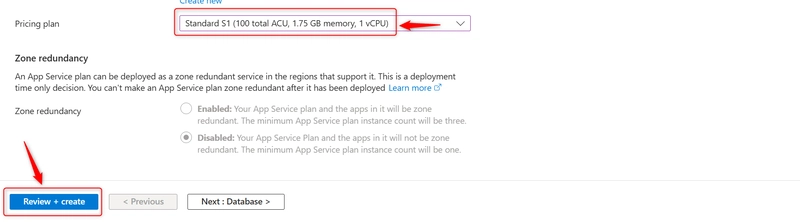
Select the pricing plan - I chose standard
The pricing tier of the service plan being created. The pricing plan determines the performance characteristics of the virtual servers that power your app and the features to which it has access.
Please note that Free and shared are not used for production just for trials.Click on Review + Create
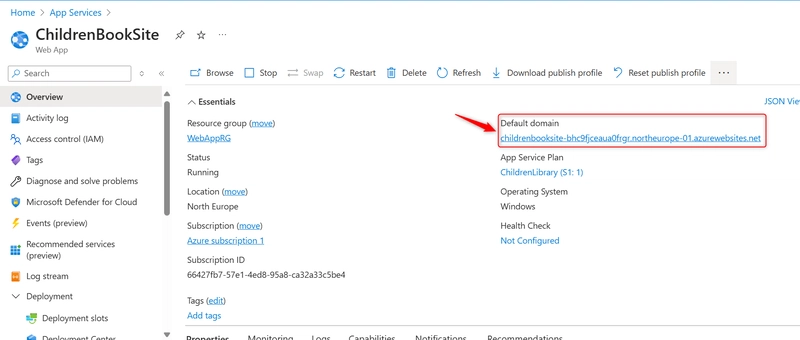
When deployment is complete, select Go to resource. The portal shows the App Service Overview pane for your web app.
To preview your web app's default content, select the URL under Default domain at the top right.
The placeholder page that loads indicates that your web app is up and running and is ready to receive deployment of your app's code.
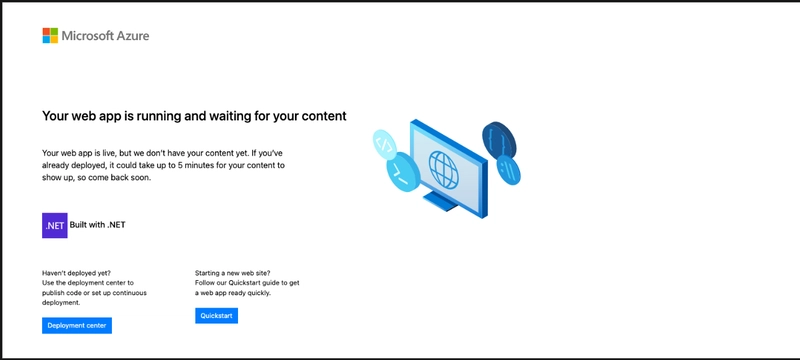
Leave the browser tab with the new app's placeholder page open. You'll come back to it after your app is deployed.
To Add Your Code Manually
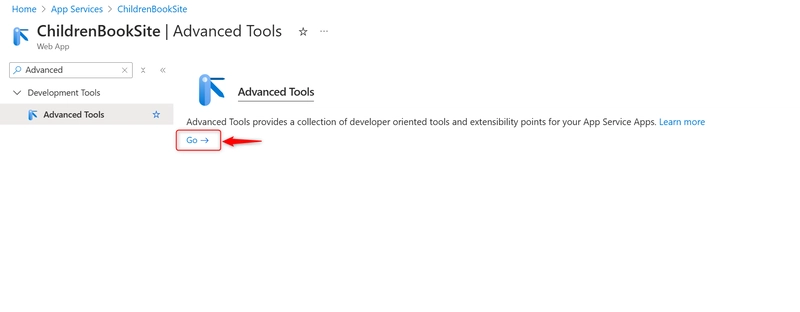
search for Advanced Tools
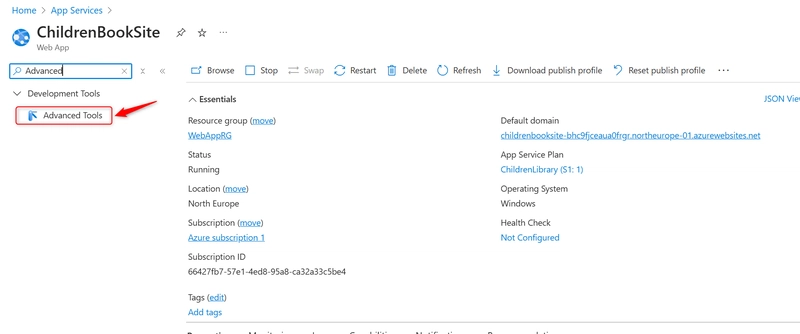
Click on Go.
You will be redirected to Kudu+.
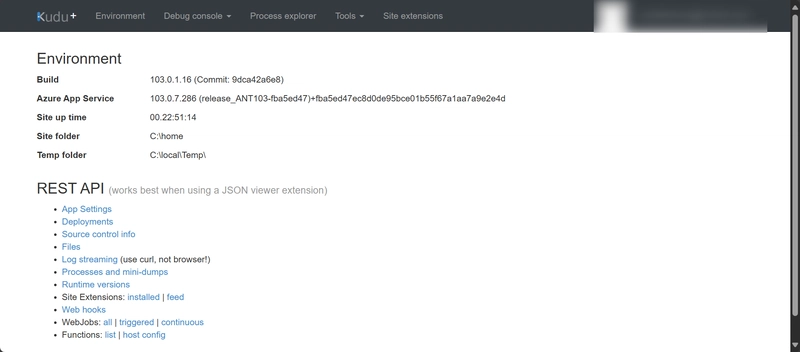
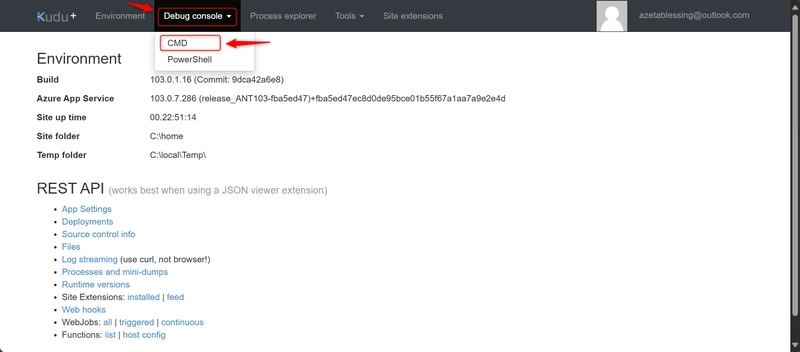
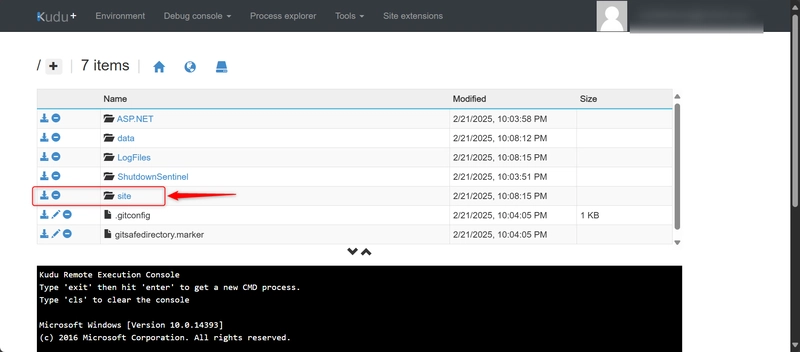
Click on Debug Console
Select CMD
Click on Site
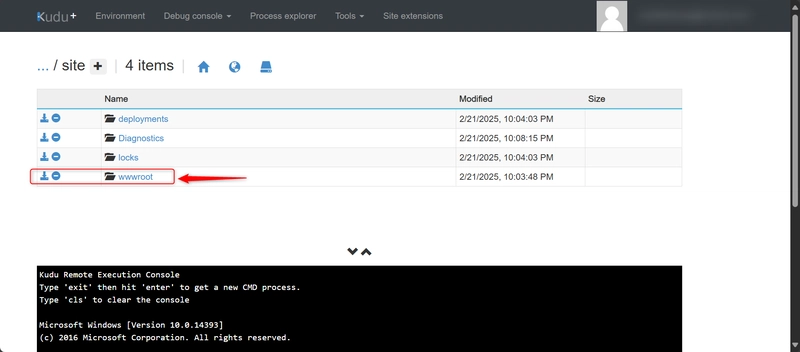
Click on wwwroot
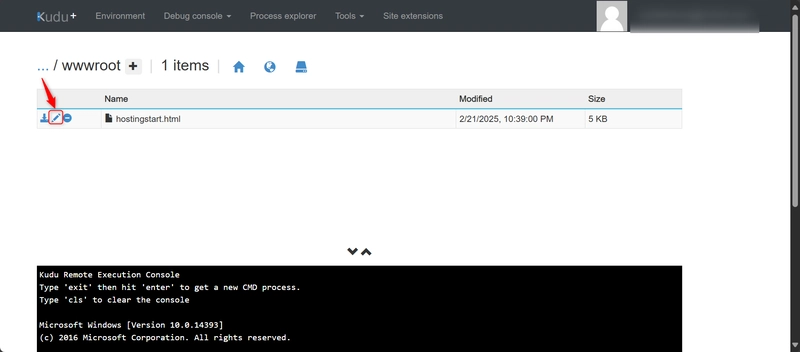
Click on the pencil icon beside hostingsite.html to edit
Input your code and click on save
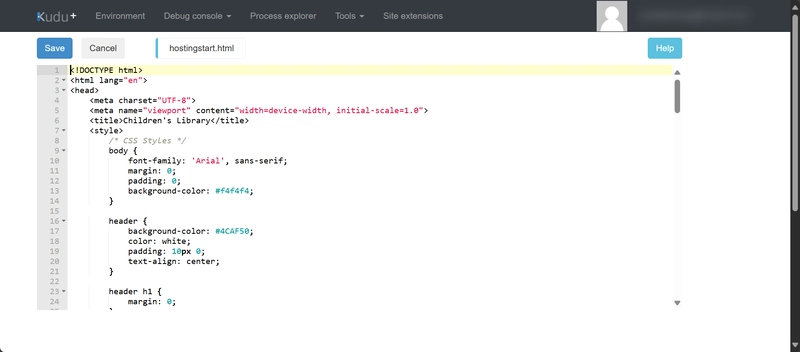
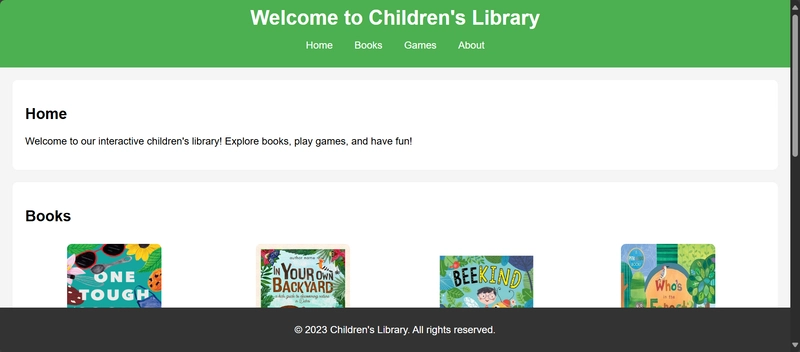
Refresh the browser tab and your web app is up and running.

Top comments (0)