Thinking of building a SaaS application? This starter template will help you create a scalable and production ready application using Encore.ts and Next.js.
It uses Clerk for authentication, has a Stripe integration for payments, and uses Tailwind and shadcn/ui for styling and components.
Features
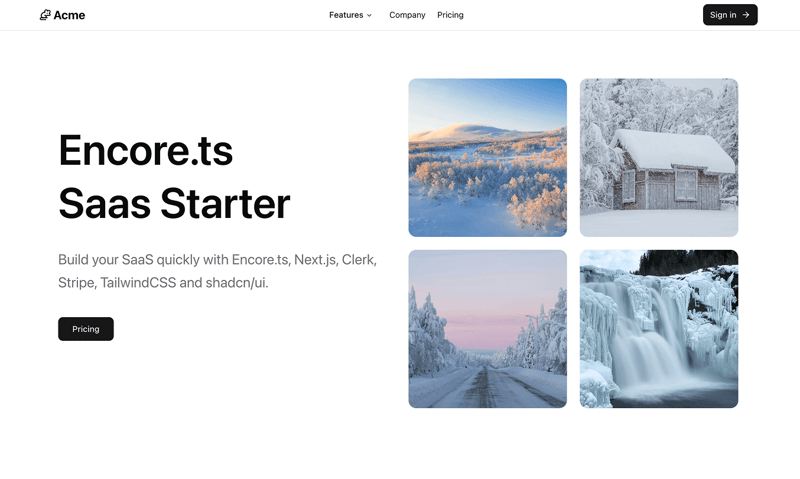
- Marketing landing page (/)
- Pricing page (/pricing) which connects to Stripe Checkout
- Dashboard pages with (/dashboard)
- Subscription management (/dashboard/subscription)
Tech stack
- Backend framework: Encore.ts
- Frontend framework: Next.js
- Authentication: Clerk
- Payments: Stripe
- UI Library: Tailwind & shadcn/ui
Getting started
Install or Update Encore
Install Encore:
-
macOS:
brew install encoredev/tap/encore -
Linux:
curl -L https://encore.dev/install.sh | bash -
Windows:
iwr https://encore.dev/install.ps1 | iex
Note: This starter requires Encore v1.46.9+, if you have an older version installed, update using encore version update.
Create app
Create a local app from this template:
encore app create my-app-name --example=ts/saas-starter
Then install the frontend dependencies:
cd my-app-name/frontend
pnpm install
Setting up Clerk
Create a Clerk account if you haven't already. Then, in the Clerk dashboard, create a new application.
Ensure the application is configured to support organizations, which can be enabled on the Organization management settings page.
Secrets
If you host your app on Vercel (see deployment instructions further down), you can connect your Clerk application with your Vercel project under Integrations in the project settings on Vercel.
Don't forget to run vercel env pull afterward.
Otherwise, go to the API Keys page for your app. Copy the "Publishable Key" and one of the "Secret keys". To your frontend project, add them to the .env.local as
NEXT_PUBLIC_CLERK_PUBLISHABLE_KEY={PUBLISHABLE_KEY}
CLERK_SECRET_KEY={SECRET_KEY}
You also need to add the following environment variables to your frontend project:
NEXT_PUBLIC_CLERK_SIGN_IN_URL="/sign-in"
To add them to Encore, go to the API Keys page for your app. Copy the "Publishable Key" and one of the "Secret keys".
From your terminal (inside the backend directory), run:
$ encore secret set --prod ClerkSecretKey
Next, do the same for the development secret. The most secure way is to create another secret key (Clerk allows you to have multiple).
Once you have a client secret for development, set it similarly to before:
$ encore secret set --dev ClerkSecretKey
Setting up Stripe
Create a Stripe account if you don't have one already. Then, create your account and make sure to set up the products and pricing plans. You must also configure the billing customer portal.
You will also need to add your backend as a webhook endpoint in Stripe and set the endpoint URL to https://YOUR_DOMAIN/stripe/webhook.
Currently, the pricing plans are stored in frontend/lib/plans.ts, but you can also read them from Stripe or store them in a database if you prefer.
Secrets
On the Stripe dashboard, go to the Developers page and create a new API key. Copy the "Secret Key".
From your terminal (inside the backend directory), run:
$ encore secret set --dev StripeSecretKey
To be able to verify the incoming webhook requests, you need to copy the signing secret from the Webhook page on the Stripe dashboard and add it to Encore by running:
$ encore secret set --dev StripeWebhookSigningSecret
Once you want to set it up for production, create a separate Secret key and Webhook Signing Secret for production and run:
$ encore secret set --prod StripeSecretKey
$ encore secret set --prod StripeWebhookSigningSecret
Testing payments
To test Stripe payments, use the following test card details:
Card Number: 4242 4242 4242 4242
Expiration: Any future date
CVC: Any 3-digit number
Vercel Environment Variables
Vercel-specific environment variables are not set on local by default, so you need to add them yourself. This can be done on the project settings page on Vercel.
Please add the following environment variables for development:
VERCEL_ENV="development"
NEXT_PUBLIC_VERCEL_ENV="development"
VERCEL_GIT_PULL_REQUEST_ID=""
NEXT_PUBLIC_VERCEL_GIT_PULL_REQUEST_ID=""
Run locally
Run your Encore backend:
cd backend
encore run
Note: This will fail unless you set up the Stripe and Clerk secrets according to the instructions above.
In a different terminal window, run the React frontend using Next.js:
cd frontend
pnpm run dev
Generating a request client
Keep the contract between the backend and frontend in sync by regenerating the request client whenever you make a change to an Encore endpoint.
pnpm run gen # Deployed Encore staging environment
# or
pnpm run gen:local # Locally running Encore backend
Deployment
Encore
Deploy your backend to a staging environment in Encore's free development cloud:
git add -A .
git commit -m 'Commit message'
git push encore
Then head over to the Cloud Dashboard to monitor your deployment and find your production URL.
From there you can also see metrics, traces, connect your app to a GitHub repo to get automatic deploys on new commits, and connect your own AWS or GCP account to use for deployment.
Nice job, your SaaS backend is now deployed to the cloud!
Next.js on Vercel
- Create a repo and push the project to GitHub.
- Create a new project on Vercel and point it to your GitHub repo.
- Select
frontendas the root directory for the Vercel project.
Frontend & CORS configuration
The backend needs to know where the frontend is hosted, in order to serve the correct redirect URLs
back from Stripe. It is also necessary for CORS to work correctly.
To handle this, you need to update two configuration files.
First, update the FRONTEND_URL constant in backend/config.ts to point to where your frontend is hosted.
Secondly, if you are running into CORS issues when calling your Encore API from your frontend then you may need to specify which origins are allowed to access your API (via browsers). You do this by specifying the global_cors key in the encore.app file, which has the following structure:
"global_cors": {
  // allow_origins_without_credentials specifies the allowed origins for requests
  // that don't include credentials. If nil it defaults to allowing all domains
  // (equivalent to ["*"]).
  "allow_origins_without_credentials": [
    "<ORIGIN-GOES-HERE>"
  ],

  // allow_origins_with_credentials specifies the allowed origins for requests
  // that include credentials. If a request is made from an Origin in this list
  // Encore responds with Access-Control-Allow-Origin: <Origin>.
  //
  // The URLs in this list may include wildcards (e.g. "https://*.example.com"
  // or "https://*-myapp.example.com").
  "allow_origins_with_credentials": [
    "<DOMAIN-GOES-HERE>"
  ]
}
Both of these default to "https://encorets-saas-starter.vercel.app" which is the hosted demo application.
More information on CORS configuration can be found here: https://encore.dev/docs/ts/develop/cors
Wrapping up
You now have a scalable and production-ready SaaS application up and running. Now keep going and develop your SaaS product!
- If you have questions: Join our Discord
- Star Encore on GitHub
- Find more Open-source App Examples
- Join our Squad if you want to contribute content to Encore's blog

Top comments (13)
This is gold! I appreciate your effort! ✨
Cool!
Great job! Thank you!
Thanks!
Thanks
Nice write up. This looks like a good way to get something set up quickly. What advantages are there for using Encore.ts as the backend instead of using Next.js/Node.js for the full solution?
Depends on the use case of course, but for anything more complex you are likely going to want to use multiple services to be able to scale things separately, use multiple databases, etc. This is something that Encore.ts makes very simple. It also uses a Rust based runtime to handle API requests, infrastructure interactions, etc. so it is extremely high performance.
Here's a video on this topic (when not to use Next.js for backend):
youtube.com/watch?v=h3IZvTM4XOs
Appreciate the video link, thank you. I'll check it out.
Thanks, you show me a new tool to add to my dev tool box
Kindly share the GitHub link
Great point, missed this.
Added to article, but here it is as well: github.com/encoredev/examples/tree...
We wanted to migrate to encore, but it seems their github issues and discussions are not active enough
We're mainly using Discord (encore.dev/discord) as it states on the GitHub page.
Some comments may only be visible to logged-in visitors. Sign in to view all comments.