
Docker Applied Skills: Containerize a Node.js Application
Introduction
Docker is a powerful tool for containerizing applications, allowing developers to package their code and dependencies into lightweight, portable containers. In this guide, we’ll walk through the process of containerizing a Node.js application using Docker. We will be following the steps outlined here
By the end of this tutorial, you will:
- Set up a simple Node.js application.
- Write a Dockerfile to containerize the application.
- Build and run a Docker container.
- Manage the container lifecycle using Docker commands.
Why containerize apps?
Containerizing apps offers several advantages:
- Consistency: Ensures apps run the same across all environments (dev, test, prod).
- Portability: Easily deployable across different platforms and cloud services.
- Isolation: Prevents conflicts between app dependencies.
- Scalability: Easily scale applications based on demand.
- Faster Deployment: Containers are lightweight and start quickly.
- Version Control: Manage and roll back app versions easily.
- Resource Efficiency: Containers use fewer resources than VMs.
- Security: Isolates apps for better security and risk management. Containerization streamlines development, deployment, and scalability, improving consistency, efficiency, and security.
Prerequisites
Before you begin, ensure you have the following installed on your system:
- Node.js (LTS version)
- Docker Desktop
- A git client. The examples in this section use a command-line based git client, but you can use any client.
Let’s get started!
Getting the Sample Application
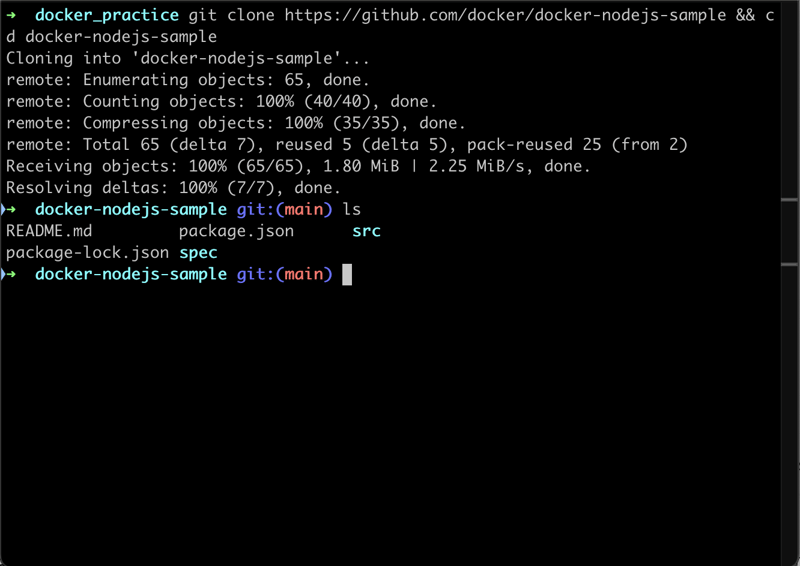
In your terminal/powershell, navigate to a folder where you'd like to store this sample application. To get the sample app, enter:
git clone https://github.com/docker/docker-nodejs-sample && cd docker-nodejs-sample
Then enter:
ls
To confirm that the files were brought in from git
Initialize Docker assets
To create the Docker assets necessary to containerize the application, we can use Docker's built in Docker init feature to streamline the process. Conversely, we can also create these assets manually. In this example, we will use Docker init
In the terminal enter:
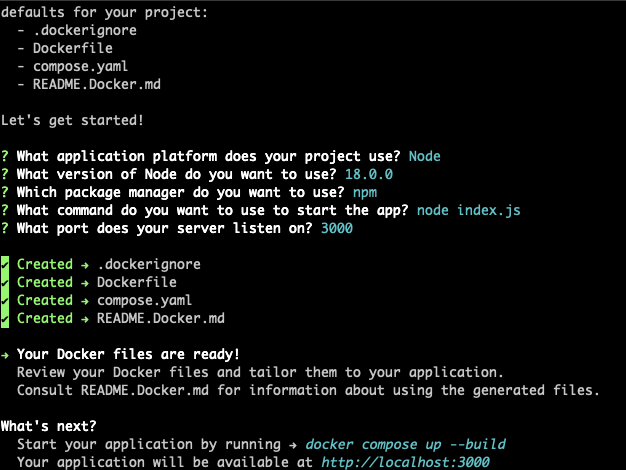
docker init
Answer these prompts accordingly:
What application platform does your project use? Node
What version of Node do you want to use? (ensure latest version ex. 21.5.0)
Which package manager do you want to use? npm
What command do you want to use to start the app: node src/index.js
What port does your server listen on? 3000
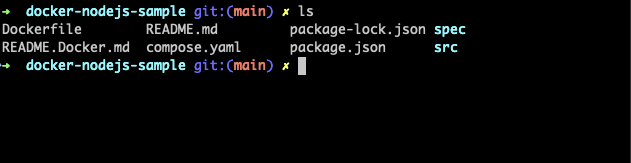
Enter ls in the terminal. You should see these files:
Inside the docker-nodejs-sample directory, run the following command in a terminal to build the app:
docker compose up --build
If you get an error similar to this, refer to the next step:
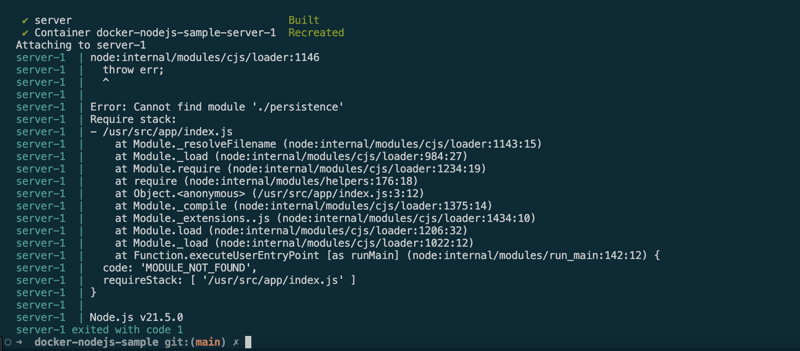
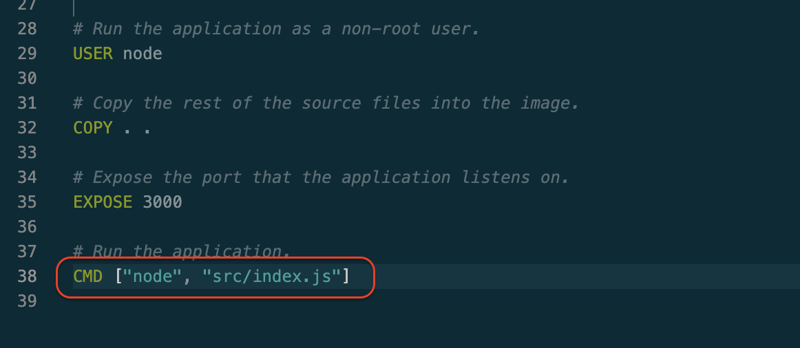
To bypass file errors, modify the
Dockerfile. Locate the CMD line and ensure that is says
CMD ["node", "src/index.js"]
Like this:
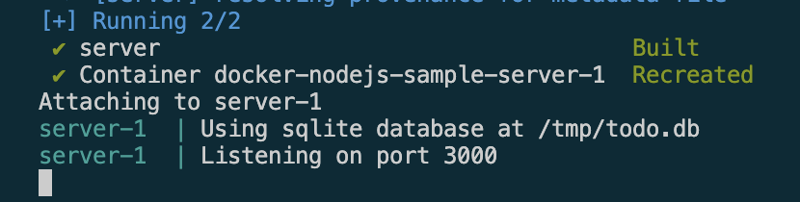
Run
docker compose up --build
again and it should work. You should see a message in the terminal like this:
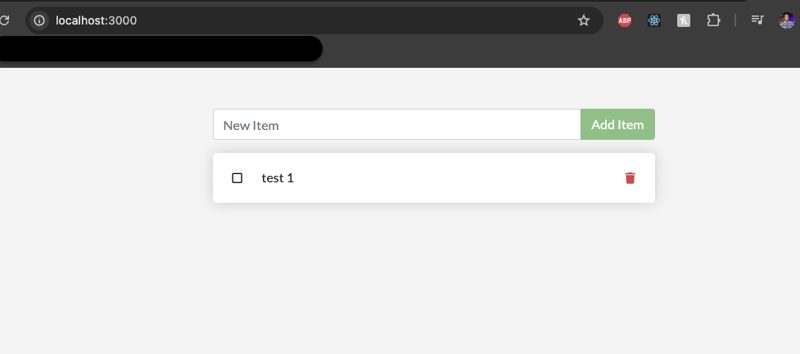
Open your browser and navigate to http://localhost:3000/. You should see something like:
Summary:
This guide walks through the process of containerizing a Node.js application using Docker. The steps include setting up a Node.js app, writing a Dockerfile to containerize it, building and running the Docker container, and managing the container lifecycle with Docker commands.
Key steps include:
Containerization benefits: Docker ensures consistency, portability, isolation, scalability, faster deployment, and better security.
Getting the Sample App: Clone the sample node.js app from GitHub.
Initialize Docker Assets: Use Docker’s docker init to streamline the process of creating necessary Docker files for the project.Build and Run the App: Use docker compose up --build to build the containerized app and fix any errors that might arise during the process.
The node.js application will be successfully containerized and running locally using Docker.

Top comments (0)