
Introduction
In this tutorial we will create an RPA bot that analyses the sentiment in text. We will use Automation Anywhere A2019 Community Edition and Azure Cognitive services to build this bot.
Getting Started with Automation Anywhere A2019 Community Edition
Automation Anywhere offers developers a free version of the cloud native A2019 platform. Click the Sign up link to create your account.
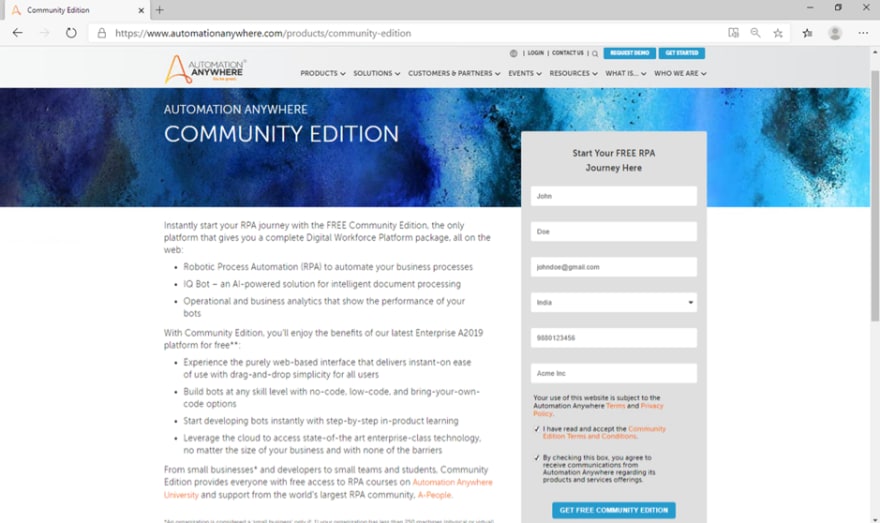
Fill in all the fields and hit the Get Free Community Edition button at the bottom of the form.
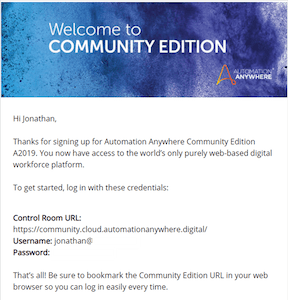
You will receive an email with the Control Room URL and your login details.
Enter the URL in your browser and enter the login details provided. You will now see the A2019 Control Room.

Creating your bot
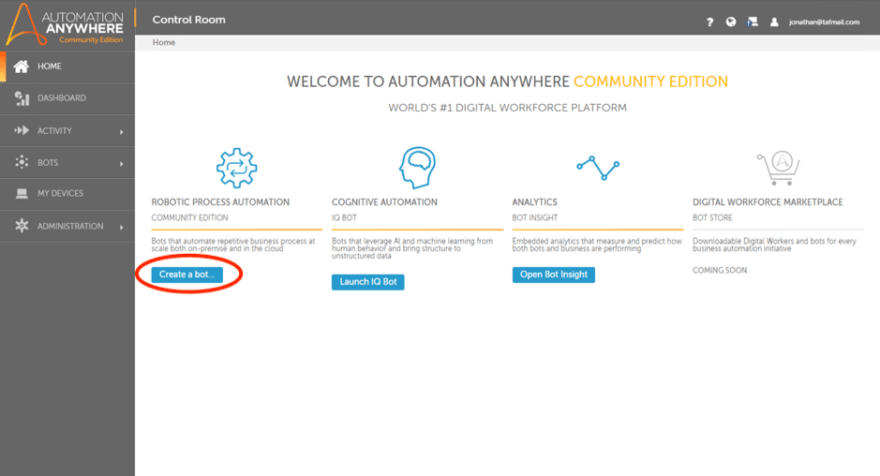
To create your bot, click the Create a bot button on the Home page in the Control Room.

Enter the Name and Description for the bot you plan to create. Click on Create & edit to go to the bot creation interface.
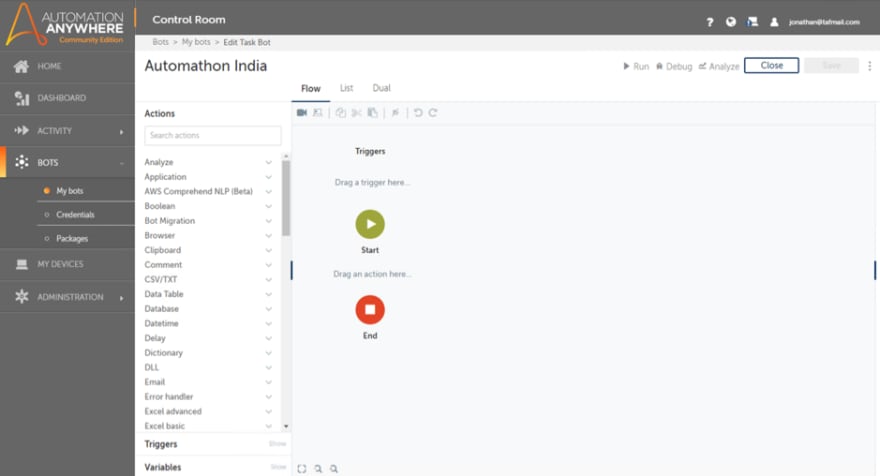
Here you will see the bot flow. You can view this in the visual Flow mode, the List mode and, the Dual mode which has the flow and list of the actions.
To the left pane you will notice all the actions (packages) available by default. You can either double click or drag and drop the actions as and when required.
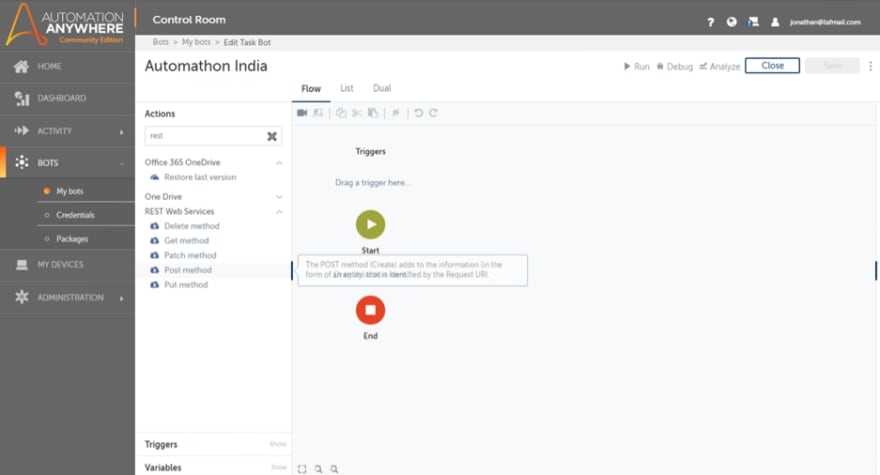
To start with let us enable our bot to POST requests using the API. For this we use the REST Web Services actions. You can either scroll down in the action pane or search for them. We will use the POST method. Double click on the action to add it to the flow.
Now we need to connect to the Azure APIs. Head over to the Azure Portal to get the API endpoint and the key. We will use the Text Analytics API for this tutorial.

Fill in the required fields and hit the “Create” button.
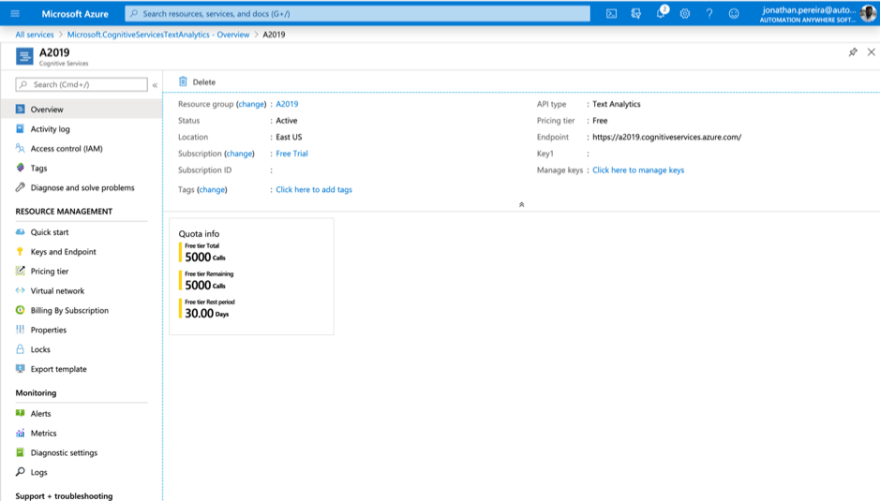
The API endpoint and the Key would be provided here.

In A2019, enter the API endpoint in the “URI” field.
Add the following custom headers:
Ocp-Apim-Subscription-Key:your_API_key
Content-Type:application/json
In the content type, we need to add custom parameters with the message that we want to parse.
{ "documents": [ { "language": "en", "id": "1", "text": "Your company is amazing. Wonderful service. " } ] }
We can change the text to see the different results. Alternatively, you can import the various text phrases into the bot using a CSV or an excel.
Click Apply to update the action.
Now we need to assign a variable for the response. For this, click the wand icon next to the field.
Enter the name of the variable and click on Create & select.
Now we define the Response variable using the Dictionary package to allow it to return the value associated.
Click Apply to update the action.
Next, we write a Python script to rate the emotion. Alternatively, you can also import the python file within the action.
Python script:
import json
def read_from_json(response):
    pyObj = json.loads(response)
    result =''
    try:
        arr = pyObj['documents']
        for v in arr:
            score = round(v['score'],2)
            if score >= 0 and score <= 0.25:
                return "Sad/Angry/Frustrating"
            elif score > 0.25 and score <= 0.5:
                return "Below Average"
            elif score > 0.5 and score <= 0.75:
                return "Average"
            else:
                return "Happy"
    except:
        return result
Click Apply to update the action.
Now we add an action to execute the python script. The function name is read_from_json.
Click Apply to update the action.
Now we are all done with adding the actions. Now we need to save the bot by clicking on the Save button.
It is now time to test our bot. Click the “Run” button. If you do not already have a bot agent installed, it will ask you to do so.
After executing successfully, the bot response is displayed based on the input text. We can change the text to see the difference.
That’s it, we just created a bot on A2019 using the Azure Cognitive Services APIs.

Top comments (1)
This article really helped me a lot
But i recently ran into a problem the rest api is returning null
Please help me out