
How to connect ActionForms.io + Airtable using Integromat
What is ActionForms.io?
As a developer or web designer, when you create a web form, you need to specify some action. The action is a URL or endpoint that your form will be sent. Meaning that you need a backend (code) that receives your form and send you email notifications, saves the data, and something else.
But what happens if I don’t know how to create a backend? Or what happens if I don’t wanna create a backend for a simple form?
For that reason, I’ve created ActionForms.io.
Connect ActionForms.io endpoint to an Integromat scenario flow
If you haven’t read our tutorial about how to connect ActionForms.io + Integromat, please click the link below:
Send ActionForms.io endpoints to Airtable
First of all, you need an Airtable account.
You can use my affiliate link here: https://airtable.com/invite/r/CEQGIO03
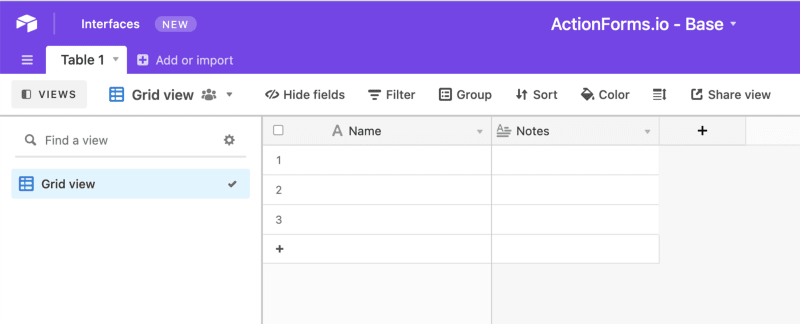
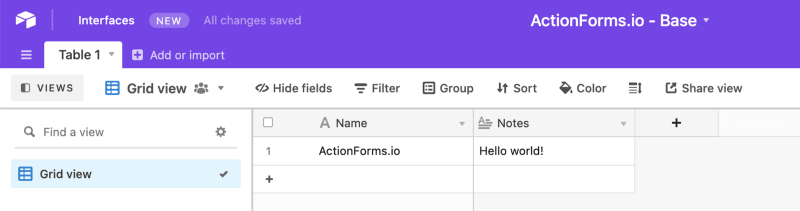
Now we have to create a new Base in Airtable. If you’re new in Airtable, just click the “+” button in your Dashboard:

This will create a new “Document”. By default, Airtable creates a “Table 1” with some columns. We can delete some of them for this tutorial.
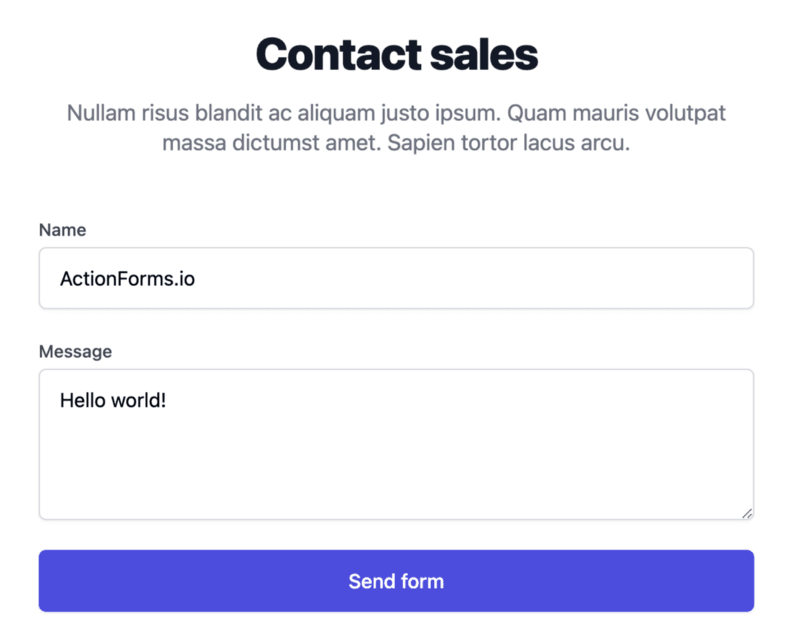
Sending form and collecting fields
We’ve created a sample contact form for this tutorial, using ActionForms.io endpoint, and connected to Integromat webhook.
Before sending the form, you have to access your Integromat Scenario and click the “Play” button in your configured Webhook:
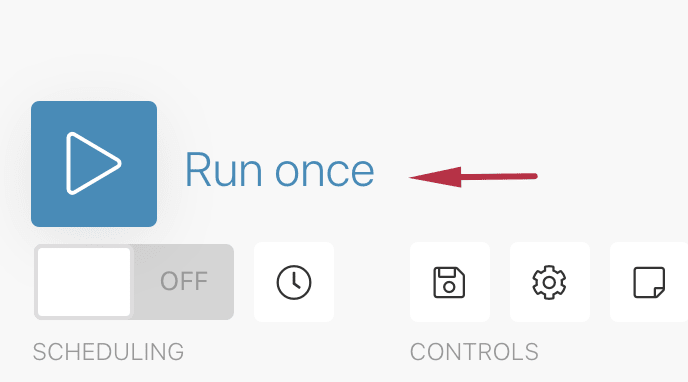
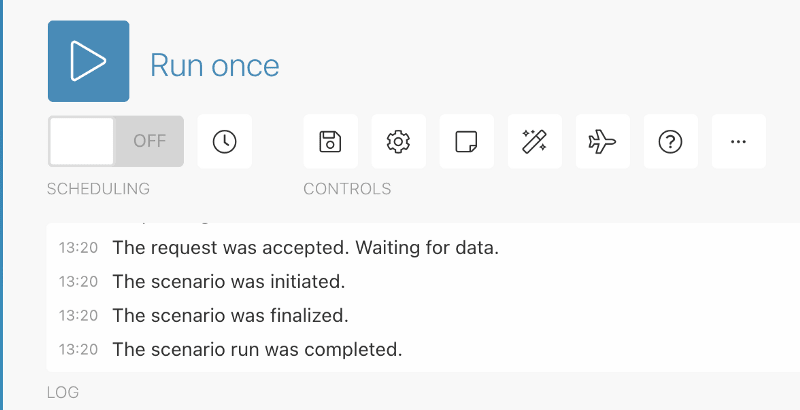
Once you have clicked the Run button, then Send the form. You’ll see that a new request was sent, and the scenario was initialized:
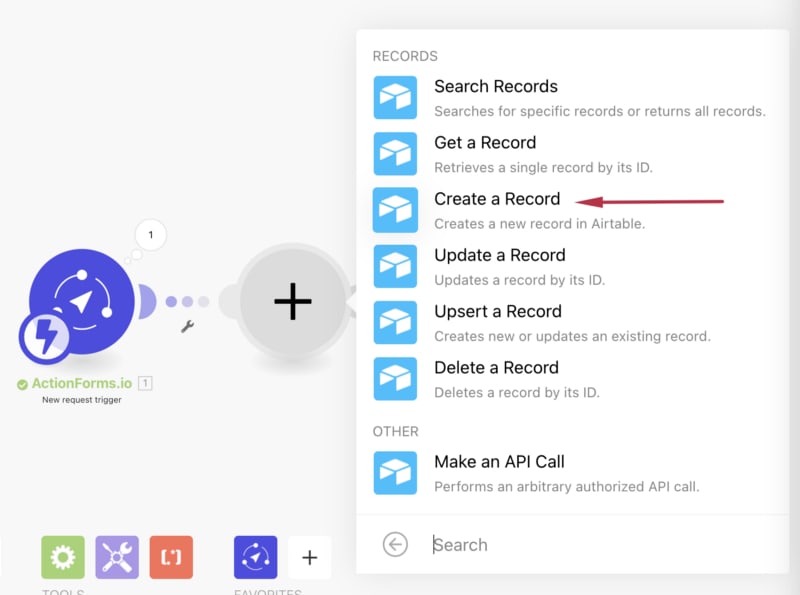
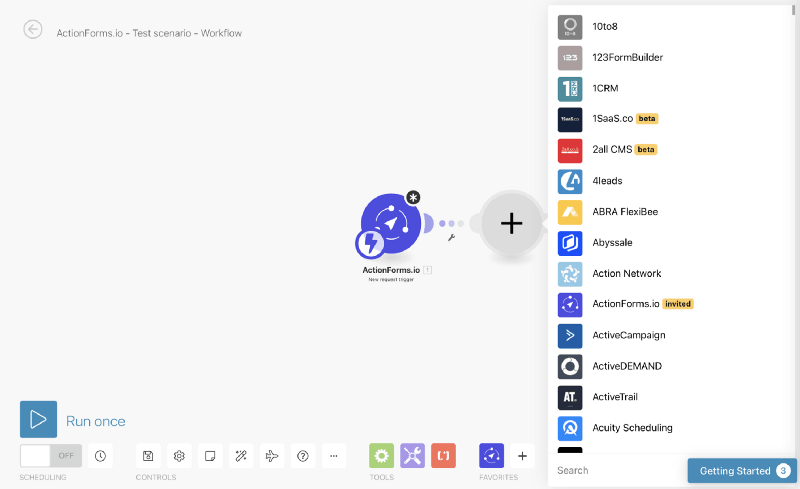
Now it’s time to Add Airtable connection. Search for Airtable module, and select Create a Record:
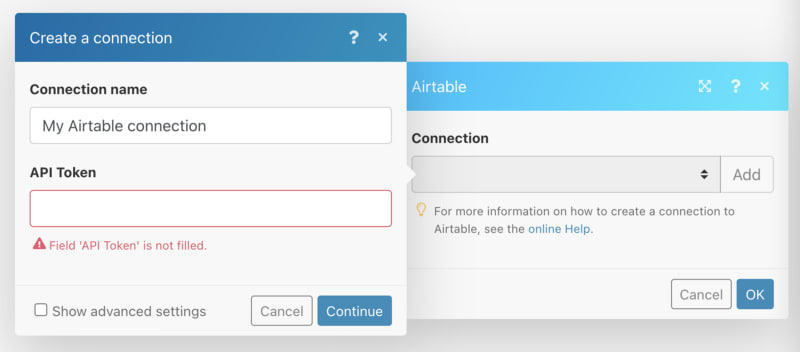
First of all, you’ll have to connect Airtable to Integromat. Just Add a new connection and Paste your Airtable Api key:
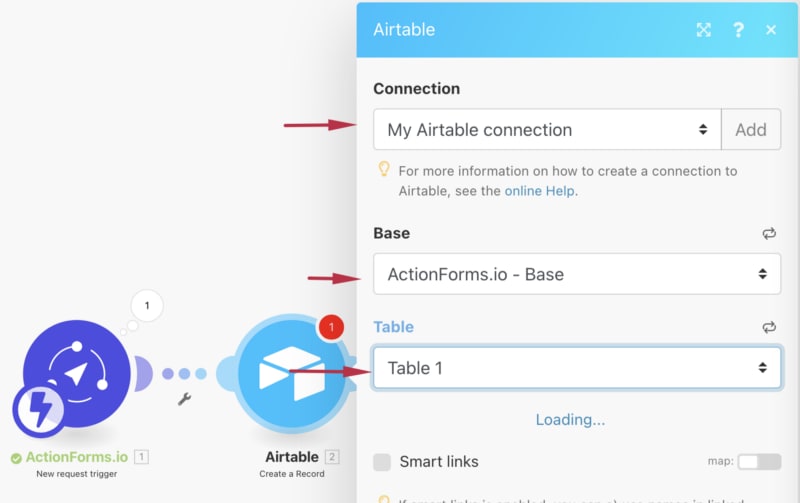
Once you have connected your Airtable account, now you can select the Base and the Table that we’ve just created:
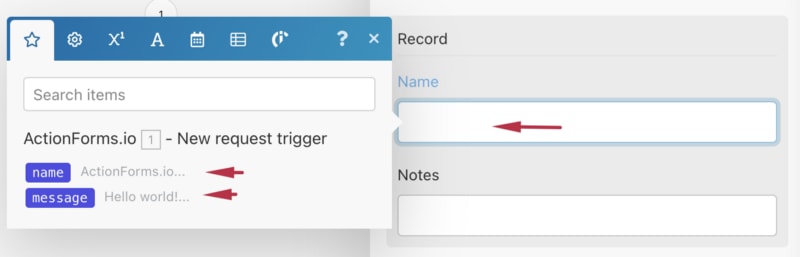
Now it will appear a Record fields section. This fields are our table columns, remember:


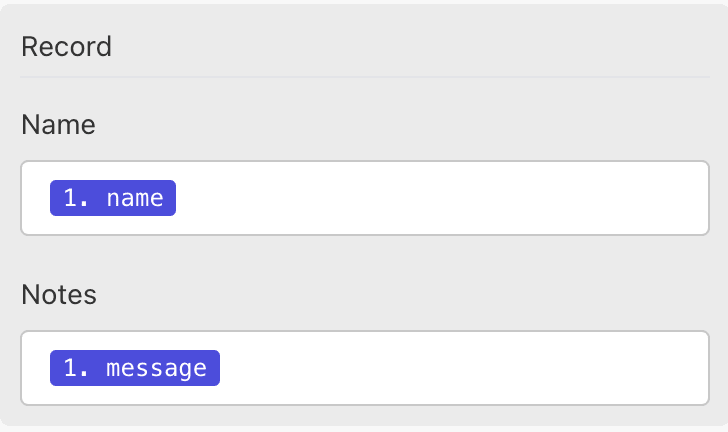
The reason that we sent the contact form before, is because now the Scenario has all the field names of our form, and you can link it to our Airtable columns:
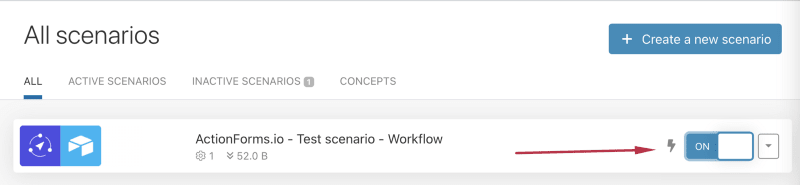
To enable our workflow, save the Scenario and enable it using the switch in the Scenarios page.
Let’s try it! Send the form again:
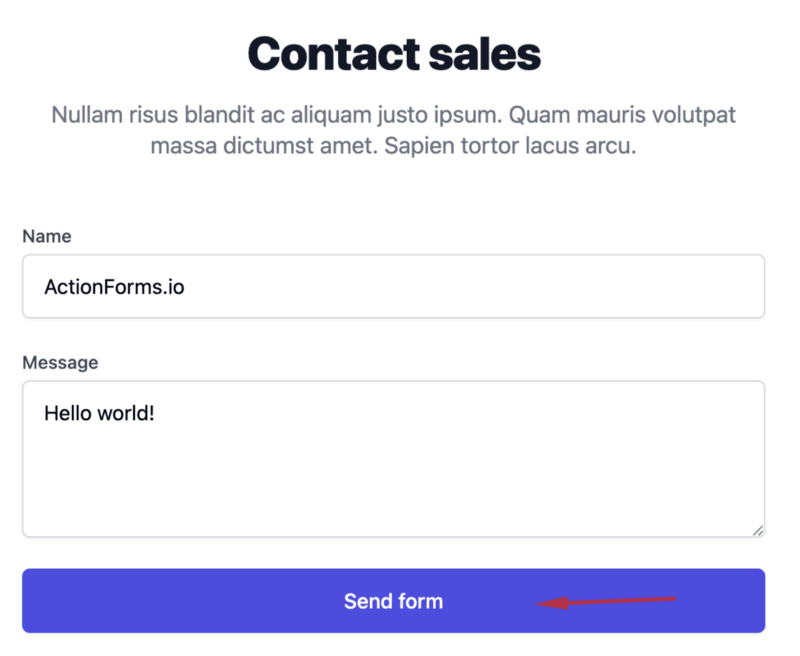
And that’s it, it works!
What’s next?
If you used Integromat before, maybe you know what you can do. Once you have the ActionForms.io webhook connected, now you can connect more than +1000 applications that Integromat offers to you:
Start using ActionForms.io for Free!
Get your 20% OFF Discount using this code: MEDIUMMAGARRENT

Top comments (0)