![Cover image for Chat-app with video-call tutorial [MERN]](https://media2.dev.to/dynamic/image/width=1000,height=420,fit=cover,gravity=auto,format=auto/https%3A%2F%2Fdev-to-uploads.s3.amazonaws.com%2Fuploads%2Farticles%2F6872fr9yk6i5b7y0wq8z.jpg)
Live project link: Chat-app
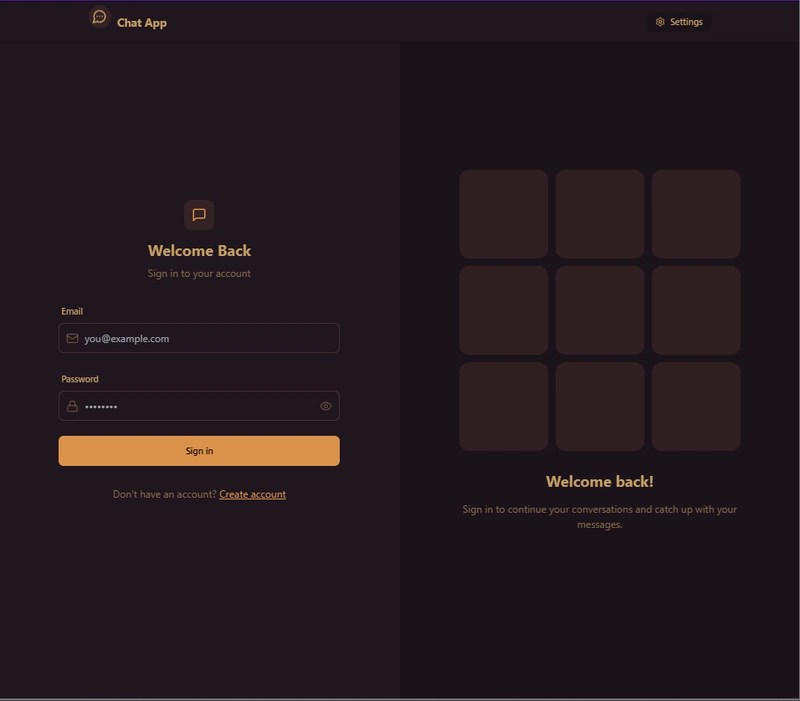
Building a Real-Time Chat App with the MERN Stack
Creating a real-time chat application is a great way to enhance your full-stack development skills. This guide provides a quick overview of setting up a MERN-based chat app with Socket.IO for real-time messaging, Cloudinary for profile images, and JWT authentication for user security.
This is not a full tutorial—instead, it summarizes key steps. For detailed implementation, refer to the linked YouTube tutorial below.
Features
- User Authentication – Secure login and registration with JWT.
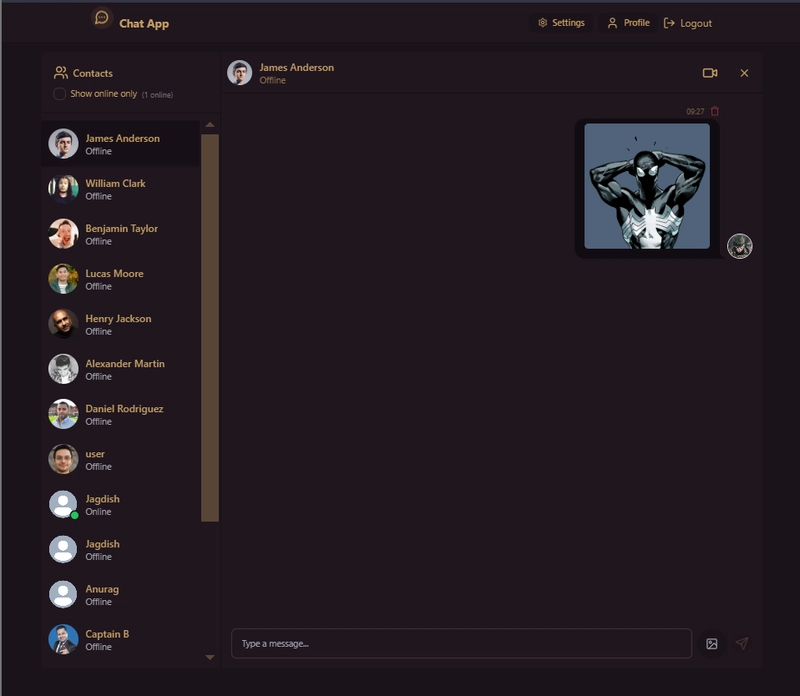
Real-Time Messaging – Instant chat functionality with Socket.IO.
Responsive UI – Mobile-friendly design with Tailwind CSS.

- Image Uploads – Profile images stored using Cloudinary.
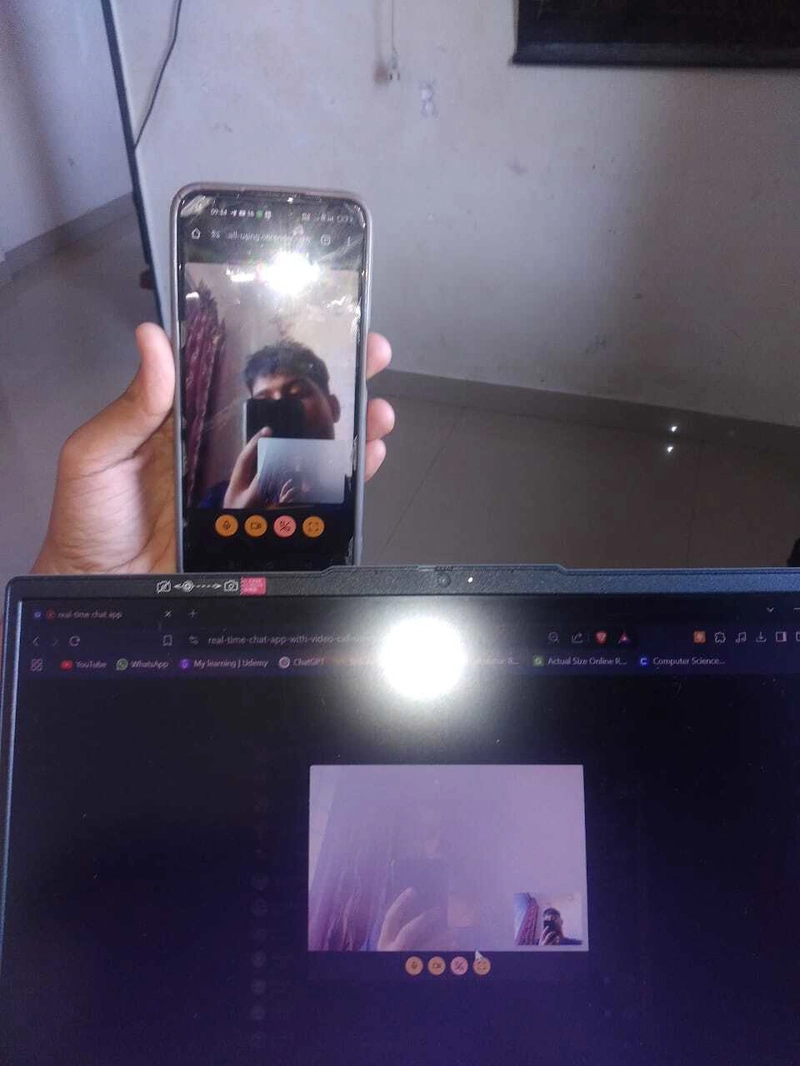
- Video Calling – WebRTC integration for one-on-one calls.
Tech Stack
- Frontend: React.js, Tailwind CSS
- Backend: Node.js, Express.js, MongoDB
- Database: MongoDB with Mongoose
- Real-Time Communication: Socket.IO, WebRTC (for calls)
- Authentication: JSON Web Tokens (JWT) with bcrypt
- Image Storage: Cloudinary
1. Setting Up the Backend
Install Dependencies
Create a new project and install required packages:
mkdir mern-chat-app && cd mern-chat-app
npm init -y
npm install express mongoose cors bcryptjs jsonwebtoken socket.io dotenv cloudinary multer
Configure Environment Variables
Create a .env file to store sensitive data:
PORT=5000
MONGO_URI=your_mongodb_connection_string
JWT_SECRET=your_jwt_secret
CLOUDINARY_CLOUD_NAME=your_cloud_name
CLOUDINARY_API_KEY=your_api_key
CLOUDINARY_API_SECRET=your_api_secret
Express Server Setup
const express = require('express');
const mongoose = require('mongoose');
const cors = require('cors');
const dotenv = require('dotenv');
const authRoutes = require('./routes/authRoutes'); // Example route file
const chatRoutes = require('./routes/chatRoutes');
const socketIo = require('socket.io');
const http = require('http');

dotenv.config();
const app = express();
const server = http.createServer(app);
const io = socketIo(server, { cors: { origin: '*' } });

app.use(cors());
app.use(express.json());
app.use('/api/auth', authRoutes);
app.use('/api/chat', chatRoutes);

mongoose.connect(process.env.MONGO_URI, {
  useNewUrlParser: true,
  useUnifiedTopology: true,
}).then(() => console.log('MongoDB connected'));

const PORT = process.env.PORT || 5000;
server.listen(PORT, () => console.log(`Server running on port ${PORT}`));
2. Authentication (JWT & Mongoose Setup)
User Model (Mongoose Schema)
const mongoose = require('mongoose');
const bcrypt = require('bcryptjs');

const UserSchema = new mongoose.Schema({
  username: { type: String, required: true, unique: true },
  email: { type: String, required: true, unique: true },
  password: { type: String, required: true },
});

UserSchema.pre('save', async function (next) {
  if (!this.isModified('password')) return next();
  this.password = await bcrypt.hash(this.password, 10);
  next();
});

module.exports = mongoose.model('User', UserSchema);
Auth Routes
const express = require('express');
const User = require('../models/User');
const jwt = require('jsonwebtoken');
const bcrypt = require('bcryptjs');
const router = express.Router();

router.post('/register', async (req, res) => {
  const { username, email, password } = req.body;
  try {
    const user = new User({ username, email, password });
    await user.save();
    res.status(201).json({ message: 'User created successfully' });
  } catch (err) {
    res.status(400).json({ error: err.message });
  }
});

router.post('/login', async (req, res) => {
  const { email, password } = req.body;
  const user = await User.findOne({ email });
  if (!user || !(await bcrypt.compare(password, user.password))) {
    return res.status(401).json({ error: 'Invalid credentials' });
  }
  const token = jwt.sign({ userId: user._id }, process.env.JWT_SECRET, { expiresIn: '1h' });
  res.json({ token });
});

module.exports = router;
3. Setting Up the Frontend
Install React & Dependencies
npx create-react-app client
cd client
npm install axios socket.io-client react-router-dom tailwindcss
Configure Tailwind CSS
npx tailwindcss init
Edit tailwind.config.js:
module.exports = {
  content: ['./src/**/*.{js,jsx,ts,tsx}'],
  theme: { extend: {} },
  plugins: [],
};
Import Tailwind into index.css:
@tailwind base;
@tailwind components;
@tailwind utilities;
4. Real-Time Chat with Socket.IO
Backend Socket.IO Setup
io.on('connection', (socket) => {
  console.log('New client connected');

  socket.on('sendMessage', (message) => {
    io.emit('message', message);
  });

  socket.on('disconnect', () => {
    console.log('Client disconnected');
  });
});
Frontend Socket.IO Integration
import io from 'socket.io-client';
const socket = io('http://localhost:5000');

socket.on('message', (message) => {
  console.log(message);
});

const sendMessage = (message) => {
  socket.emit('sendMessage', message);
};
5. Deployment
Once the app is ready, deploy it using:
Example Heroku Deployment:
git init
git add .
git commit -m "Deploy"
heroku create your-app-name
git push heroku main
Conclusion
Building a chat app with MERN & Socket.IO is a great way to practice real-time web development. This guide summarizes the key steps, but for a detailed implementation, check out the YouTube tutorial below:

For Video calling implementation 👇
Video Call Feature
For the video call feature, I took a modular approach to keep the code organized and easy to debug—especially important for tackling WebRTC for the first time.
Process Overview
State Management with Zustand:
I created a dedicated Zustand store called useVideoStore to manage all video call-related functionalities. This store encapsulates the video call logic into simple, reusable functions. It handles tasks such as:
-
initializeMedia: Requests access to the user's camera and microphone using the
navigator.mediaDevices.getUserMediaAPI. - makeCall: Initiates a video call by sending a call request through Socket.IO.
- answerCall: Handles answering incoming call requests.
- handleIncomingCall: Listens for and processes incoming call signals.
- handleIceCandidates: Manages the exchange of ICE candidates—a critical part of establishing a peer-to-peer WebRTC connection.
- endCall: Terminates the call and cleans up media streams.
Challenges & Resolutions
ICE Candidate Handling:
I initially got stuck ensuring that ICE candidates were correctly exchanged between peers. Detailed logging and verifying events in the Socket.IO signaling server revealed timing issues. Adjusting the order of operations—ensuring media streams were fully initialized before sending ICE candidates—resolved this problem.Media Stream Initialization:
Requesting camera and microphone permissions can be tricky. I encountered browser permission issues and compatibility errors. Proper error handling withnavigator.mediaDevices.getUserMediaand cross-browser testing helped overcome these challenges.State Synchronization:
Integrating real-time events with state updates required careful management. Breaking the logic into small, dedicated functions within the Zustand store allowed me to isolate problems and ensure the app’s state accurately reflected the call status.
Example: Zustand Store for Video Calls
Below is a simplified pseudocode version of the Zustand store (useVideoStore) that encapsulates the video call functionalities:
// useVideoStore.js
import create from 'zustand';

const useVideoStore = create((set) => ({
  localStream: null,
  remoteStream: null,
  callInProgress: false,

  // Initialize media: request access to camera and microphone
  initializeMedia: async () => {
    try {
      const stream = await navigator.mediaDevices.getUserMedia({
        video: true,
        audio: true
      });
      set({ localStream: stream });
    } catch (error) {
      console.error('Error accessing media devices:', error);
    }
  },

  // Initiate a call by signaling the target user
  makeCall: (targetId) => {
    // Code to emit a call event via Socket.IO
  },

  // Answer an incoming call
  answerCall: () => {
    // Code to handle answering the call
  },

  // Manage incoming call signals
  handleIncomingCall: (callerInfo) => {
    // Code to update state with incoming call details
  },

  // Handle ICE candidate exchange for establishing a peer-to-peer connection
  handleIceCandidates: (candidate) => {
    // Code to process and send ICE candidates via Socket.IO
  },

  // End the ongoing call and clean up resources
  endCall: () => {
    // Stop local media tracks and reset state
    set({
      localStream: null,
      remoteStream: null,
      callInProgress: false
    });
  },
}));

export default useVideoStore;
Integration in the App
In App.jsx, I imported useVideoStore and set up Socket.IO event listeners. This allowed me to tie the video call logic directly to UI components. By leveraging Zustand's simplicity, I could focus on debugging specific functions (like handleIceCandidates) without getting overwhelmed by overall state management.
Advanced Details: ICE, STUN & TURN Servers

ICE Candidate Exchange with Socket.IO:
WebRTC uses ICE (Interactive Connectivity Establishment) to discover and exchange network information (IP addresses and ports) between peers. Socket.IO serves as the signaling channel, transmitting ICE candidates between peers as they’re gathered. This exchange is essential for establishing a direct connection.
STUN Servers:
A STUN (Session Traversal Utilities for NAT) server helps a client determine its public IP address and port, which is vital when the client is behind a NAT or firewall. In my setup, I used a free public STUN server:
stun:stun.l.google.com:19302
there are more servers you can search which work fine for same N/W
This server is included in the WebRTC configuration to help peers gather their connection candidates.
TURN Servers:
TURN (Traversal Using Relays around NAT) servers relay media streams when a direct peer-to-peer connection cannot be established. This is especially necessary when both peers are behind strict NATs or firewalls.
-
Challenges with TURN:
- Reliability: Without a TURN server, calls might fail if a direct connection isn’t possible.
- Setup Complexity: Configuring a TURN server requires a dedicated VPS and software like Coturn (*requires VPS running).
- Costs: Running your own TURN server may incur costs, although paid services like Twilio or Xirsys are alternatives.
Due to time constraints, I didn’t set up my own TURN server. However, if you require robust connectivity, you can set up a TURN server on your own VPS. Follow this guide for instructions on installing and configuring Coturn.
Final Thoughts
Integrating ICE candidate exchange, STUN, and TURN servers is key to reliable video calling. Free STUN servers are usually sufficient, but TURN servers become critical under challenging network conditions. This modular approach using a Zustand store not only made the process more manageable but also prepared the app to handle real-world network scenarios.
Even though setting up WebRTC for video calls can be challenging, persistence and careful debugging eventually led to a seamless integration that complements the chat functionality and enhances the overall user experience.
Feel free to reach out if you have any questions or need further clarification on any of these steps!
Resources
My Socials


Thanks for reading till here please support this blog by liking🙏

Top comments (5)
Nice 👏 👏 👏 👏 👏
Thanks for reading ❤️
That's cool 😎
Nice writeup, covers the features well! Just felt security got skipped stuff like CORS, rate limiting on login, and encrypting messages would be good additions for anyone taking this to production 👍
Some comments may only be visible to logged-in visitors. Sign in to view all comments.