In this post I want to show how to build a production ready-backend for a Link Sharing application in just minutes, without writing a single line of code.
Functional requirements
- Users can create accounts using email and password or using social networks (Google, Facebook or GitHub).
- Authenticated users can submit links with a title and a description.
- Authenticated users can update or delete their own submissions.
- Authenticated users can upvote or downvote any link.
- Authenticated users can comment on any link.
- Authenticated users can update or delete their own comments.
- Authenticated users can upvote or downvote any comment.
- The vote results (number of upvotes - number of downvotes) must automatically be kept up to date on links and comments.
- After sign up, users should receive an email for verifying their email address and also a welcome email. Users can also request a password recovery email.
- Authenticated users can update their email and password.
- The system can be controlled using GraphQL and/or a Rest API.
For creating this application we will use Commun an Open Source No-Code platform for creating scalable backends for communities and user based apps.
System Requirements
- Node.js version >= 12 (can be checked with
node -v). - MongoDB version >= 3.6 (can be checked with
mongo --version).
Create an empty project
The fastest way to bootstrap a new project is using the npx tool which is included with node:
npx create-commun-app my-app
cd my-app
npm start
After the installation is completed your application should be running and you should see an output similar to this one:
🚀 development server started at http://localhost:3000
🎩 Admin dashboard: http://localhost:3000/dashboard
💪 API endpoint: http://localhost:3000/api/v1/:entity
🔑 Register your first admin account: http://localhost:3000/dashboard/signup?code=3d91c05d81b8cdf18997b1d07c6529e9eec3
👌 GraphQL endpoint: http://localhost:3000/graphql
Let's follow the link to register an admin account. This account will only exist in your local environment. You should see a screen like this one:
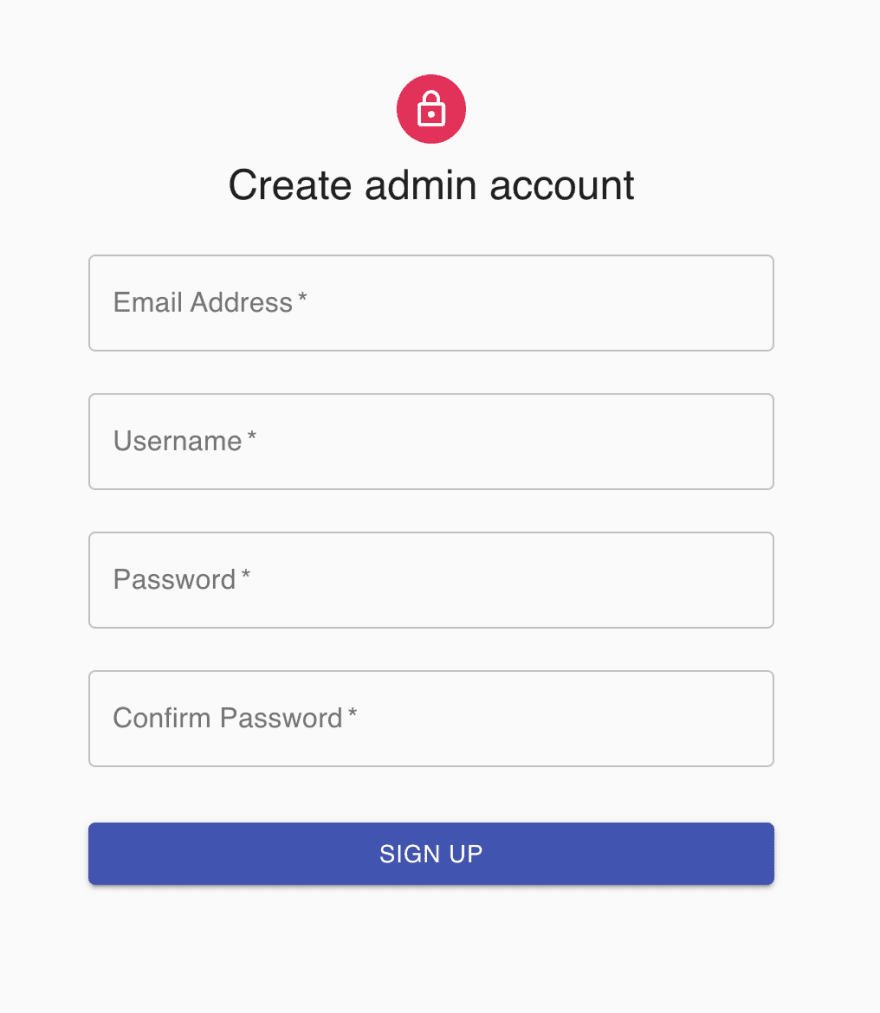
After you completed the required information, your account will be created and you will have access to your dashboard.
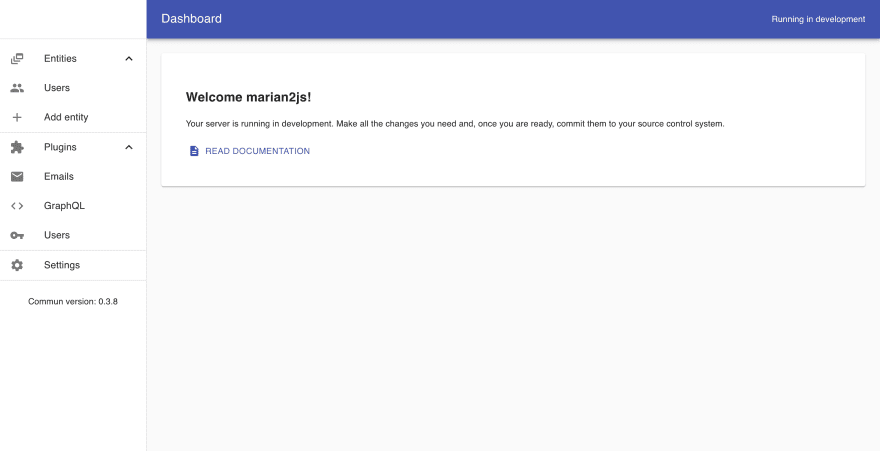
Create entities
Entities represent the components of your application. For this application we will need to create the entities Links, Comments, LinkVotes and CommentVotes. The entity Users exists by default.
Links Entity
On the left sidebar on your dashboard, click on Add entity. Enter the name links and select the checkbox Users can create Links.
After the entity is created, you need to add an attribute for each value a link can have.
- Add an attribute with key
linkand typeString. Check the required and unique checkboxes to ensure each link can only be submitted once. - Add an attribute with key
titleand typeString. Check the required checkbox to ensure all links will have a title. Set a maximum length of 150 characters. - Add an attribute with key
descriptionand typeString. - Add an attribute with key
slug, typeSlugand set fromtitle. This will automatically create an URL friendly slug from your title. Select the required, unique and read only checkboxes to ensure the slug cannot be changed and it is unique.
Comments Entity
Create a new entity with the name comments and select the checkbox Users can create Comments. Then add the following attributes:
- Attribute with key
bodyand typeString, which will contain the text of the comment. - Attribute with key
linkand typeEntity Reference. SelectLinkson the entity reference selector, this attribute will only accept the ID of a link. Then check the index checkbox, which will allow you to efficiently return all the comments for a given link. Last, check the required and read only checkboxes.
Link Votes
Create a new entity with name linkVotes and select the checkbox Users can create LinkVotes. Then add the following attributes:
- Attribute with key
link, typeEntity Referenceand entity referenceLinks. Check the required and read only checkboxes. - Attribute with key
valueand typeEnum. On the list of accepted values add1and-1, both with typeNumber. This attribute will only accept these values, which represent an upvote and downvote respectively. Then check the required and read only checkboxes.
Ensuring an user can only vote a link once
In order to ensure that an user can only vote a link once, we need to create an index on the entity. Go to the indexes section and click add index. On the index keys select user and link, both with type Ascending. Then select the unique checkbox.
Keeping the vote results up to date.
In order to keep the vote results (number of upvotes - number of downvotes) up to date, you need to follow these steps:
- Go to the
Linksentity and add a new attribute with keyvotes, typeNumberand default value0. Then under Attribute Permissions, for create and update permissions selectOnly the system. This will ensure that users cannot modify the number of votes on a link. - Go back to the
LinkVotesentity and open the Hooks section.- Add a new hook with lifecycle
After Create, actionIncrement, targetthis.link.votesand increment by{this.value}. - Add a new hook with lifecycle
After Delete, actionIncrement, targetthis.link.votesand increment by{-this.value}.
- Add a new hook with lifecycle
Comment Votes
Creating comment votes is almost identical to creating link votes. Create a new entity with the name commentVotes and select the checkbox Users can create CommentVotes. Then follow the same steps as for Link Votes, but using the Comments entity instead of the Links entity.
Use your APIs
Your application is now complete. GraphQL and Rest APIs are ready to use.
GraphQL
You can open a GraphQL Explorer by going to the GraphQL link on the left sidebar. The explorer includes documentation for the supported queries and mutations. Read Commun GraphQL documentation.
The endpoint for GraphQL is http://localhost:3000/graphql.
Rest API
You can find the documentation for the API on: https://commun.dev/docs/rest-api
The endpoint for the Rest API is http://localhost:3000/api/v1/:entity
Social Authentication
On the left sidebar click on Users. Check the social authentication methods you want to allow and set your client ID and secret keys for each one. You must provide a callback url on your frontend which will complete the authentication. The supported services are: Google, Facebook and GitHub.
Pushing your chances
After your application is ready, just push the changes to your source control system. All the configuration created by Commun is stored in JSON files that should be pushed to your source control system. The application can be deployed in the same way as any Node application, no special configurations are needed. The app can be started on production by running: npm run start:production.

Top comments (1)
looks pretty interesting, will have to check this out