

Welcome to part-4 of the series. We will start from where we had left. We will do some coding now, but first start the project by moving to the directory and running gatsby develop command.
 gatsby develop
Now, if we go to http://localhost:8000/ we will get the default page.
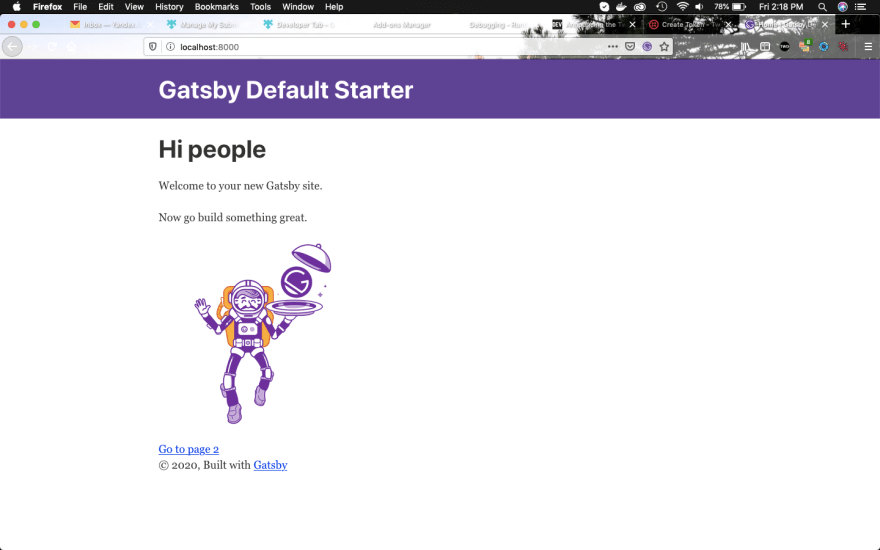 Default Starter
Time to change the default starter, so open the index.js file.
 index.js
We will remove all the unnecessary things from here. Also, remove page-2.js file as we don’t need it.
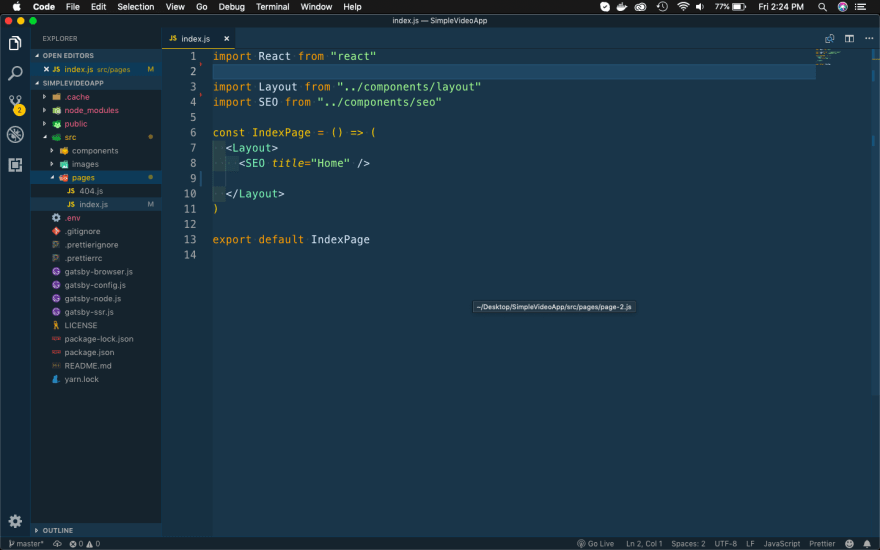 index.js
It’s also time to change some more things in this gatsby starter. Open the layout.js file in components folder and change the footer text.
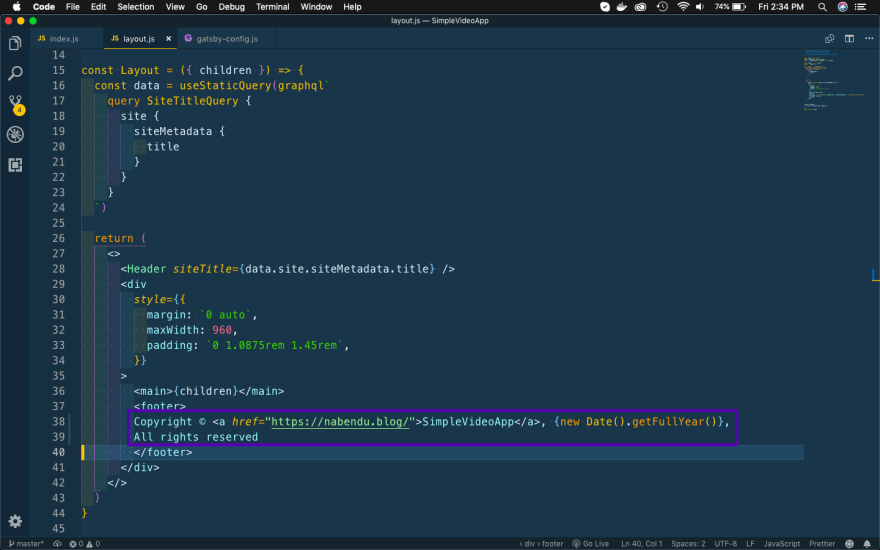 layout.js
Also, i want to change the site title. So, head over to gatsby-config.js file and change it.
 gatsby-config.js
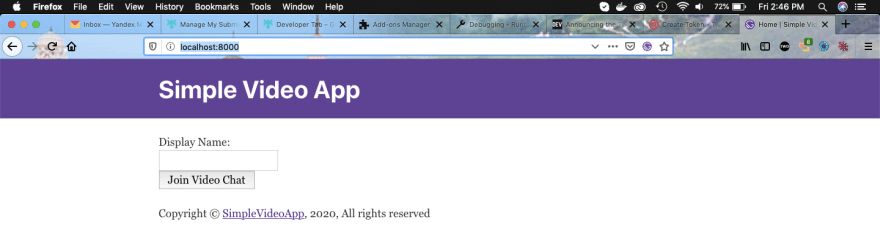
Now, when we go to http://localhost:8000/ we will see the updated app.
 Updated
Let’s create a simple functional based login form. Create a file login-form.js inside the components folder and put the below content in it. It is a simple form with a text field to enter the name and a button to submit the form.
 login-form.js
Next, let’s show this component in our index.js file. So, import it and use it.
 index.js
Our web-app now shows our not so beautiful login form.
 Login Form
Let’s style this web-app a bit, as i like web-app to look nice. First update all the primary styles in layout.css. Remove all the content and replace it with below.
 layout.css
Next, let’s update the header.js file to use new color scheme. I had updated the background and also removed the line margin: 0 auto,
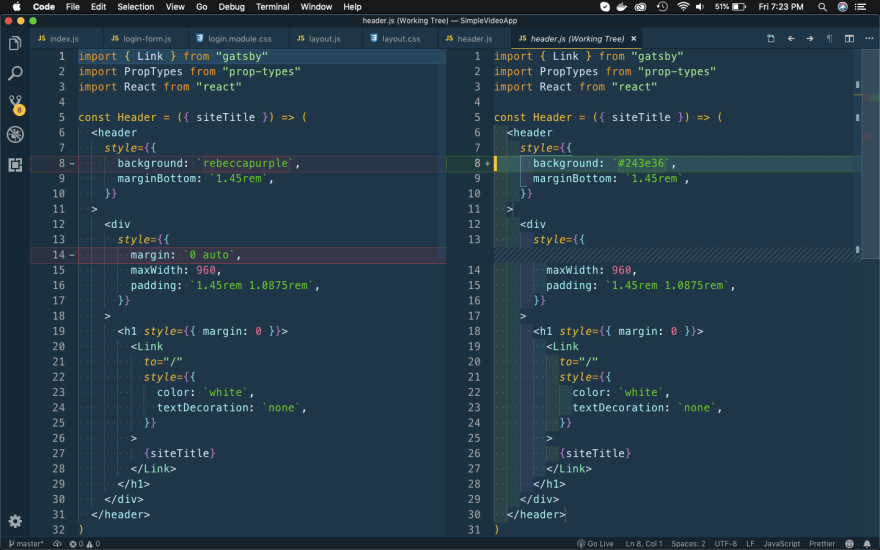 header.js
Next, create a file login.module.css in the components folder and put the below code in it.
    .contact {
     padding: 4rem 0;
    }
    .center {
     width: 80vw;
     margin: 0 auto;
    }
    [@media](http://twitter.com/media) screen and (min-width: 992px) {
     .center {
     width: 50vw;
     margin: 0 auto;
     }
    }
    .contact label {
     text-transform: capitalize;
     display: block;
     margin-bottom: 0.5rem;
    }
    .contact h3 {
     text-transform: uppercase;
     font-size: 2rem;
     text-align: center;
     letter-spacing: 7px;
     color: var( — mainBlack);
     margin-bottom: 2rem;
    }
    .formControl,
    .submit {
     width: 100%;
     font-size: 1rem;
     margin-bottom: 1rem;
     padding: 0.375rem 0.75rem;
     border: 1px solid var( — darkGrey);
     border-radius: 0.25rem;
    }
    .submit {
     background-color: var( — primaryColor);
     border-color: var( — primaryColor);
     text-transform: uppercase;
     color: var( — mainWhite);
     transition: var( — mainTransition);
     cursor: pointer;
    }
    .submit:hover {
     background: var( — darkGrey);
     color: var( — mainBlack);
     border-color: var( — darkGrey);
    }
Now, finally update the login-form.js file to include these styles.
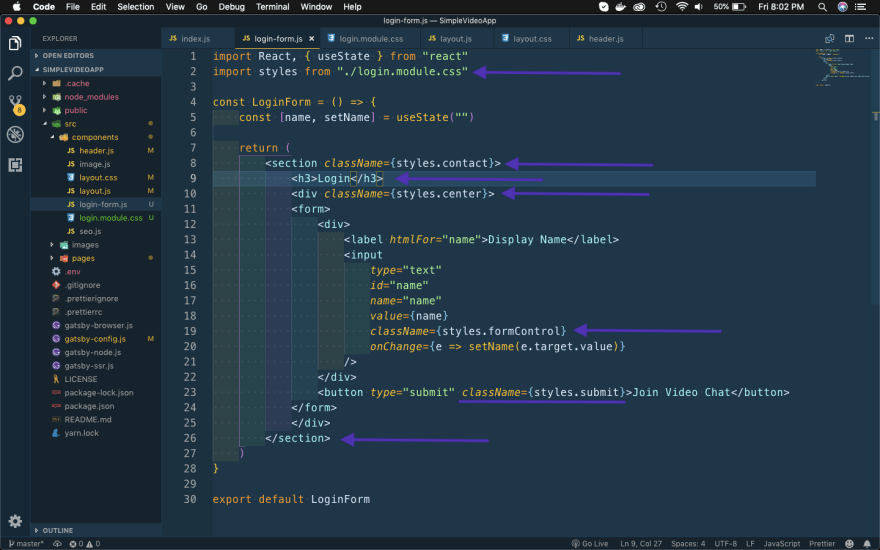 login-form.js
Now, our web-app looks perfect.
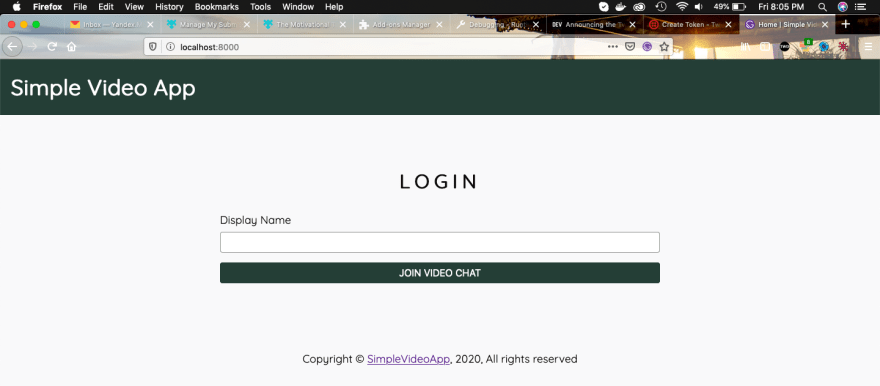 web-app
This completes part-4 of the series.
You can also find the code for this project in this github link.

Top comments (0)