Introduction
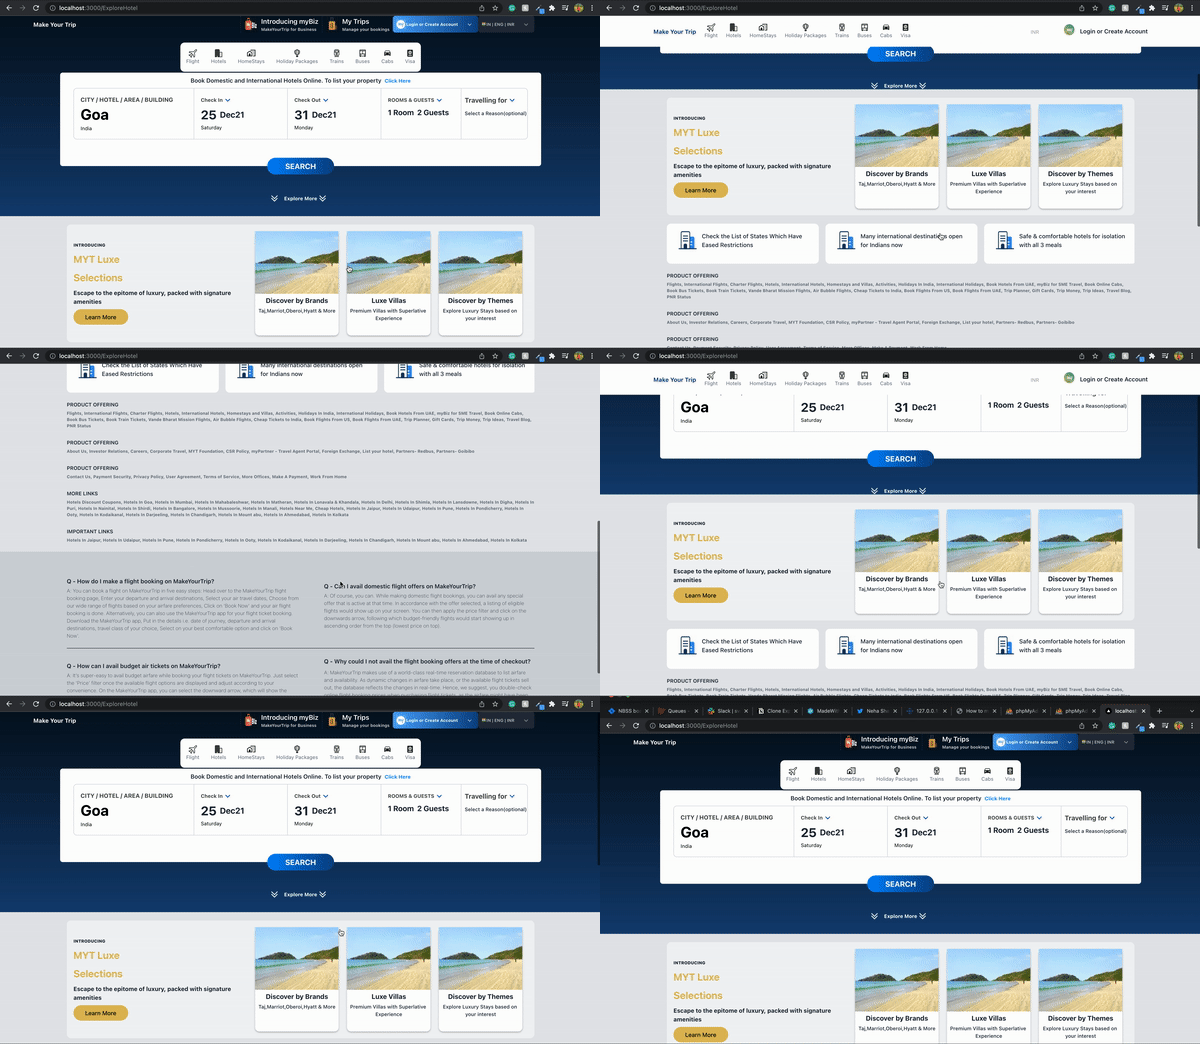
We used Next.js and NativeBase v3 to construct a Hotel and Flight checkout flow inspired by MakeMyTrip. The goal was to illustrate the adaptability of several NativeBase components, find out about any deficiencies with NativeBase, and try to overcome the shortcomings. This would allow us to improve NativeBase’s range of usability. We decided to name the project “Make Your Trip.”
Here are the instructions to install NativeBase in a Next.js project.
Challenges
While replicating the complex UI of MakeMyTrip, we came across a few hurdles. They were taken care of using different components offered by NativeBase.
The overview of the challenges with their fixes are listed below:
- Animations
The header animation of the “Make Your Trip” is implemented using the simple NativeBase components and react hooks.
Here, on scroll, we need to calculate the window height using the event listener, and then using react hook. We also changed the visibility of the header components.The following NativeBase components were used for the task.
React.useEffect(() => {
    // window is accessible here.
    window.addEventListener("scroll", changeVisibility);
  }, []);
- Tabs
We needed to construct the tab component to match the design. The following NativeBase components were used for the task.
- HStack
- Pressable
- Divider
The state hooks used were:
const [tabName, setTabName] = React.useState("AllOffers");
And changing the TabName value on onPress was done as follows. Here is an example:
onPress={() => {
  setTabName("AllOffers");
}}
Now, we can easily check the value of tabName and render UI using ternary operator. Here is an example:
borderBottomColor: tabName == "AllOffers" ? "#fd2578" : "f9fafb",
And our goal of implementing the tab component is fulfilled.
Responsive layout
NativeBase provides a simple way to add responsiveness to your components.
Responsive syntax relies on the breakpoints defined in the theme object.
For making our components responsive we need to provide the prop value as an object in which the actual values are defined against different breakpoints.
For example:
w={{ sm:"24",md:"32",lg:"40",xl:"48" }}
// here sm,md,lg,xl depicts the screen sizes//
We can also do the same using the array syntax:
w={[24, 48, 72]}.
// here value 24,48,72 depicts value for small,medium,large screen sizes//
Conclusion
With this experiment, we were able to showcase NativeBase’s capabilities extensively and dig deeper into Next.js. The ease with which Next.js integrated with NativeBase was a blessing for us. This ease of integration allowed us to execute a complex UI by writing minimal code without compromising the design. The code was written once and adapted for multiple screen sizes—mobile, web, and tablets—without any additional code.
We believe NativeBase can do more, especially since existing peers currently lack the Tabs component. It would also be wonderful if they had more versatile animation components. There is always scope for improvement, and the team is working tirelessly to make NativeBase better every day.


Top comments (0)