
Requirements
Introduction
In this section, you'll configure GitHub Actions to automate:
- Building and testing your Docker image
- Pushing the validated image to Docker Hub You'll complete these key steps:
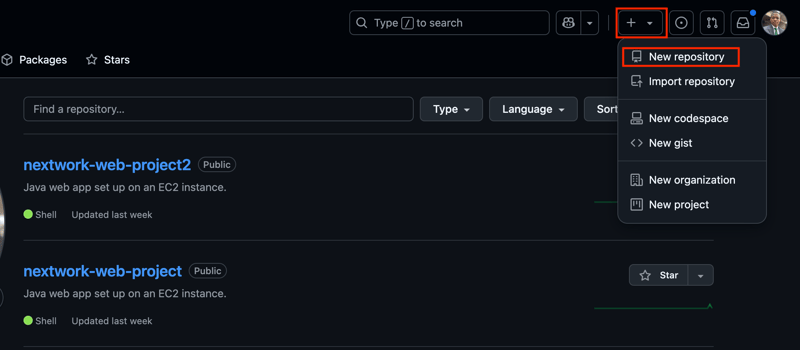
- Create a new repository on GitHub.
- Define the GitHub Actions workflow.
- Run the workflow.
Step one: Create the repository
Create a GitHub repository, configure the Docker Hub credentials, and push your source code.
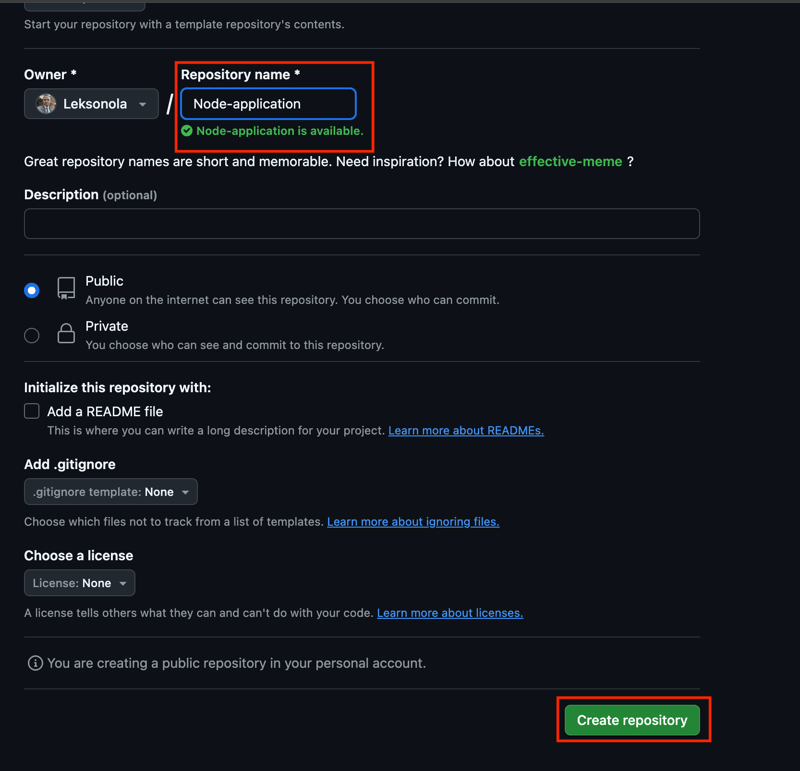
- Create a new repository
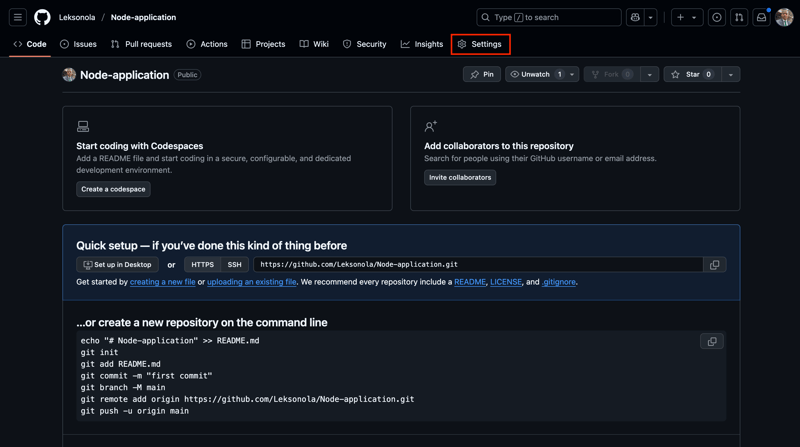
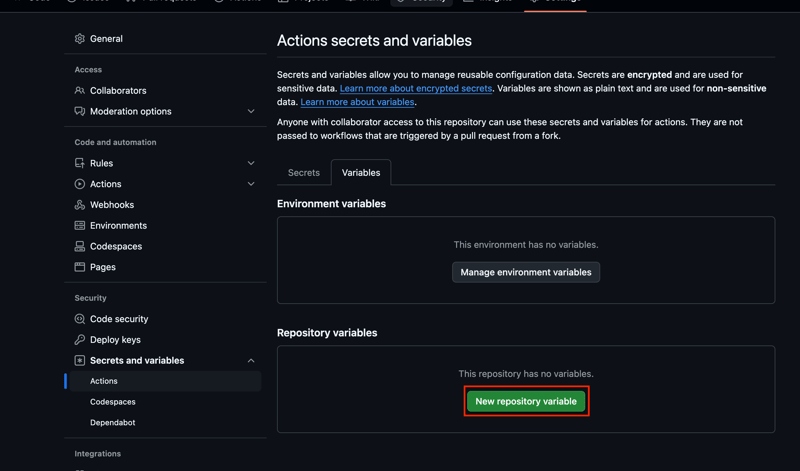
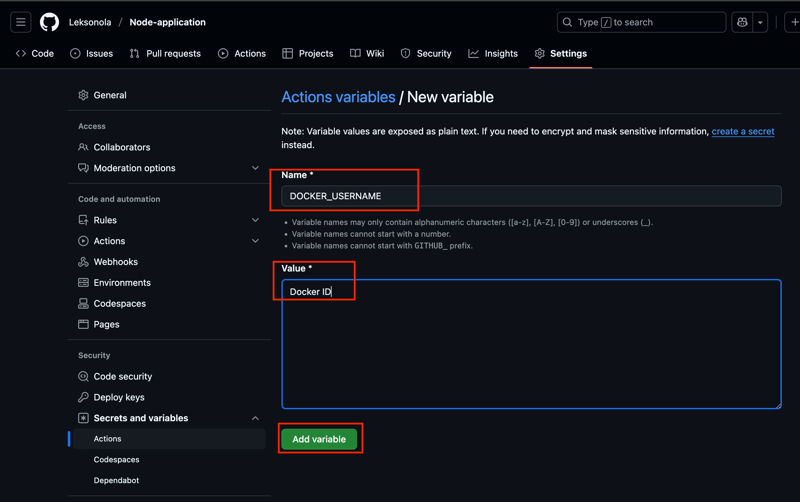
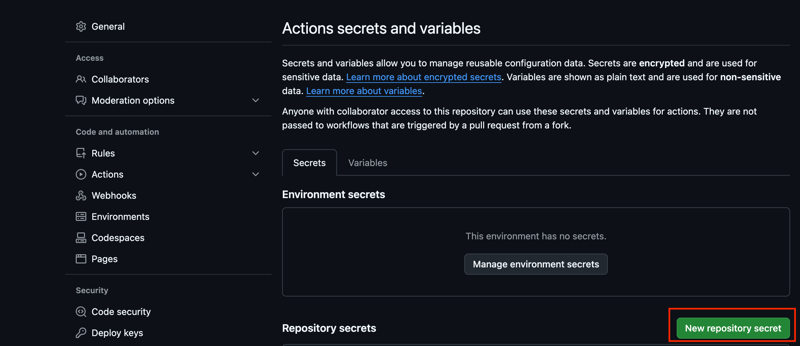
- Open the repository Settings, and go to Secrets and variables > Actions.
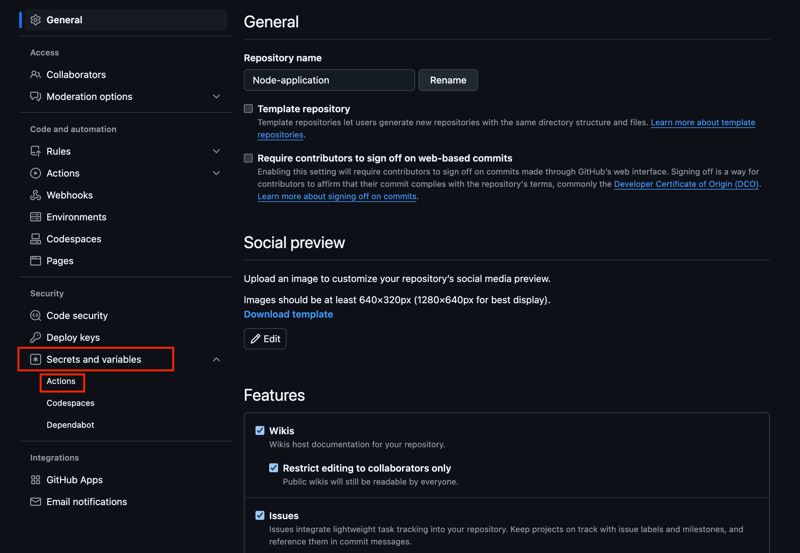
- Create a new Repository variable named DOCKER_USERNAME and your Docker ID as a value.
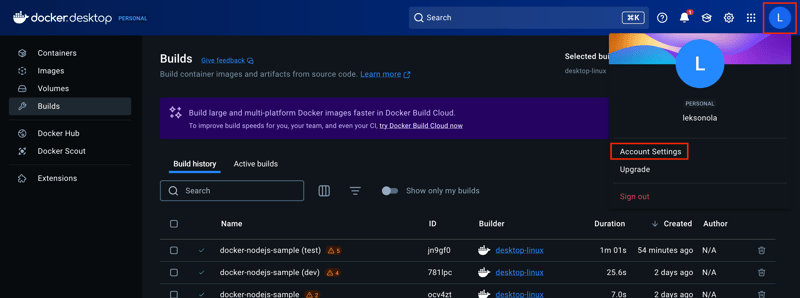
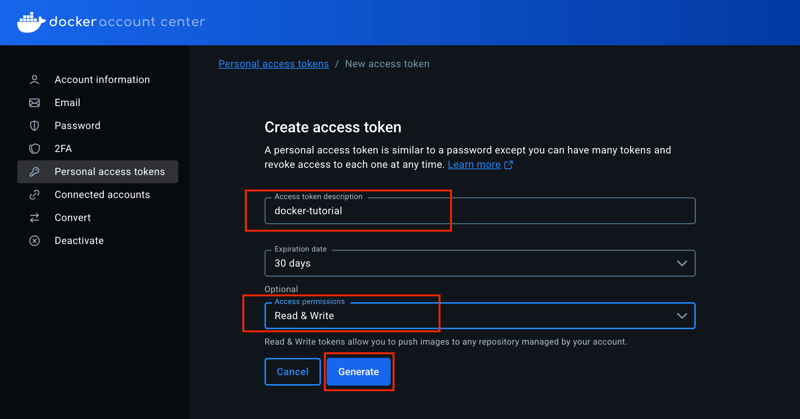
- Create a new Personal Access Token (PAT) for Docker Hub. You can name this token docker-tutorial. Make sure access permissions include Read and Write.
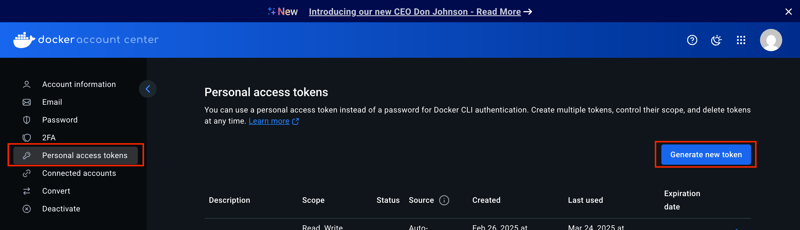
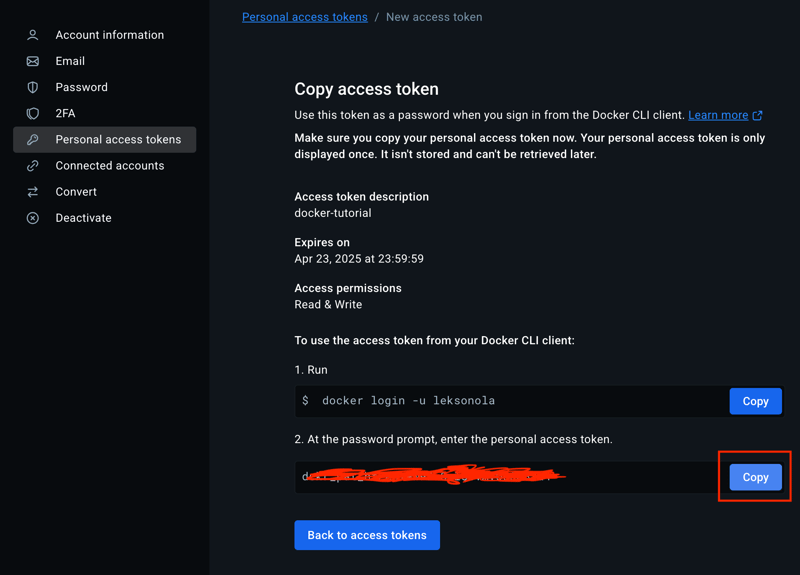
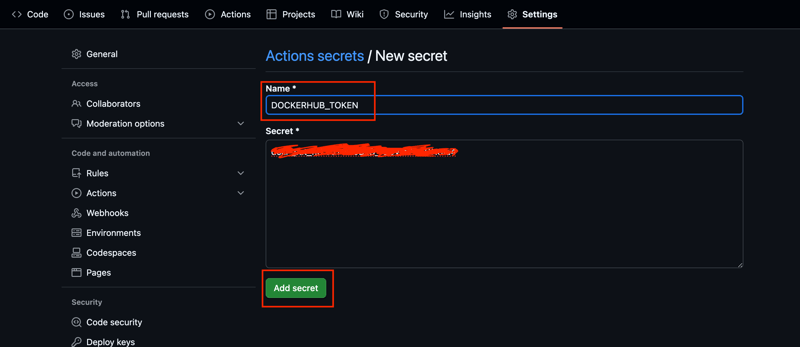
- Add the PAT as a Repository secret in your GitHub repository, with the name DOCKERHUB_TOKEN
- In your local repository on your machine, run the following command to change the origin to the repository you just created. Make sure you change your-username to your GitHub username and your-repository to the name of the repository you created.
git remote set-url origin https://github.com/your-username/your-repository.git
- Run the following commands to stage, commit, and push your local repository to GitHub.
git add -A
git commit -m "my commit"
git push -u origin main
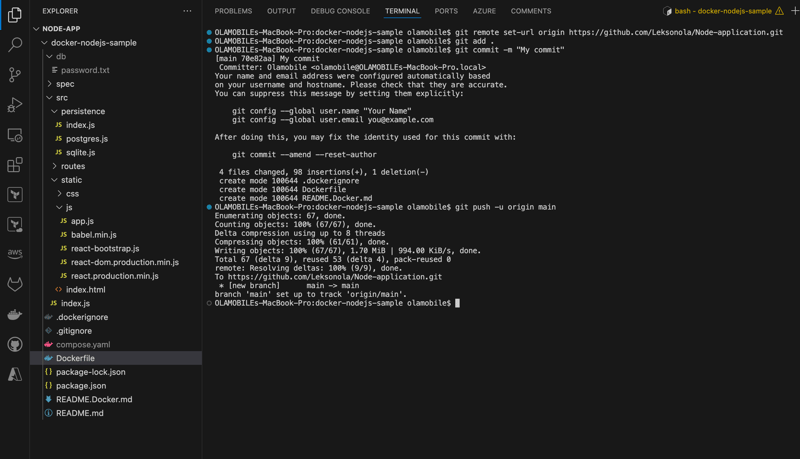
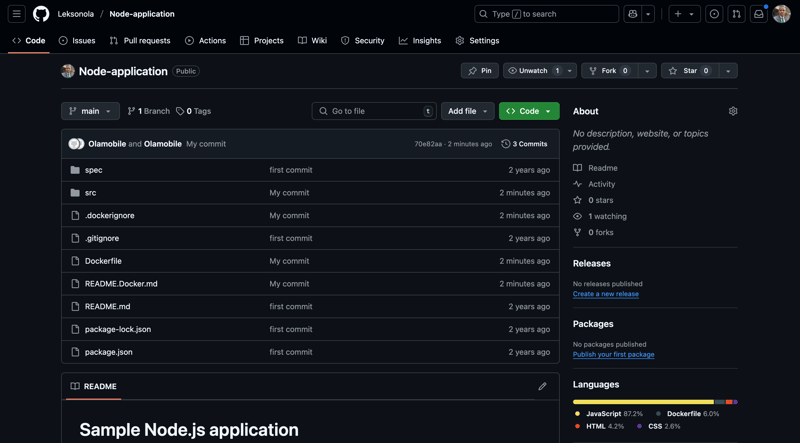
You can also confirmed that it has been pushed to your repo in your GitHub.
Step two: Set up the workflow
Set up your GitHub Actions workflow for building, testing, and pushing the image to Docker Hub.
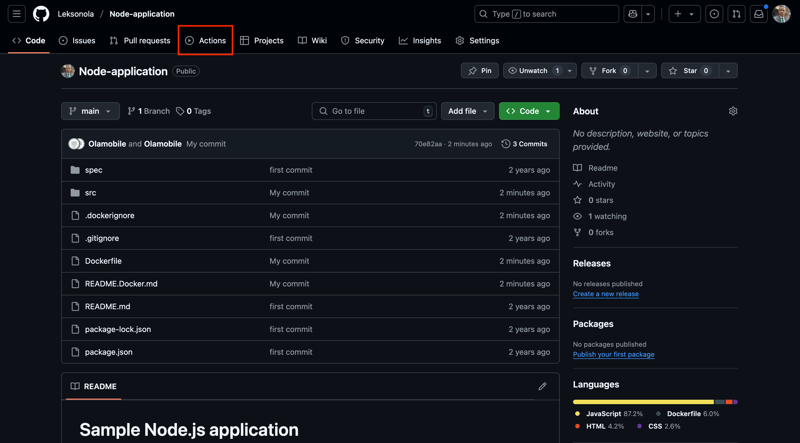
- Go to your repository on GitHub and then select the Actions tab.
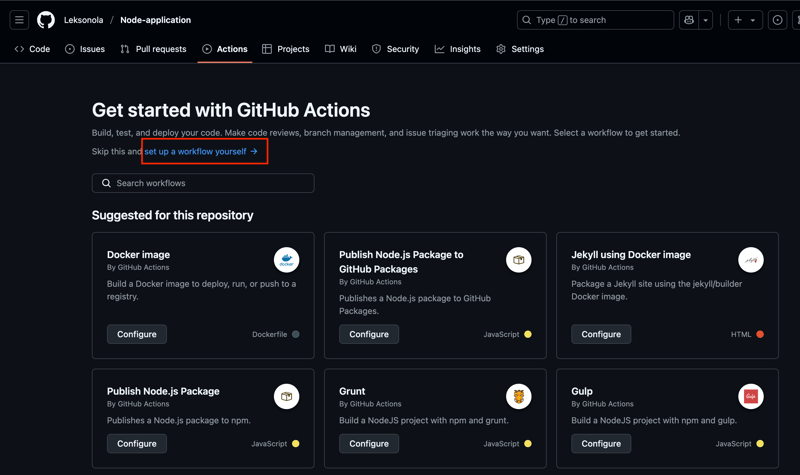
- Select set up a workflow yourself.
This takes you to a page for creating a new GitHub actions workflow file in your repository, under .github/workflows/main.yml by default.
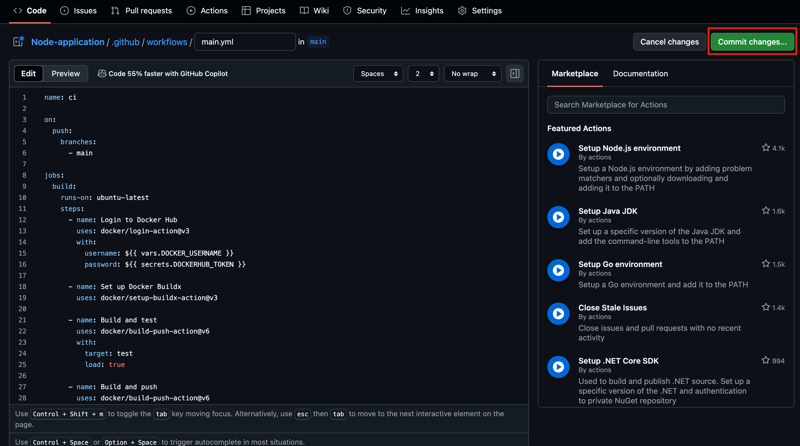
- In the editor window, copy and paste the following YAML configuration.
name: ci

on:
  push:
    branches:
      - main

jobs:
  build:
    runs-on: ubuntu-latest
    steps:
      - name: Login to Docker Hub
        uses: docker/login-action@v3
        with:
          username: ${{ vars.DOCKER_USERNAME }}
          password: ${{ secrets.DOCKERHUB_TOKEN }}

      - name: Set up Docker Buildx
        uses: docker/setup-buildx-action@v3

      - name: Build and test
        uses: docker/build-push-action@v6
        with:
          target: test
          load: true

      - name: Build and push
        uses: docker/build-push-action@v6
        with:
          platforms: linux/amd64,linux/arm64
          push: true
          target: prod
          tags: ${{ vars.DOCKER_USERNAME }}/${{ github.event.repository.name }}:latest

Step three: Run the workflow
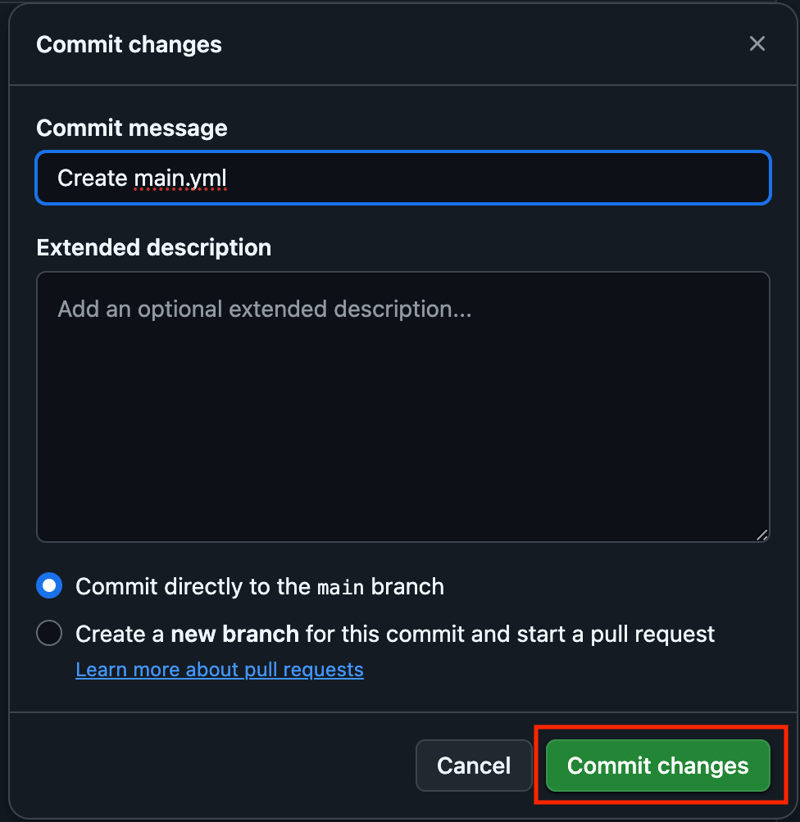
- Select Commit changes... and push the changes to the main branch.
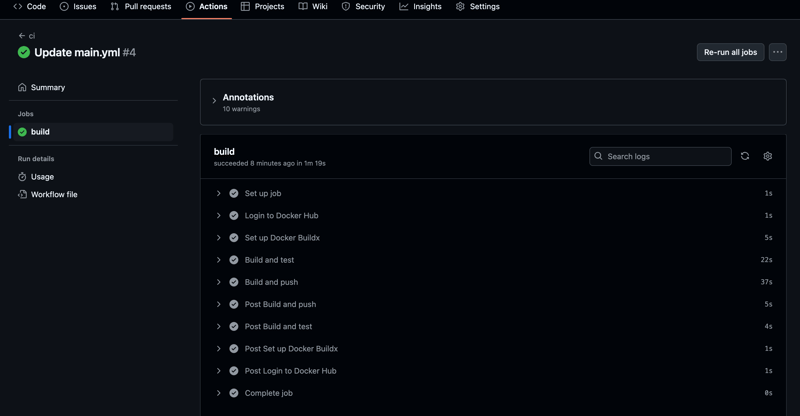
After pushing the commit, the workflow starts automatically.
- Go to the Actions tab. It displays the workflow.
Selecting the workflow shows you the breakdown of all the steps.
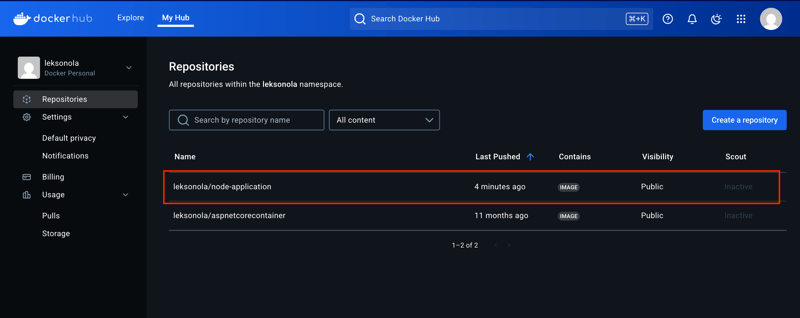
- When the workflow is complete, go to your repositories on Docker Hub.
If you see the new repository in that list, it means the GitHub Actions successfully pushed the image to Docker Hub.
 N.B: I encountered error when I run my job due to my repo name, it suppose to be in lowercases, hence, I changed my repo name from Node-application to node-application.
Thanks for staying till the end

Top comments (1)
Hi,
Seems targets values test and prod not found, can be removed or updated with correct one.
Thanks