Requirements
- How to containerize a Node.js application
-
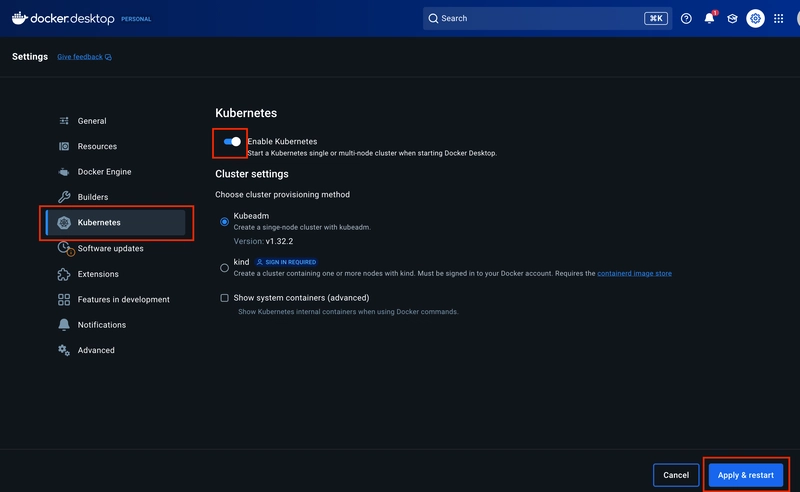
Turn on Kubernetes in Docker Desktop
Introduction
n this section, you’ll learn how to deploy your application to a fully functional Kubernetes environment using Docker Desktop. This local Kubernetes setup enables you to test, debug, and validate your workloads before deploying them to production.
Create a Kubernetes YAML file
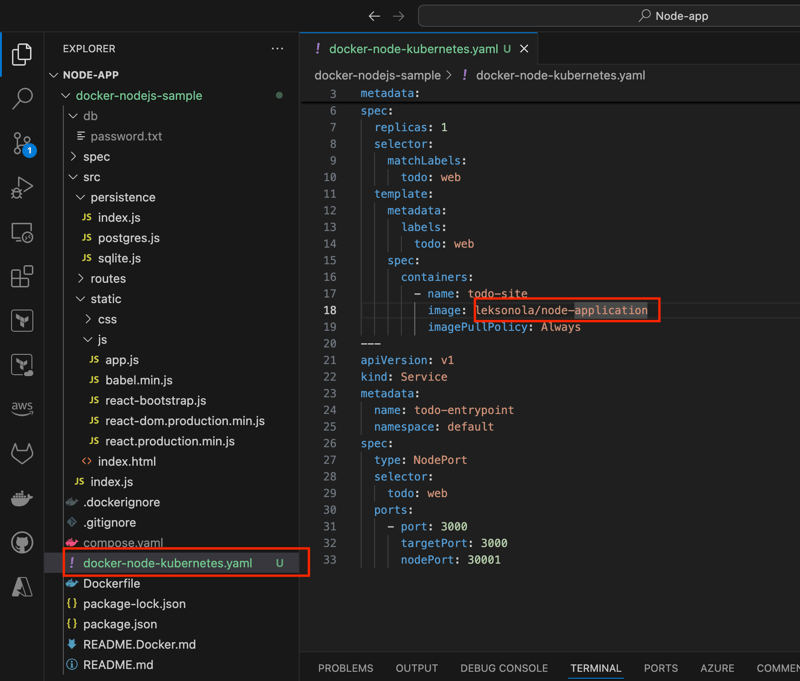
In the cloned repository's directory, create a file named docker-node-kubernetes.yaml. Open the file in an IDE or text editor and add the following contents. Replace DOCKER_USERNAME/REPO_NAME with your Docker username and the name of the repository that you created in How to configure CI/CD for your Node.js application.
apiVersion: apps/v1
kind: Deployment
metadata:
  name: docker-nodejs-demo
  namespace: default
spec:
  replicas: 1
  selector:
    matchLabels:
      todo: web
  template:
    metadata:
      labels:
        todo: web
    spec:
      containers:
        - name: todo-site
          image: DOCKER_USERNAME/REPO_NAME
          imagePullPolicy: Always
---
apiVersion: v1
kind: Service
metadata:
  name: todo-entrypoint
  namespace: default
spec:
  type: NodePort
  selector:
    todo: web
  ports:
    - port: 3000
      targetPort: 3000
      nodePort: 30001
This YAML file defines two Kubernetes objects (separated by ---):
Deployment Object
Manages a scalable set of identical pods, currently configured for a single replica. The pod template specifies one container running the application image built by GitHub Action in How to configure CI/CD for your Node.js application.NodePort Service
Provides external network access by routing traffic from port 30001 on your host to port 3000 on the application pods, enabling connectivity to your deployed application.
Deploy and check your application
- In a terminal, navigate to where you created docker-node-kubernetes.yaml and deploy your application to Kubernetes.
kubectl apply -f docker-node-kubernetes.yaml

- Make sure everything worked by listing your deployments.
kubectl get deployments
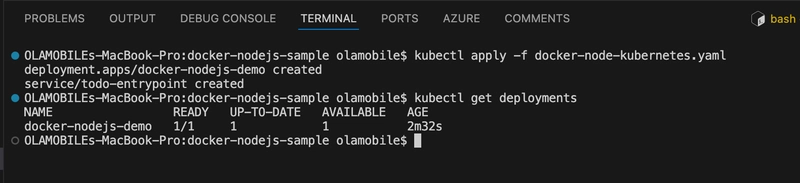
This indicates all one of the pods you asked for in your YAML are up and running. Do the same check for your services.
kubectl get services
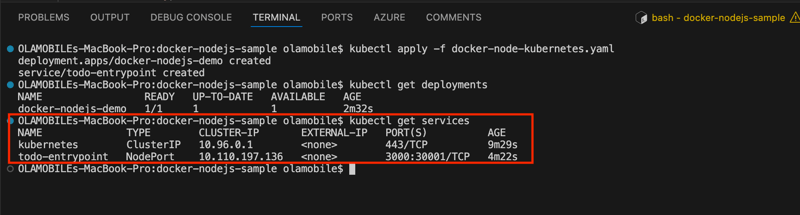
In addition to the default kubernetes service, you can see your todo-entrypoint service, accepting traffic on port 30001/TCP.
- Open a browser and visit your app at localhost:30001. You should see your application.

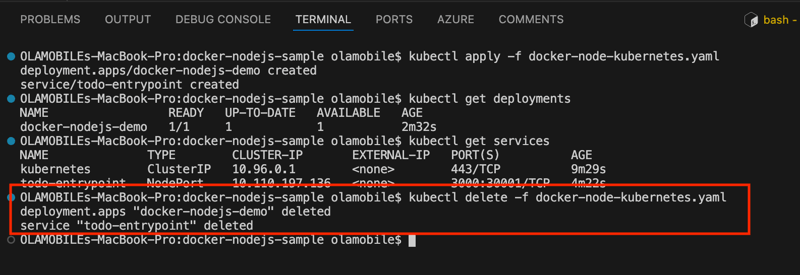
- Run the following command to tear down your application.
kubectl delete -f docker-node-kubernetes.yaml

Top comments (0)